Check Service Engine Soon Light Or Engine Light ON or Flashing
Engine Warning Light ON
OBD Code Scan
Easy step by step instructions on how to read automotive diagnostic trouble codes, this article pertains to most vehicles built after 1996.
Difficulty Scale: 2 of 10
Helpful Information
Once the "check engine" or a "service engine soon" light has illuminated the computer has detected a problem and stored one or more trouble codes. When this light is illuminated the vehicle enters into "limp mode", which means the system is not running at optimal performance. Most 1996 and newer vehicles utilize an ALDL connector port which is used to connect a reader for code retrieval. This connector is generally located on the drivers side near the foot well.
A http://carrepairworld.blogspot.com/2015/04/vehicle-obd-ii-codes.html can be used to help define the meaning of the malfunction. After repairs have been performed and codes cleared, the computer will start testing systems once the vehicle is driven. These monitors operate during normal driving conditions and can take up to 30 miles to complete. If the computer senses a problem, the check engine or service engine light will re-illuminate.
Vehicles older than 1996 use an OBD1 scanner or the use of onboard retrieval method is required to gather trouble codes.
Common Problems
- If a scan has been performed and a P1000 is observed it means the computer could not complete the retrieval process.
- If the check engine or service engine soon light does not illuminate while the key is in the "ON" position repairs are needed such as an indicator bulb replacement.
Begin with the vehicle on level ground, in park, with the parking brake set.
Step 1 - When a check engine or service engine soon light illuminates the computer system has detected a malfunction which indicates a repair is needed.

Check Engine Light
Step 2 - Obtain a simple code reader which are available from about $25.00. These readers are available on Amazon.

Trouble Code Reader
Step 3 - Next, locate the ALDL data link connector which is usually under the dash on the drivers side, attach the reader data connector.

Reader Connector
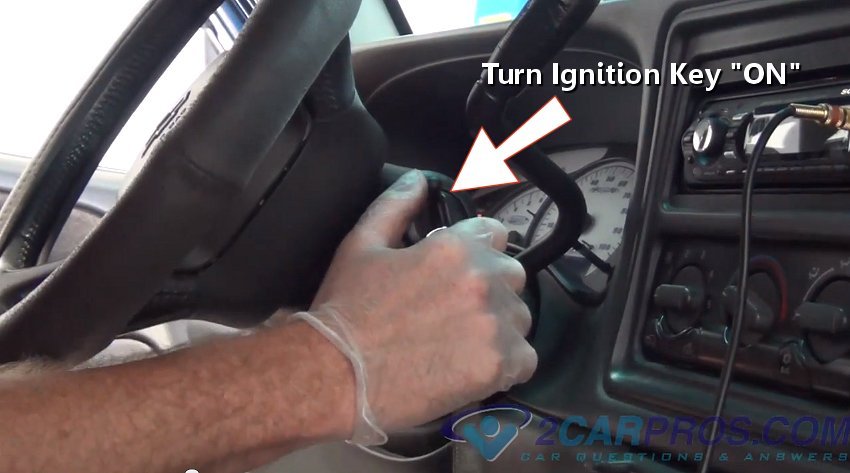
Step 4 - With the data connector in place, turn the ignition key to the "ON" position. (Note: Do not start the engine.)

Ignition Key "ON"
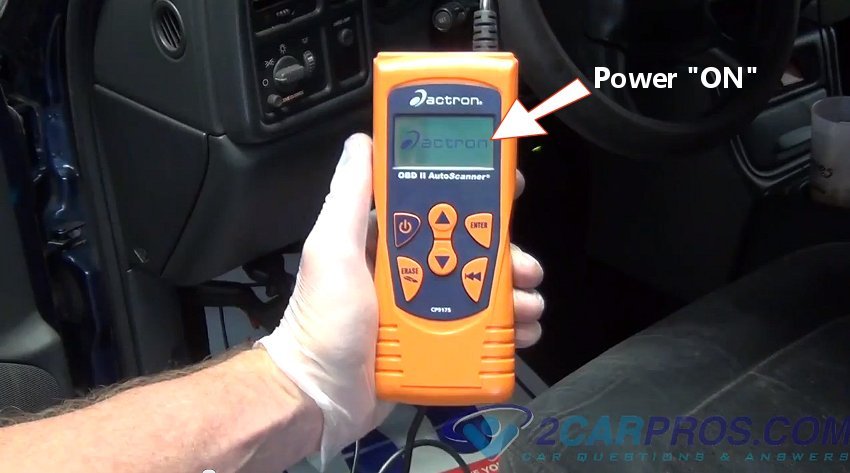
Step 5 - Once the ignition power has been turned "ON", the code reader will power up and display the welcome screen.

Reader Power On
Step 6 - After the reader has powered up, follow the prompt and select "read codes".

Select Read Codes
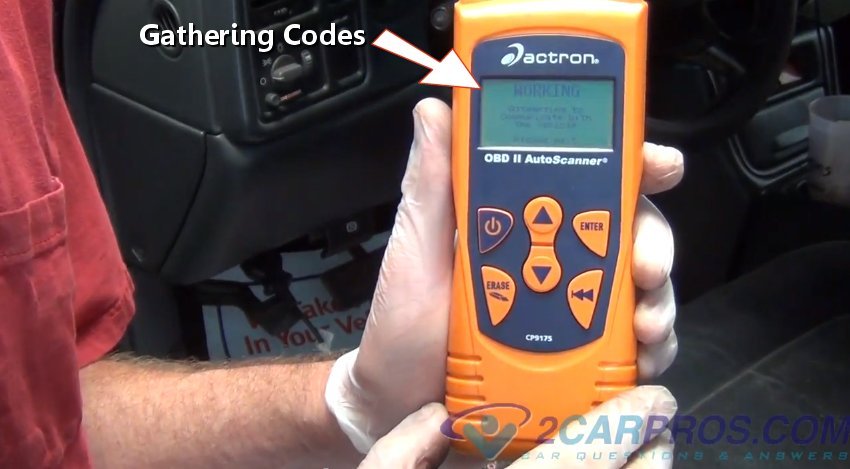
Step 7 - Next, the reader will enter "gather codes" mode which will retrieve any codes the computer has stored.

Gathering Codes
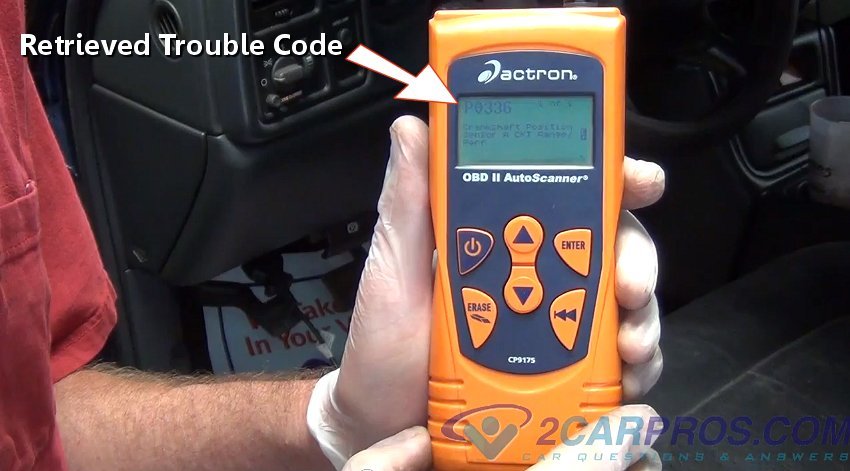
Step 8 - Within a few minutes the reader will display trouble codes which denotes the system or sensor that has malfunctioned. In this case PO336 is a crankshaft angle sensor failure.

Retrieved Trouble Code
Step 9 - Once the codes have been displayed the reader will give an option of clearing the code which is done by pressing the "clear" button. After pushing the button the reader will erase all codes present in the computer.

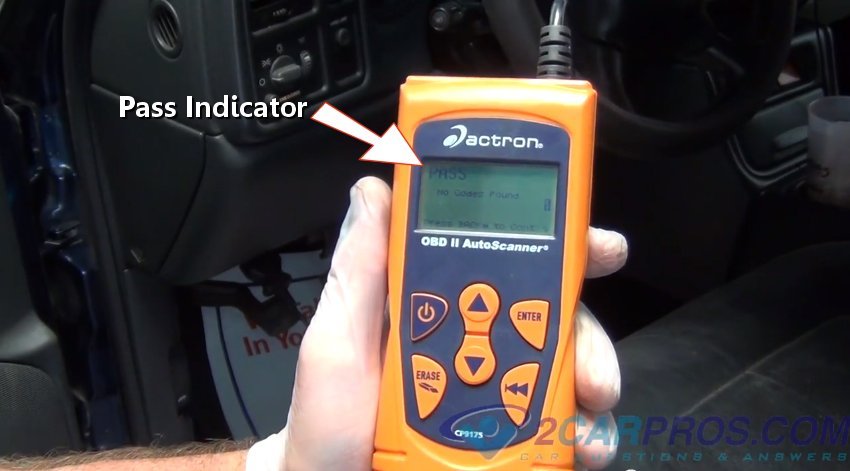
Step 10 - The reader will present an option to recheck the system and give a "PASS" reading if the system detects no problems.

Pass Indicator
Step 11 - After the reader has finished, turn the ignition key to the "OFF" position.

Turn Ignition Key Off
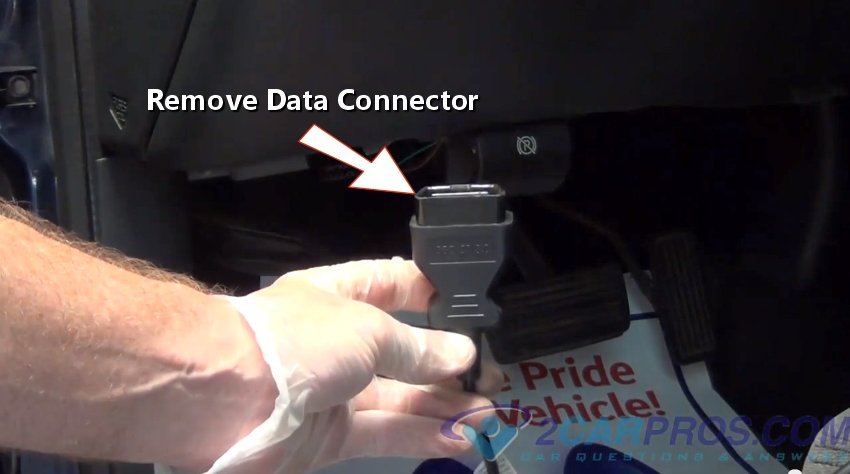
Step 12 - Next, remove the data connector from the ALDL port.

Remove Data Connector

Check Engine Light

Trouble Code Reader
Step 3 - Next, locate the ALDL data link connector which is usually under the dash on the drivers side, attach the reader data connector.
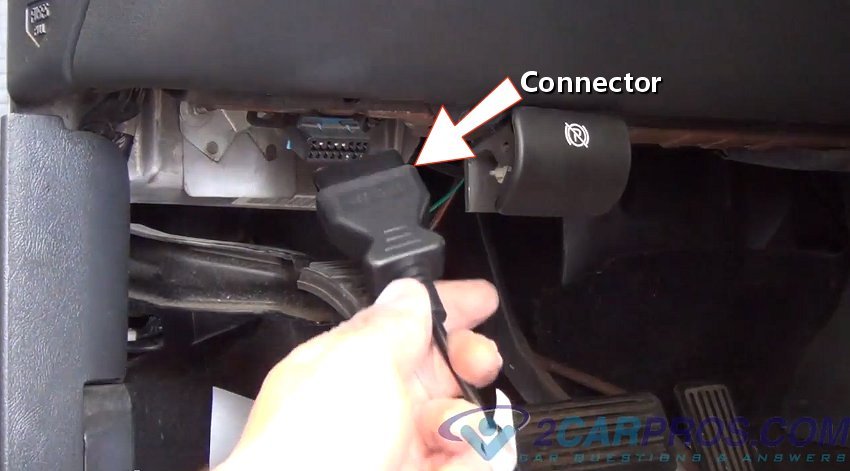
Reader Connector
Ignition Key "ON"
Reader Power On

Select Read Codes
Gathering Codes
Retrieved Trouble Code
Pass Indicator

Turn Ignition Key Off
Remove Data Connector
Comments
Post a Comment