How To Replace DRL Light Bulb
DRL Light Bulb Replacement
DRL Lights Not Working
Helpful Information
DRL bulbs (daytime running lights) have been installed on vehicles since the early 90's and have been proven to be a helpful safety device which helps opposing drivers see oncoming traffic during daylight hours. These bulbs are illuminated continuously as the vehicle is being driven and therefore fail often.
Best Practices
- When replacing DLR bulbs use a high quality bulb to avoid premature failure. AC Delco provides a heavy duty bulb which is designated by an "LL" which means long life.
Step by step article on how to replace a DRL (daytime running light) bulb. This article pertains to most vehicles.
Difficulty Scale: 2 of 10
Tools and Supplies Needed
Begin with the vehicle on level ground, engine "OFF" in park with the emergency brake set.
Step 1 - Begin by removing the retainer clips or screws that secure the headlight lens to the body. Screws could be a torx head driver.

Removing Headlight Lens Retainer Clips
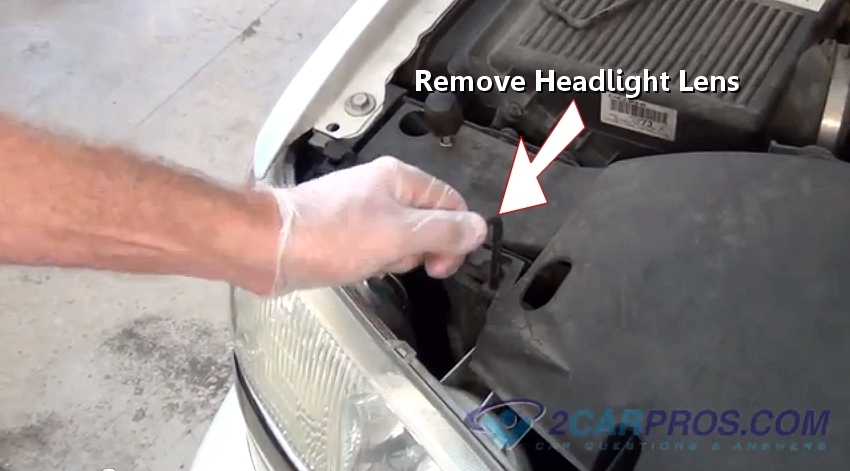
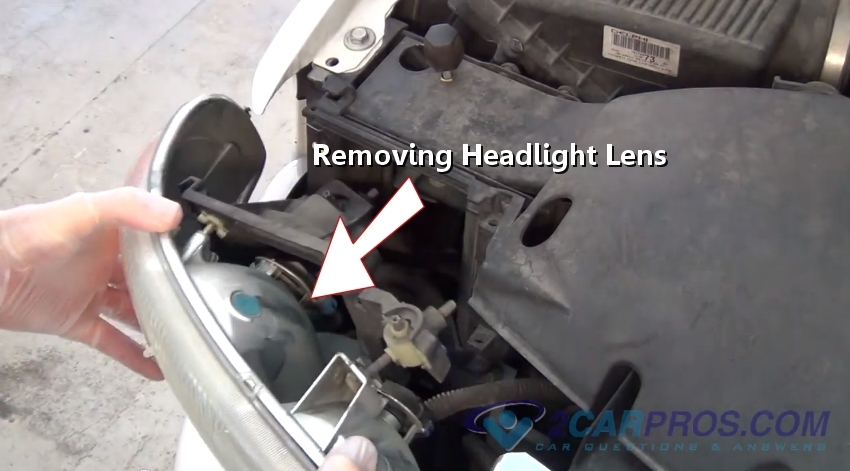
Step 2 - After the retainers have been removed, grasp the lens and gently remove it from the holder.

Removing Headlight Lens
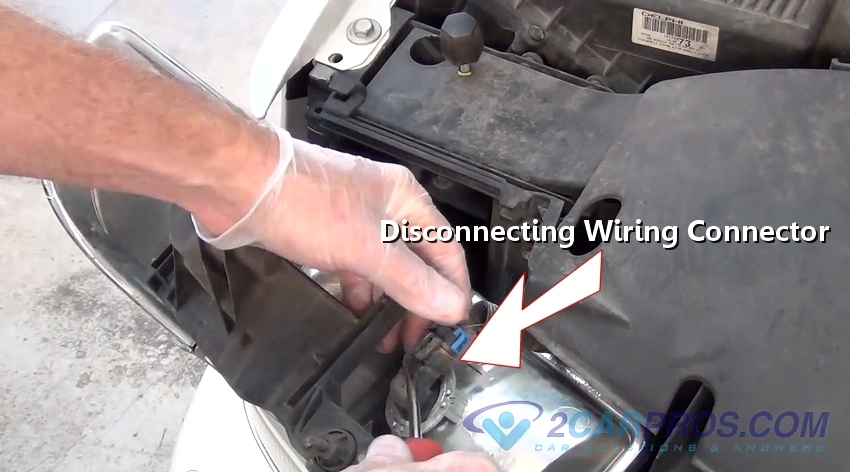
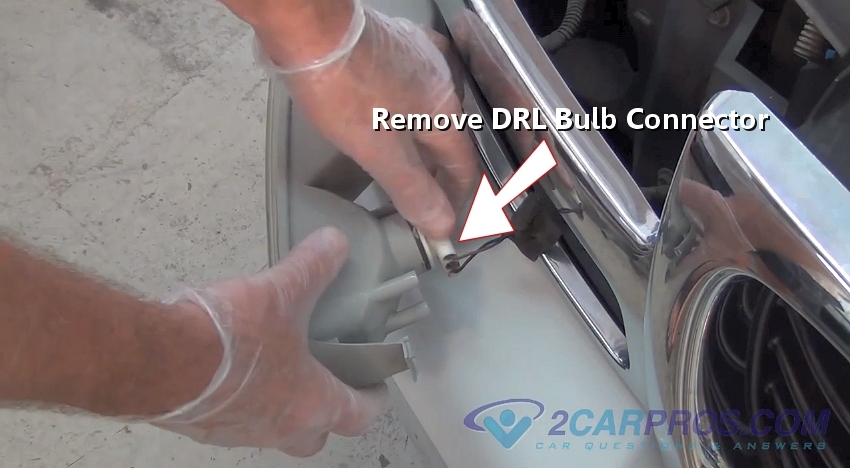
Step 3 - Next, Use a small screwdriver to release the wiring connectors to the headlight and running light bulbs.

Disconnecting Headlight Wiring Connector
Step 4 - Once the headlight lens has been removed, locate and release the retainer clip or screws.
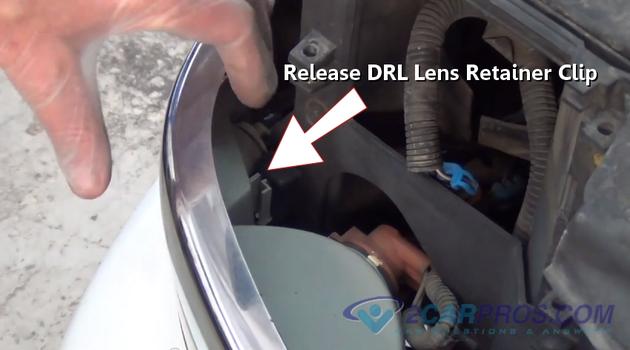
Release DRL Retainer Clip
- Replacement DRL bulb
- Small screw driver set
- Torx head drivers
- Protective eyewear and gloves
Begin with the vehicle on level ground, engine "OFF" in park with the emergency brake set.
Removing Headlight Lens Retainer Clips
Removing Headlight Lens
Disconnecting Headlight Wiring Connector
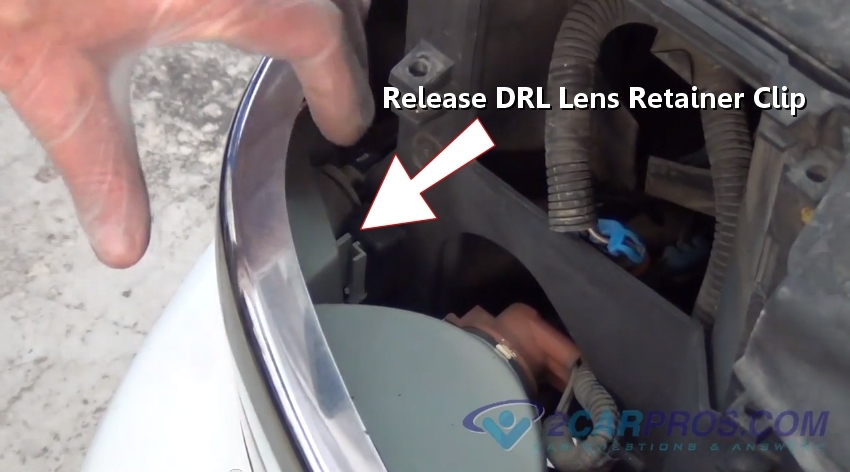
Release DRL Retainer Clip
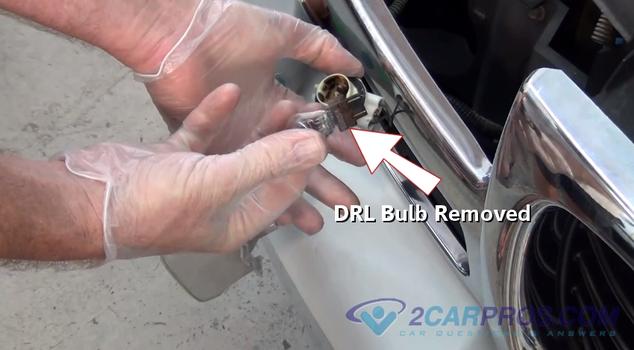
Step 5 - After the lens is removed, grasp the DRL light bulb socket and gently turn it counter clockwise.

Removing DRL Bulb Socket
Step 6 - Once the socket is removed the DRL bulb will be exposed.

DRL Bulb Removal
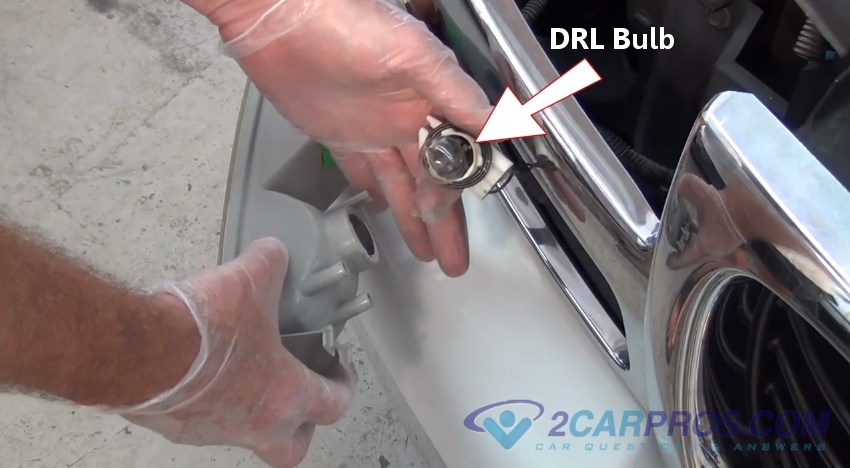
Step 7 - Next, gently grasp the bulb and firmly pull the bulb from the socket.
Removing DRL Bulb From Socket
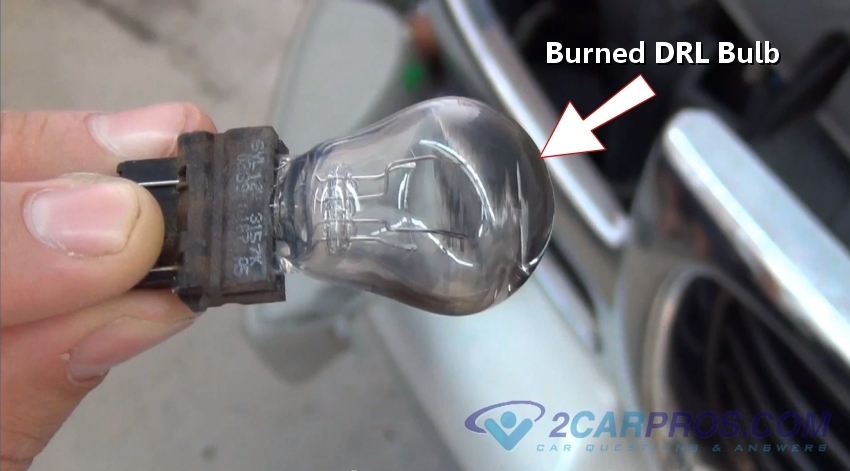
Step 8 - Examine the burned DRL bulb to confirm failure.

Burned Bulb
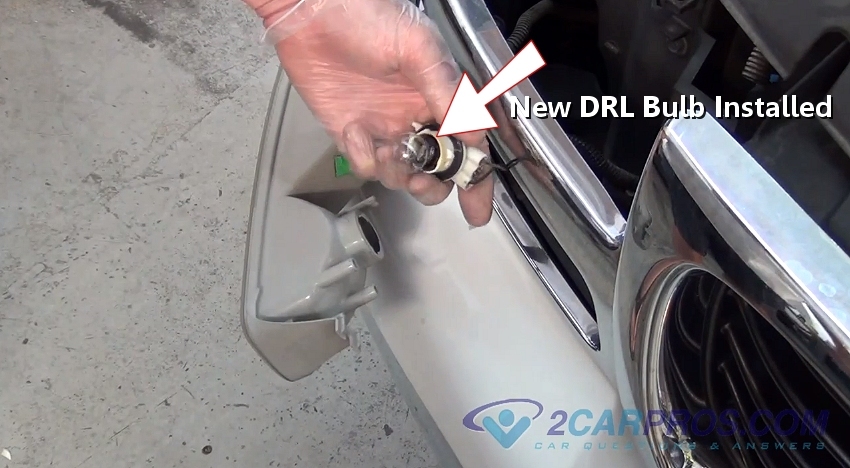
Step 9 - Match the new DRL bulb to the old bulb, gently push the new bulb into the socket.

New Bulb Installed
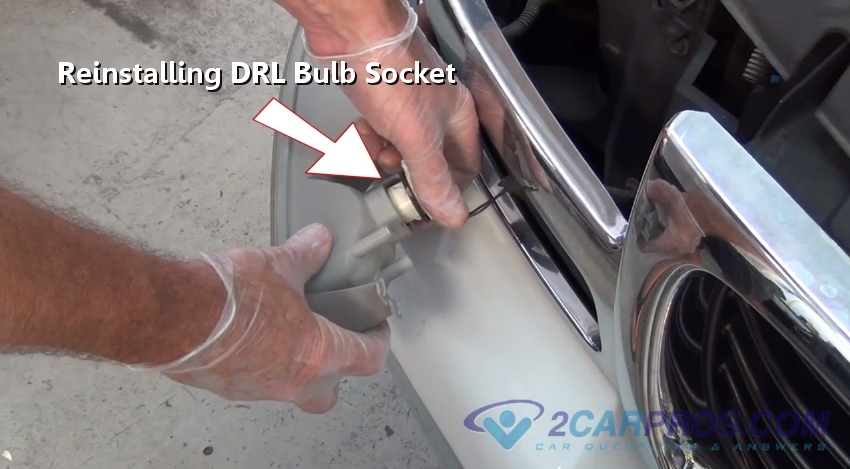
Step 10 - After the new bulb has been installed, insert the socket into the lens housing and turn clockwise to tighten.

Reinstalling DRL Bulb Socket
Removing DRL Bulb Socket
DRL Bulb Removal

Removing DRL Bulb From Socket
Burned Bulb
Step 9 - Match the new DRL bulb to the old bulb, gently push the new bulb into the socket.
New Bulb Installed
Reinstalling DRL Bulb Socket
Step 11 - Next, reinsert the DRL lens back into tits holder and secure the retainer clips or screws.
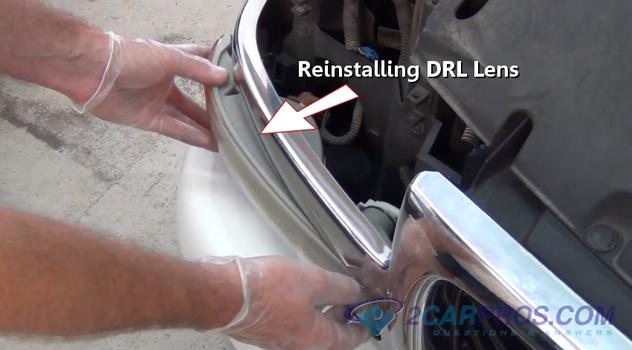
Reinstalling DRL Lens
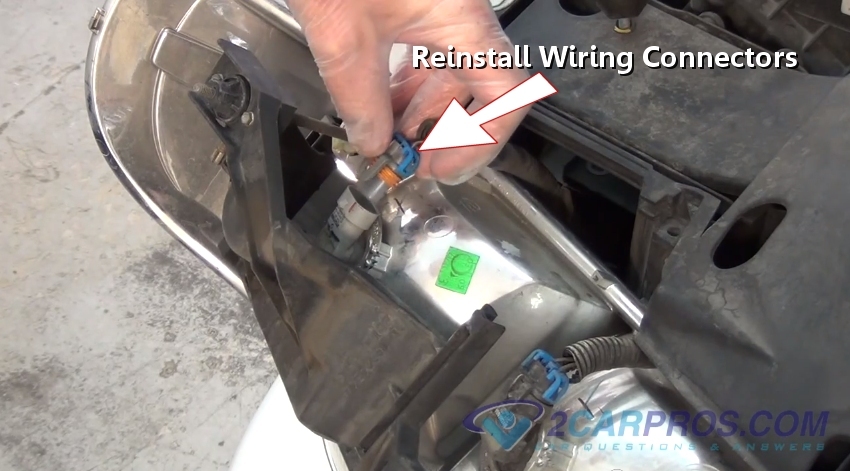
Step 12 - Once the DRL lens is in place, reconnect the headlight wiring connectors.

Reinstalling Wiring Connectors
Step 13 - Then, flip the headlight lens over and insert the lens into position.

Reinstalling Headlight Lens
Step 14 - After the headlight lens is in place, reinsert the retainer clips or screws.
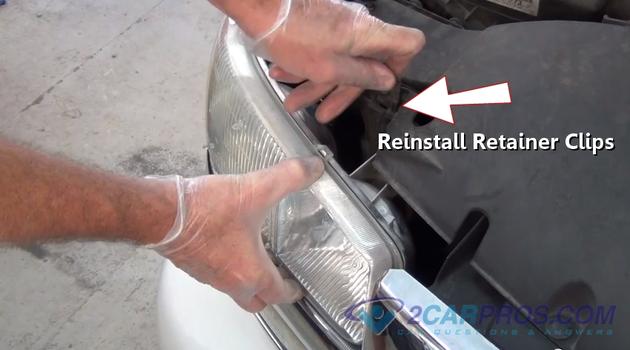
Installing Headlight Retainer Clips
Once the job is complete, start the engine to activate the DRL bulb to ensure proper operation.

Reinstalling DRL Lens
Reinstalling Wiring Connectors

Reinstalling Headlight Lens
Step 14 - After the headlight lens is in place, reinsert the retainer clips or screws.

Installing Headlight Retainer Clips


Comments
Post a Comment