How To Replace Serpentine Belt Tensioner
Serpentine Belt Tensioner Replacement
Procedure To Replace Serpentine Belt Tensioner
Helpful Information
Belt tensioners keep a constant pressure on the belt, when they wear they will allow the belt to roll off the tensioner causing belt failure. When the spring tension is lost in a failed tensioner it will cause squeaking especially under acceleration. A belt tensioner is a normal wear item and should be inspected regularly.
Tools and Supplies Needed
- Large pry bar
- Flashlight
- Protective eyewear and gloves
- Replace serpentine belt when replacing a tensioner.
- Once the belt is removed check the rotation of free wheeling pulleys such as the alternator to detect failed bearings.
Easy step by step repair guide on how to replace an automotive serpentine belt tensioner, configuration may vary, but the steps will be similar.
Difficulty Scale: 5 of 10
Begin with the vehicle on level ground, engine cold (off) in park with the emergency brake set.
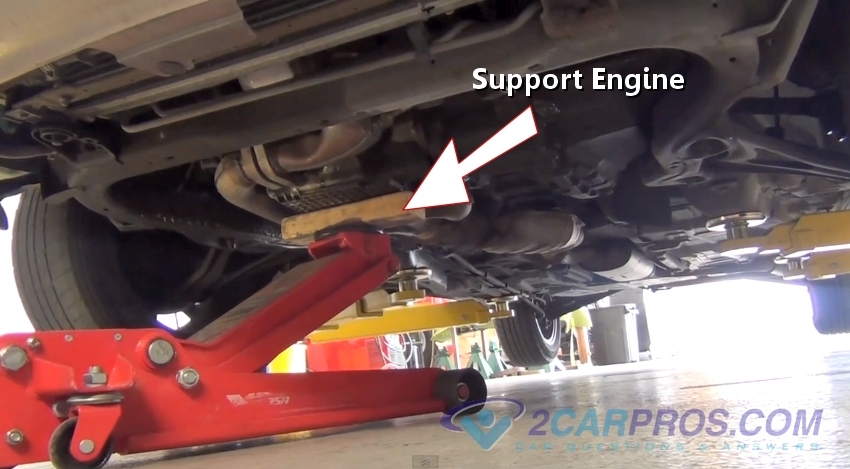
Step 1 - To begin, some front wheel drive vehicles need to have the engine supported before tensioner removal. Rear wheel drive vehicles can omit step 1 through 4.

Support Engine
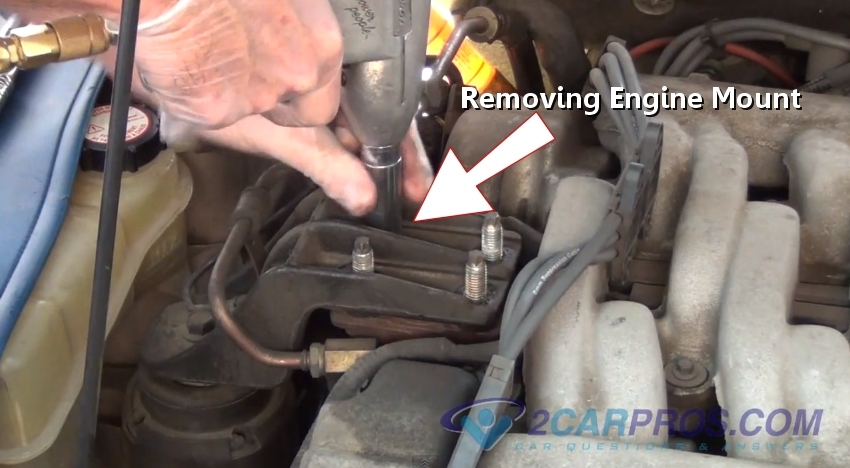
Step 2 - Once the engine is safely supported, remove engine mount retainer nuts.

Removing Engine Mount Nuts
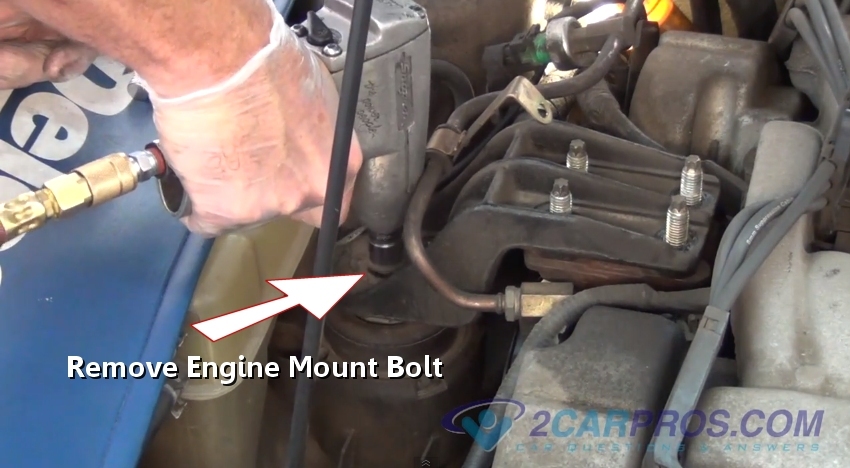
Step 3 - Next, remove the main engine mount bolts, the engine will become loose during this step.

Removing Engine Mount Bolt
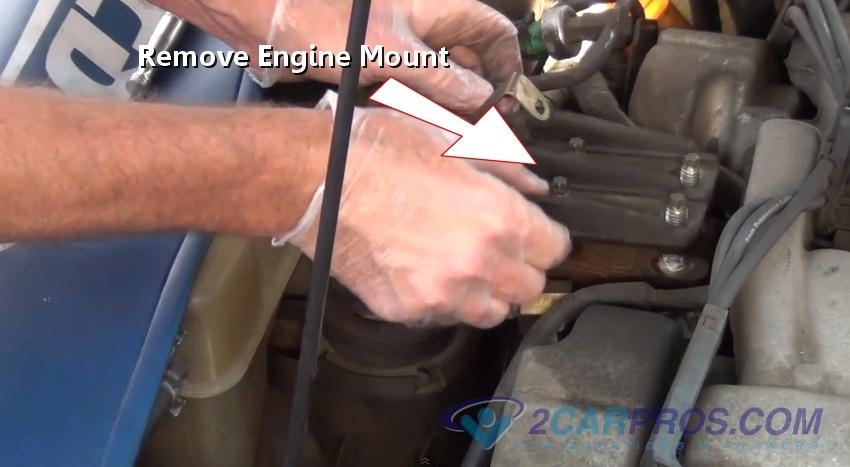
Step 4 - Once all mounting bolts and nuts have been removed the engine mount can be removed.

Removing Engine Mount
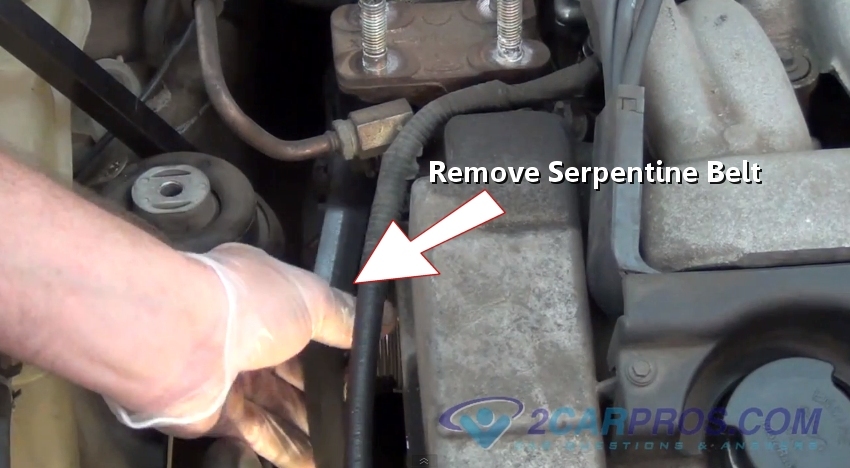
Step 5 - While releasing the belt tensioner with a ratchet or breaker bar, remove the serpentine belt.

Removing Serpentine Belt
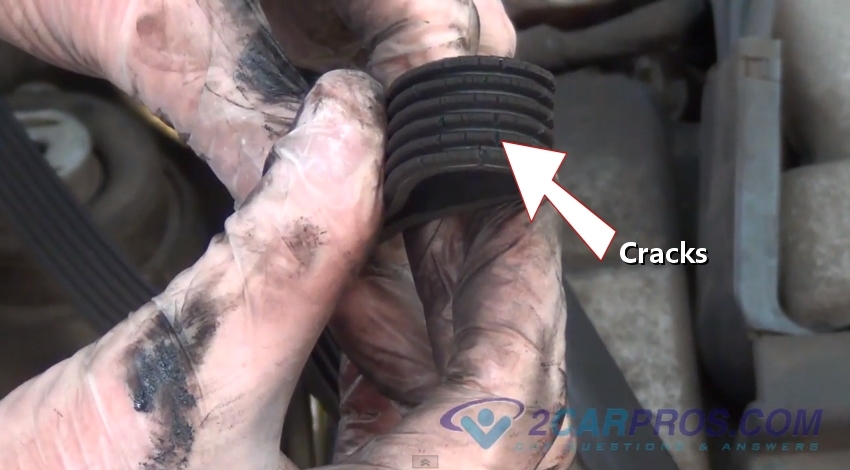
Step 6 - After the belt has been removed inspect the belt for cracks which indicate the belt should be replaced.

Cracked Serpentine Belt
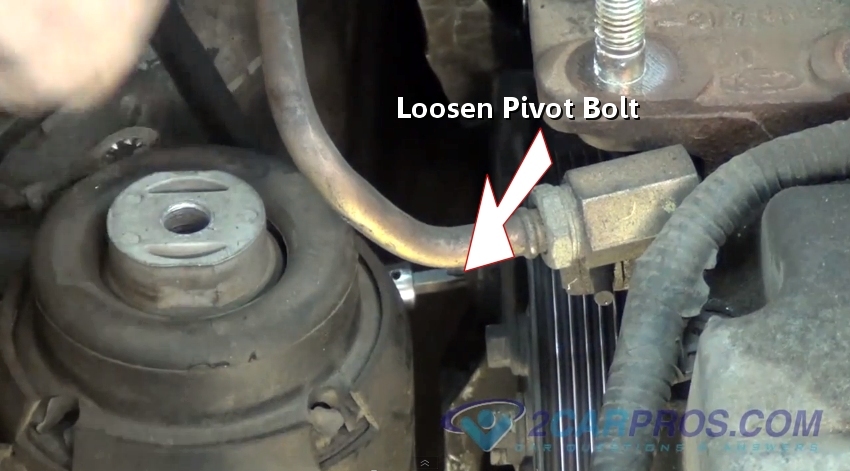
Step 7 - Next, loosen the tensioner pivot bolt using a ratchet.

Loosening Pivot Bolt
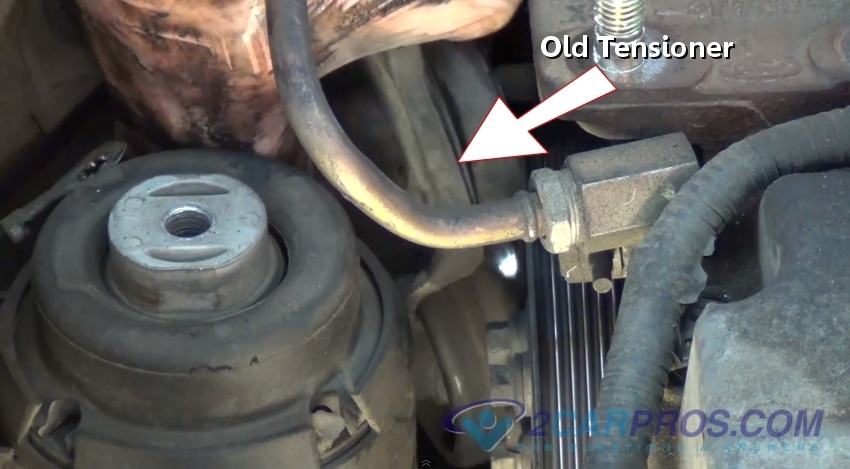
Step 8 - Once the pivot bolt has been removed, lift the tensioner from the engine compartment.

Removing Belt Tensioner
Step 9 - After the tensioner has been removed inspect worn areas.

Worn Serpentine Belt Tensioner
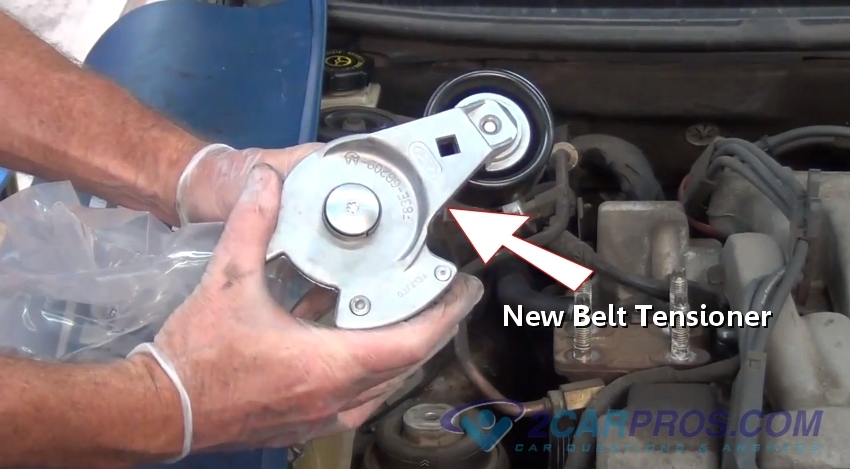
Step 10 - Compare the old serpentine belt tensioner to the new unit.

New Serpentine Belt Tensioner
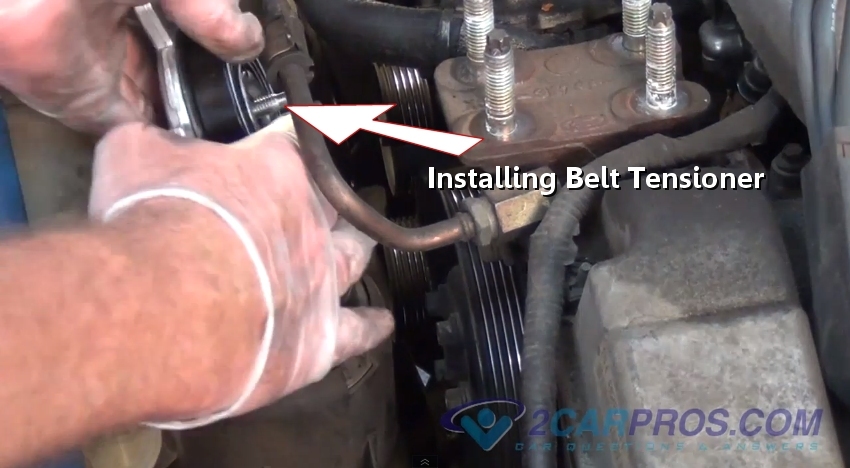
Step 11 - Next, install the new belt tensioner onto the engine.

Installing New Serpentine Belt Tensioner
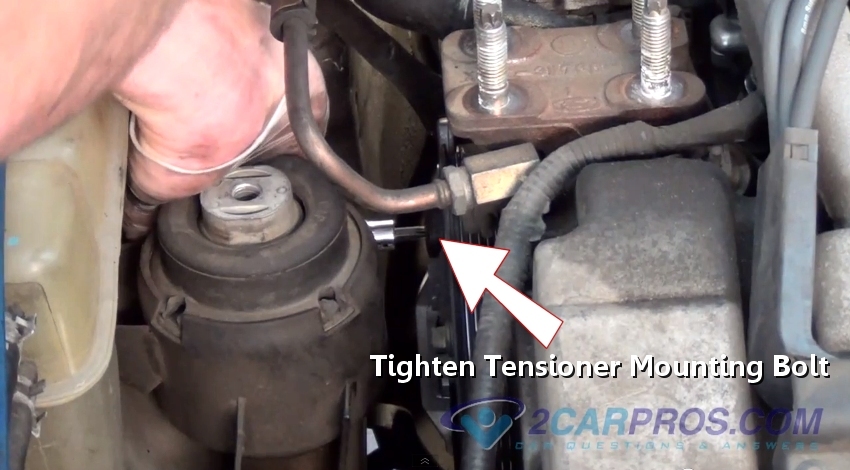
Step 12 - After the bolt has been installed, use a ratchet to tighten the mounting bolt.

Tightening Belt Tensioner
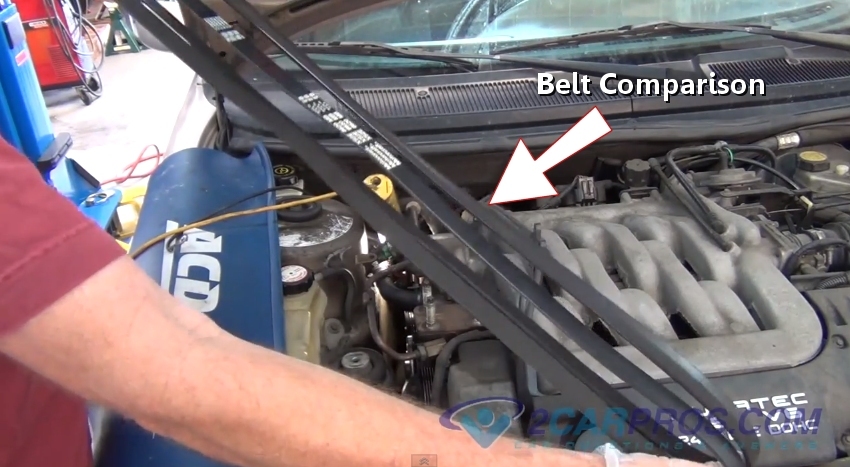
Step 13 - It's a good idea to replace the old serpentine belt with a new belt. Compare the old belt to the new belt before installation.

Belt Comparison
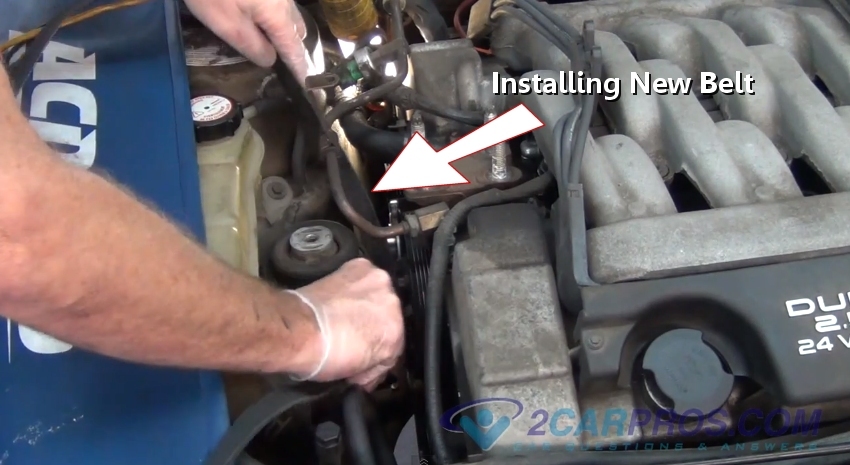
Step 14 - Once the comparison is complete, install the new serpentine belt.

Installing New Serpentine Belt
After the belt is installed, reattach the engine mounts by reversing the order in which it was removed. Inspect the belt after installation is complete to ensure all routing on pulleys are correct.
Support Engine
Removing Engine Mount Nuts
Step 3 - Next, remove the main engine mount bolts, the engine will become loose during this step.
Removing Engine Mount Bolt
Removing Engine Mount
Removing Serpentine Belt
Cracked Serpentine Belt
Loosening Pivot Bolt
Removing Belt Tensioner

Worn Serpentine Belt Tensioner
New Serpentine Belt Tensioner
Installing New Serpentine Belt Tensioner
Tightening Belt Tensioner
Belt Comparison
Installing New Serpentine Belt


Comments
Post a Comment