How To Replace Shock Absorber
Shock Absorber Replacement
Easy step by step instructions on how to replace an automotive shock absorber, this information pertains most vehicles.
Difficulty Scale: 4 of 10
Helpful Information
A shock is a normal maintenance item which requires replacement at regular intervals and can wear due to road conditions. There are many options when choosing a replacement shock or strut, its recommended to use mid to upper end replacement items to avoid premature failure. Most better grade shocks are gas filled to further improve the ride characteristics. When a shock absorber fails, a vehicle will continue to oscillate after hitting a bump and will cause handling inconsistencies.
Tools and Supplies Needed
- Socket set with ratchet including deep well
- Wrench set
- Crescent wrench
- Shop towels
- Replacement shocks
- Hydraulic jack
- Jack stands
Begin with the vehicle on level ground, engine cold (off) in park with the emergency brake set, lift and support vehicle safely while using jack stands.
Step 1 - Before removing a shock absorber its important to know that a shock limits the downward travel of the suspension. Start by relieving the tension of the suspension by positioning a jack under the lower ball joint or control arm while raising the jack upward slightly. (Note: Not performing this step can make shock replacement difficult.)

Lower Ball Joint
Step 2 - Once the suspension tension has been relieved, remove the lower shock mounting bolt.

Removing Lower Shock Mounting Bolt
Step 3 - A plastic hammer or block of wood and a regular hammer can help push the bolt through if it can't be removed by hand.

Plastic Hammer
Step 4 - Use WD40 or equivalent to lubricate the shock top mounting nut.

Lubricate Top Shock Nut
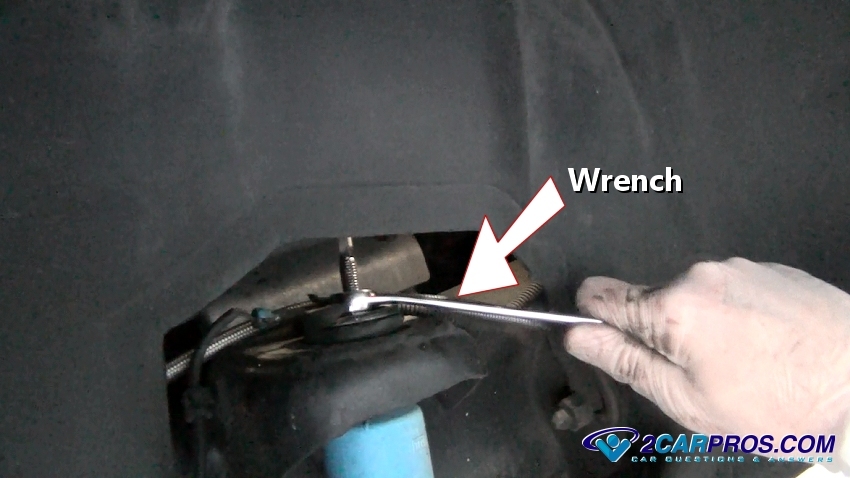
Step 5 - Slide a normal wrench over the top of the shock stud and place it securely onto the mounting nut.

Wrench
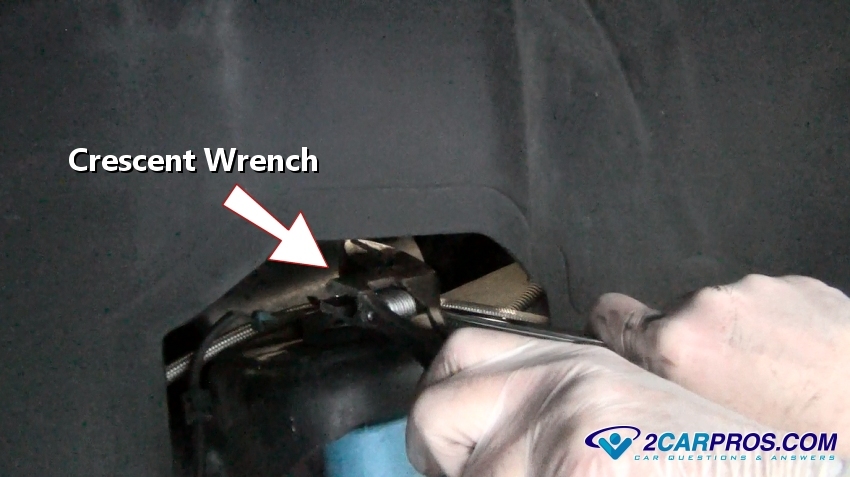
Step 6 - Adjust a crescent wrench to hold the top of the shock stud to prevent the shaft from turning while using the wrench.

Crescent Wrench
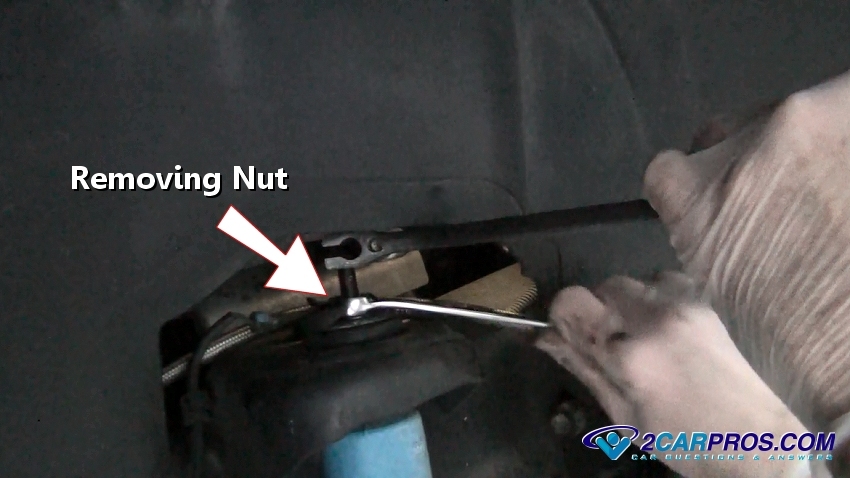
Step 7 - While holding the shock shaft with the crescent wrench, turn the nut counterclockwise to loosen.

Removing Upper Shock Mounting Nut
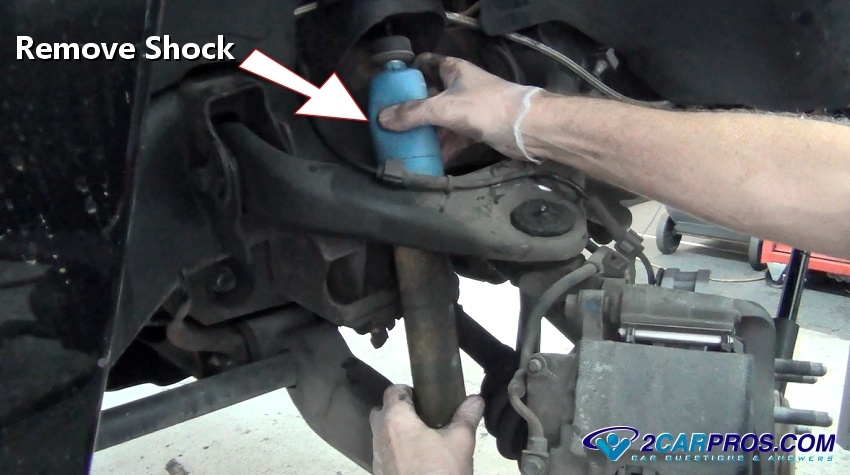
Step 8 - Once all mounting nuts and bolts have been removed grasp the shock and remove it from the suspension.

Removing Shock
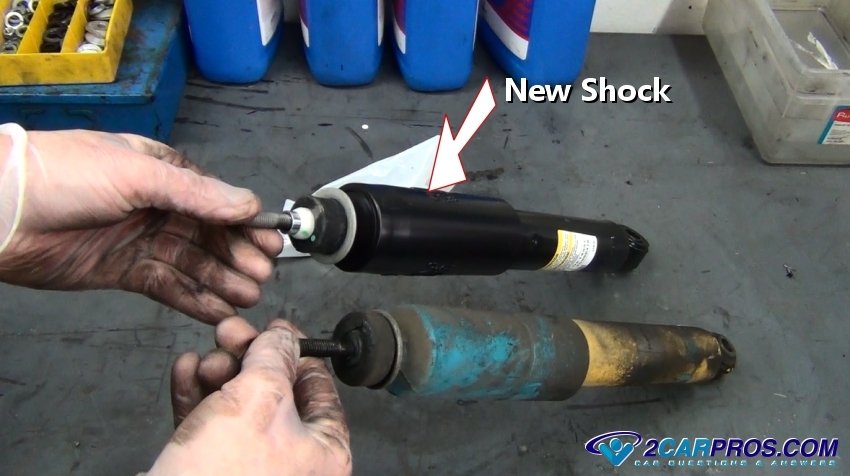
Step 9 - After the shock has been removed, match the old shock to the new unit to ensure a proper installation. (Note: Confirm the top insulator (bushing) is installed correctly.)

New Shock
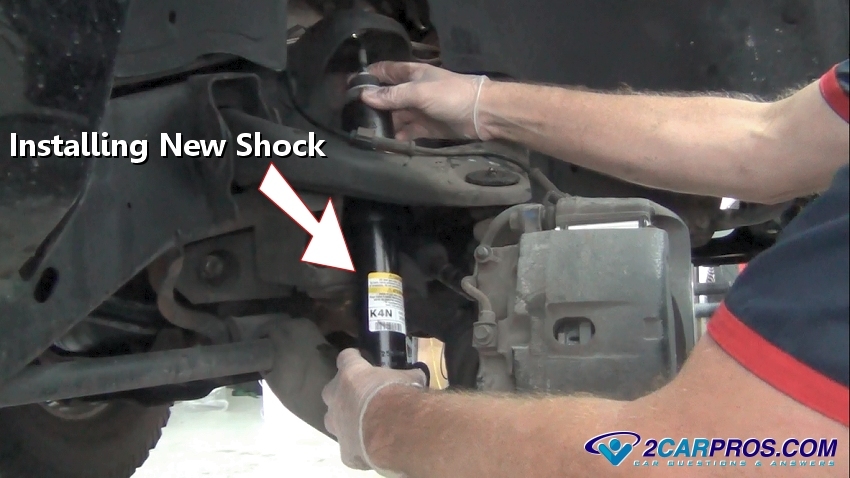
Step 10 - After the new shock has been matched to the old unit, gently install the new shock into the upper mounting bracket while confirming the upper isolator position.

Installing New Shock
Step 11 - While holding the shock in place, install the lower mounting bolt into place.

Reinstalling Lower Bolt
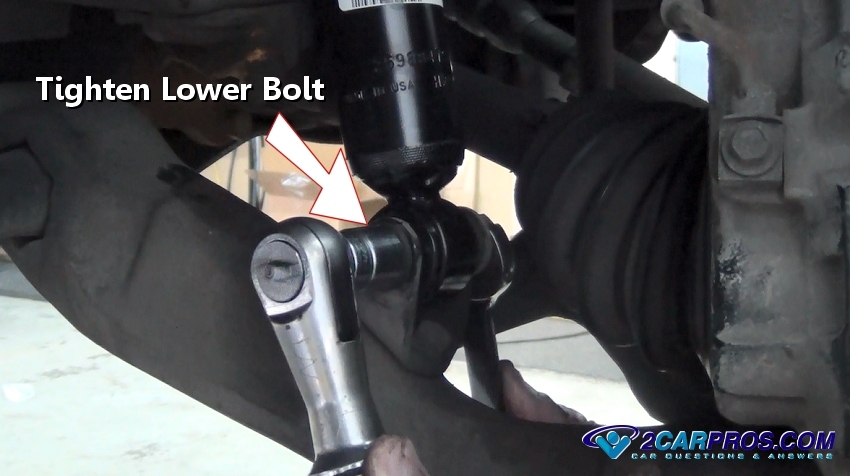
Step 12 - Once installed, use a wrench to hold the nut tight while turning the bolt clockwise until tight.

Tighten Lower Shock Bolt
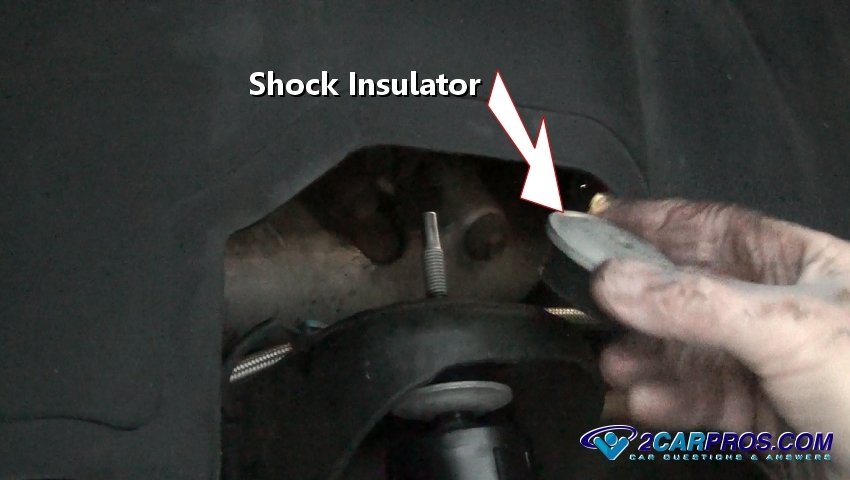
Step 13 - After the shock is positioned, install the upper part of the shock insulator set. This step is important for the shock to operate without abnormal noises, ie. popping, rattling and banging.

Shock Insulator
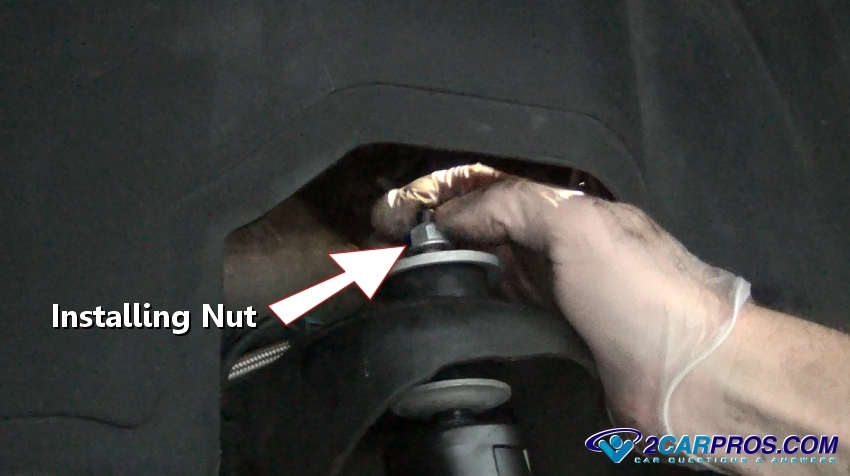
Step 14 - When installing the upper nut avoid cross threading by winding the nut on by hand.

Installing Shock Upper Nut
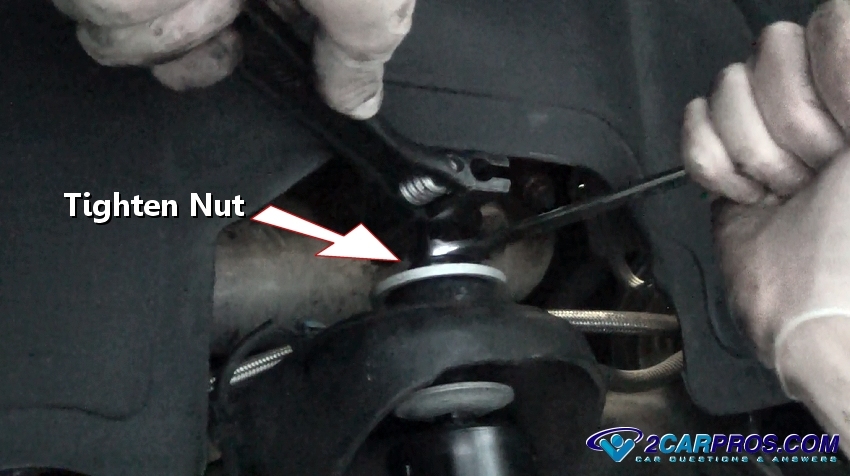
Step 15 - Use a crescent wrench to hold the shaft from turning while tightening the upper mounting nut. ( Note: This nut needs to be fairly tight to load the insulator correctly.)

Tighten Upper Shock Nut
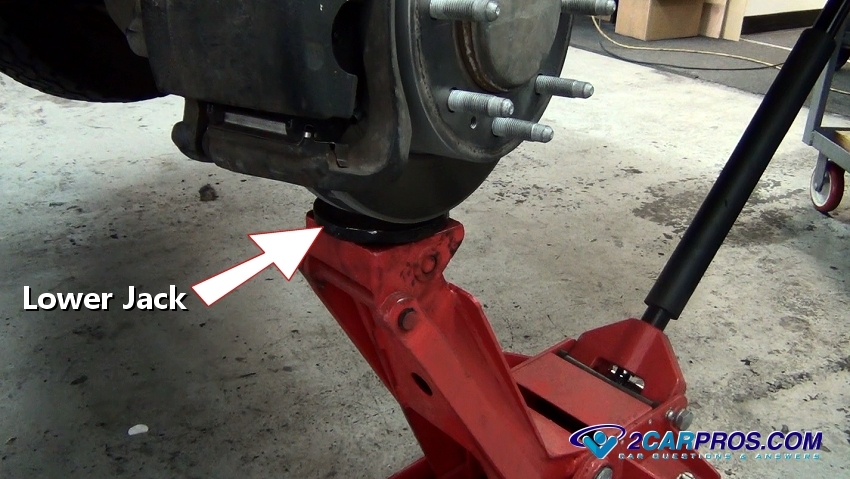
Step 16 - After all mounting bolts and nuts are tight, lower the hydraulic jack.

Lower Hydraulic Jack
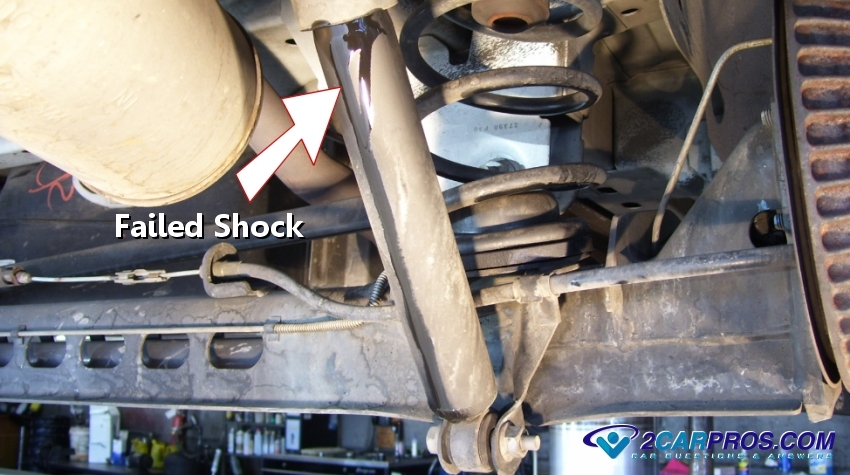
Step 17 - Anytime oil is leaking from a shock or strut it has failed and replacement is required.

Failed Shock
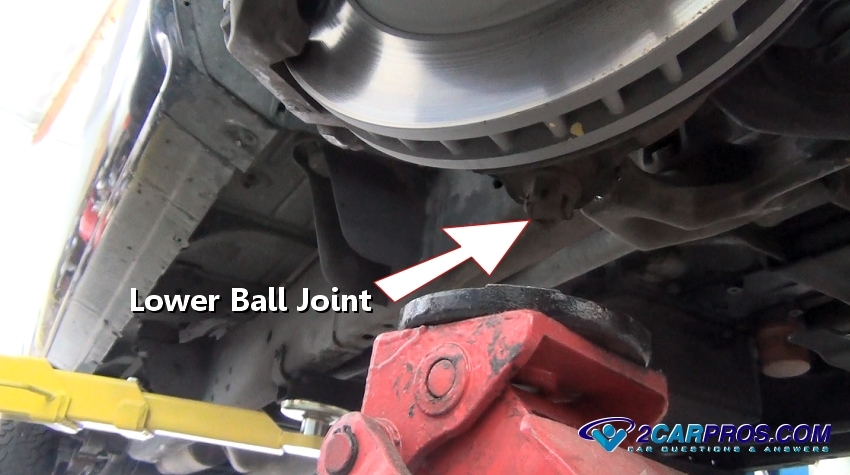
Lower Ball Joint
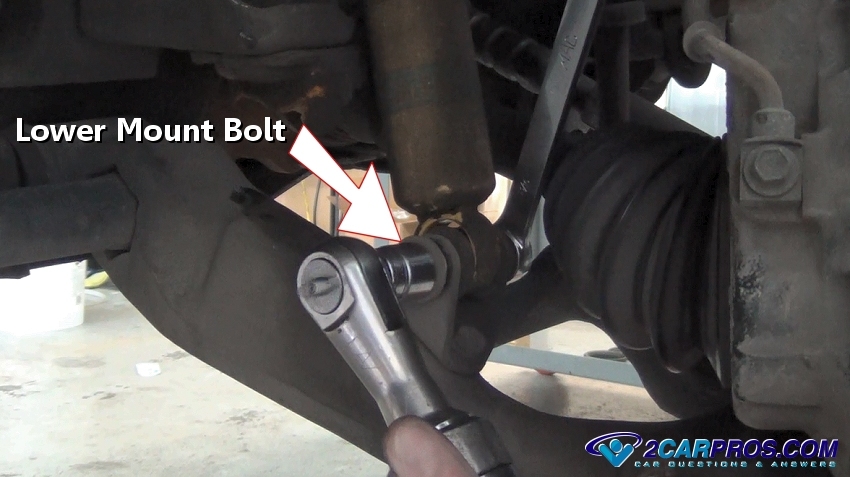
Removing Lower Shock Mounting Bolt
Step 3 - A plastic hammer or block of wood and a regular hammer can help push the bolt through if it can't be removed by hand.
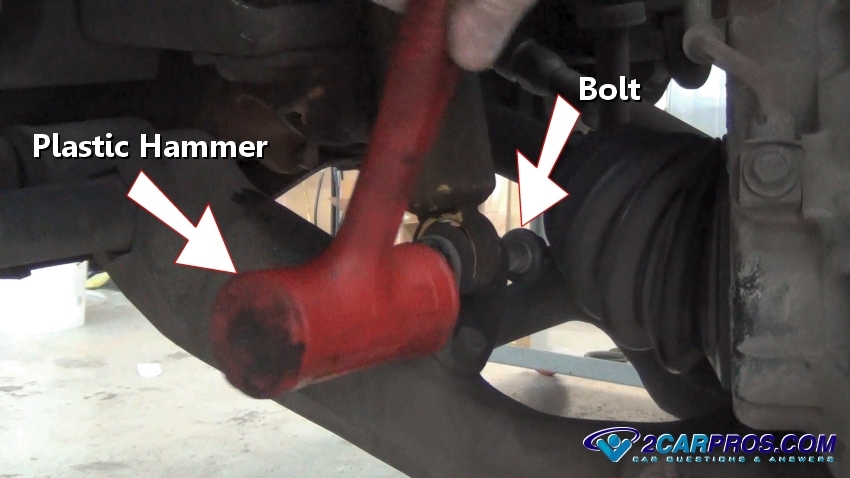
Plastic Hammer
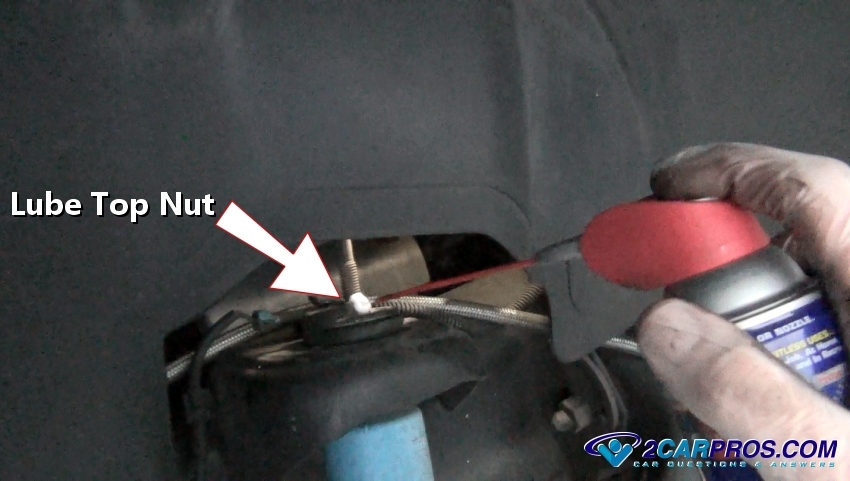
Lubricate Top Shock Nut
Wrench
Crescent Wrench
Removing Upper Shock Mounting Nut
Removing Shock
New Shock
Installing New Shock

Reinstalling Lower Bolt
Tighten Lower Shock Bolt
Shock Insulator
Installing Shock Upper Nut
Tighten Upper Shock Nut
Lower Hydraulic Jack
Failed Shock


Comments
Post a Comment