How To Replace Tie Rod End
Tie Rod End Replacement
Easy step by step guide on how to replace an automotive steering tie rod end, this information pertains to most vehicles.
Difficulty Scale: 5 of 10
Helpful Information
A tie rod end is normal maintenance item and must be replaced when worn. This component can cause front end noise and create steering wheel vibrations at highway speeds.
Begin with the vehicle on level ground, safely lifted using jack stands, engine off (cold) with the emergency brake set.
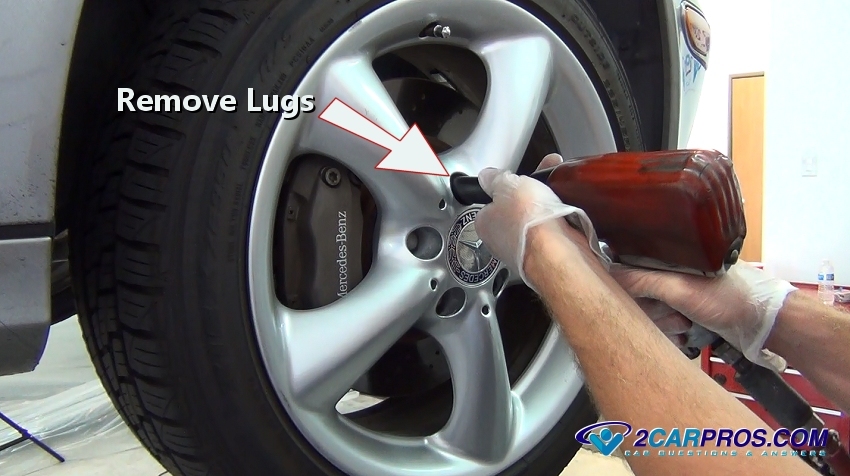
Step 1 - Once the vehicle is safely lifted, remove the lug nuts, if a manual wrench is used break the lugs loose while the vehicle is still on the ground, it will hold the tire from turning.

Removing Lug Nuts
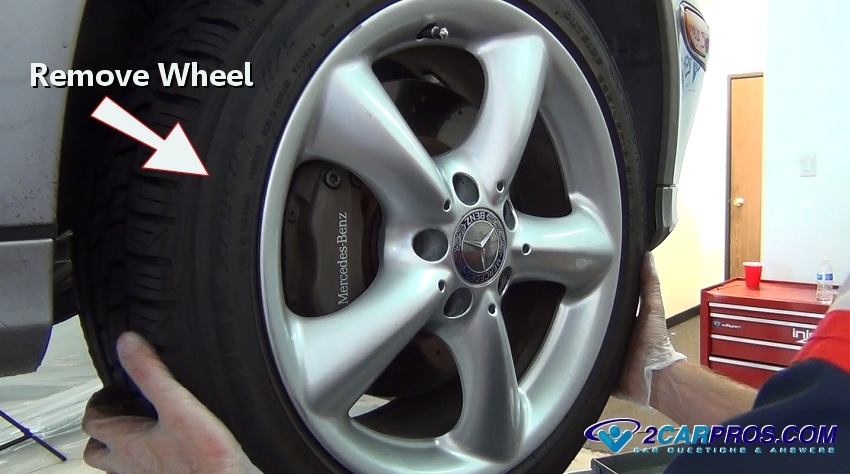
Step 2 - After the lugs have been removed, firmly grasp the tire and remove it.

Removing Wheel
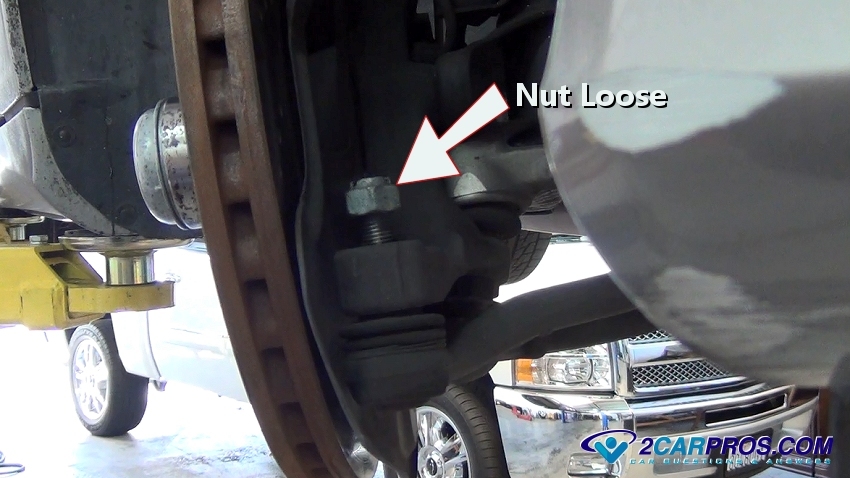
Step 3 - Use a wrench or air impact to loosen the tie rod nut at the spindle, leave the nut "ON" to protect the threads and hold it in place during removal.

Loosen Tie Rod End Nut
Step 4 - Because the tie rod is being replaced it doesn't matter if the threads get damaged while removing, but its good practice while working with steering and suspension parts.

Tie Rod Nut Loose
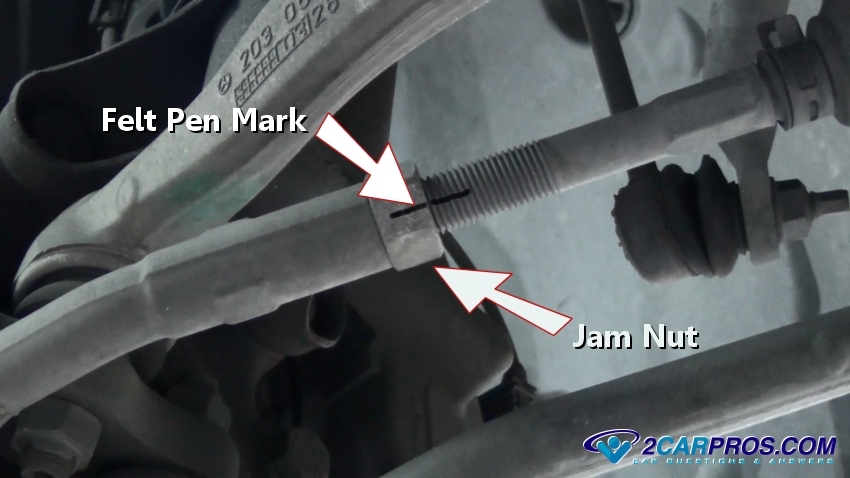
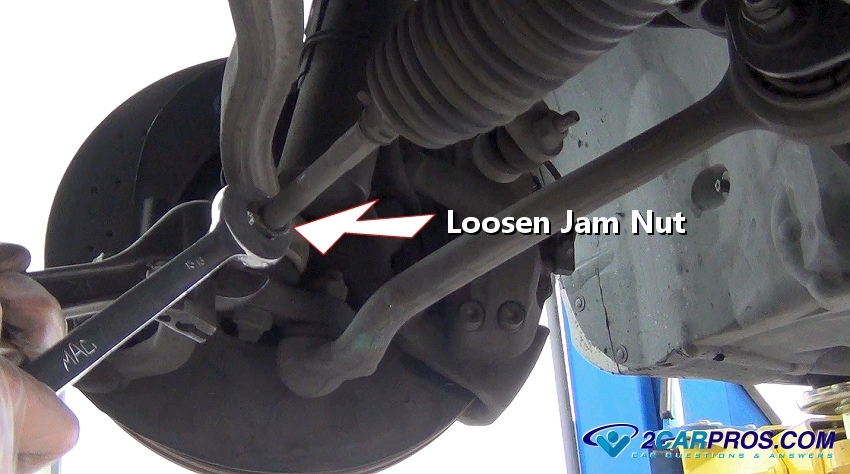
Step 5 - A jam nut is used to hold the tie rod in place and connected to the output rods of the rack and pinion or inner tie rods, use a felt pen to mark the position of the jam nut.

Marking Jam Nut Position
Step 6 - Use a large crescent wrench to back up the wrench on the jam nut and loosen. (Note: Some threads are reversed, tightening will be loosening.)

Loosen Jam Nut
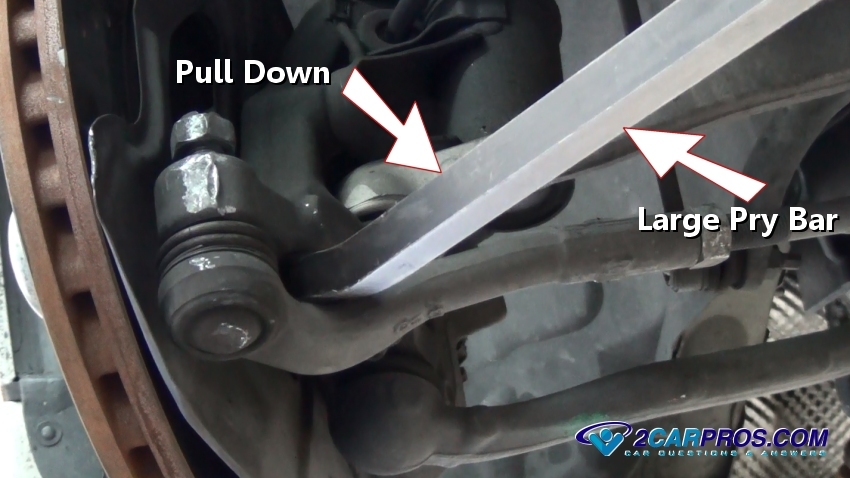
Step 7 - Use a large pry bar to apply force and pressure downward.

Apply Pressure to Tie Rod Taper Fit
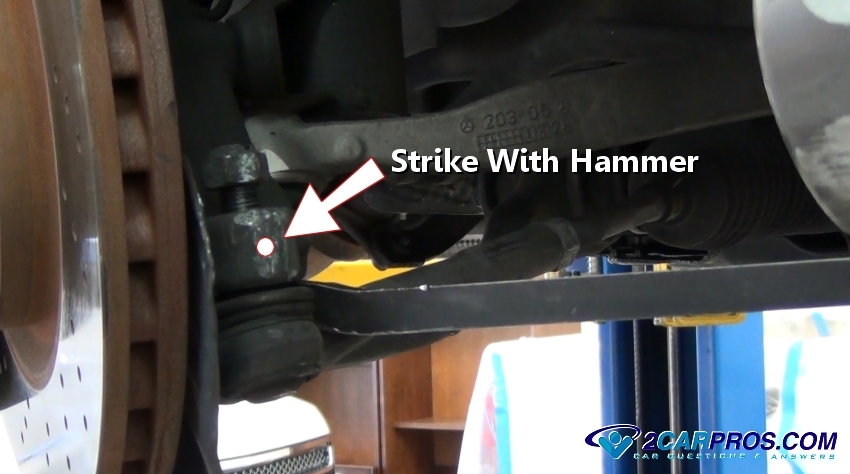
Step 8 - While holding downward pressure on the tie rod end, use a hammer and strike the spindle bulk head to "shock" the taper fit loose.

Hammer Spindle Bulk Head
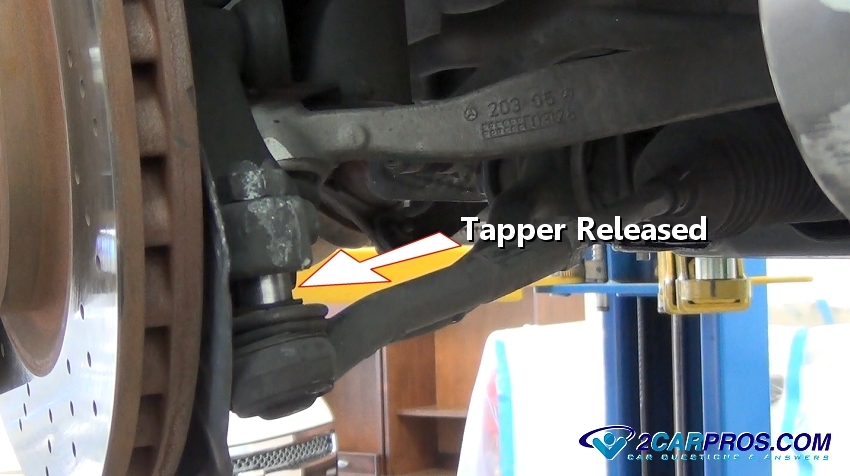
Step 9 - When the taper fit is released it will drop and show the tapered rod.

Tapper Released
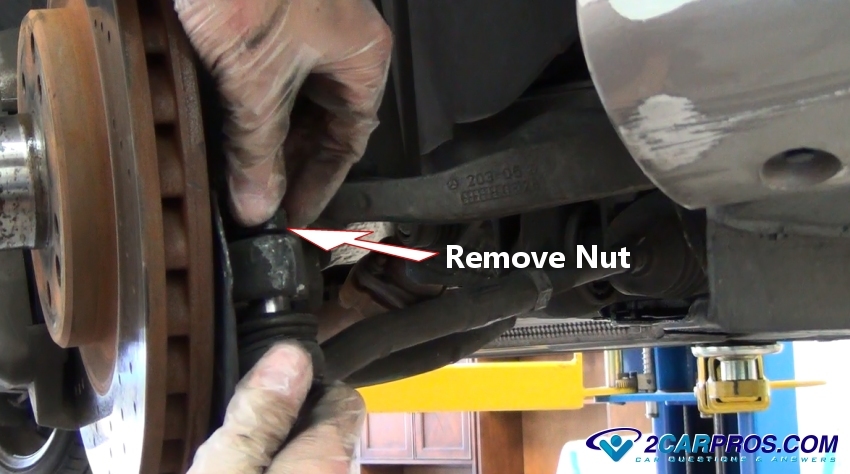
Step 10 - Now, fully remove the tie rod nut.

Remove Nut
Step 11 - Once the nut has been removed the tie rod will become free and ready for removal, grasp the tie rod and turn either clockwise or counterclockwise depending on right or left hand threads.

Remove Tie Rod End
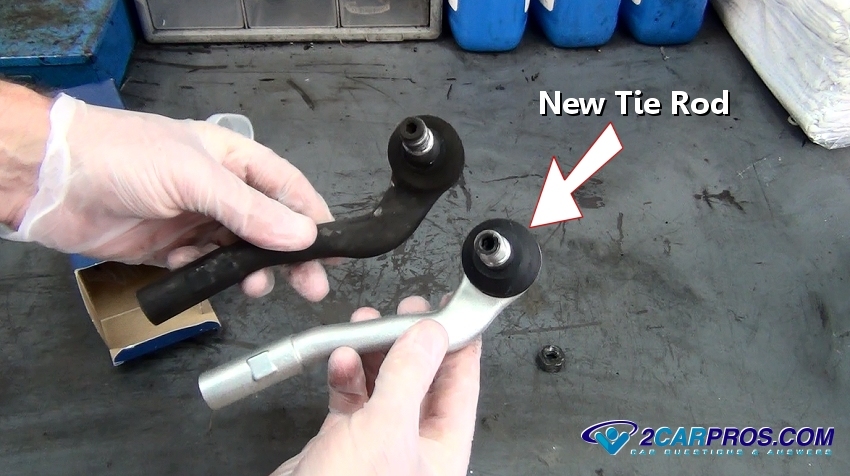
Step 12 - Match the old tie rod to the new unit, they should be identical.

New Tie Rod
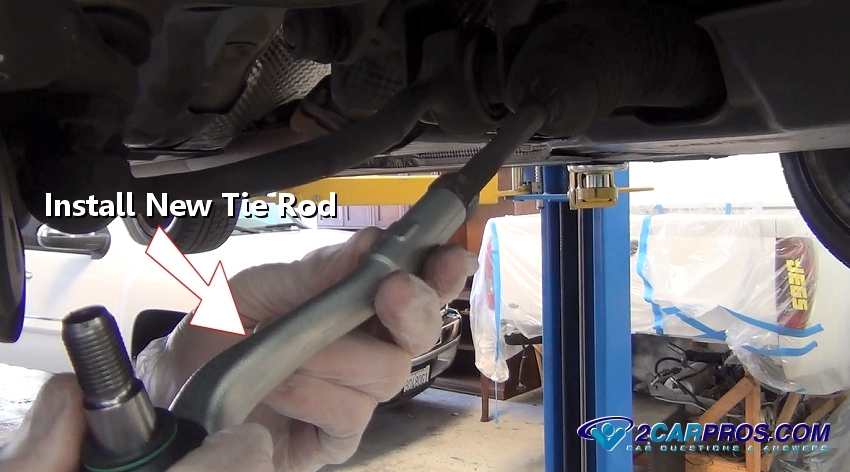
Step 13 - Carefully wind the new tie rod into place stopping when the jam nut has been contacted, be sure to keep alignment of the jam nut in place.

Install New Tie Rod
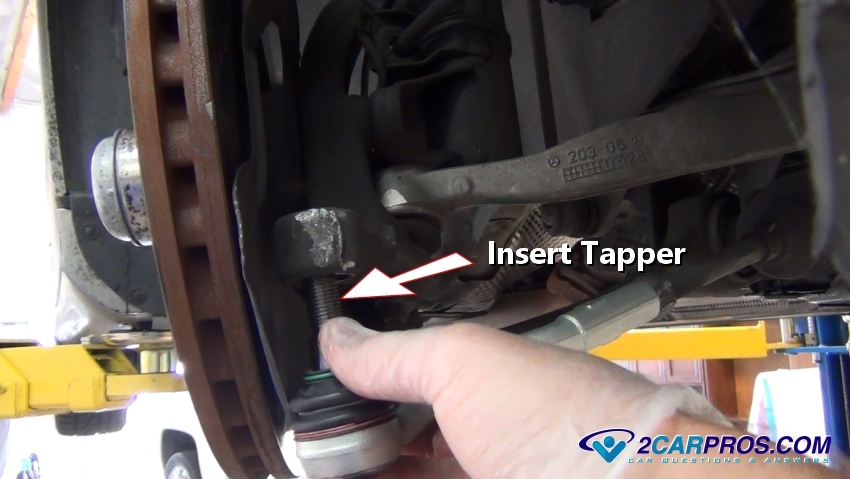
Step 14 - Insert the tapered part of the tie rod end into the spindle bulk head.

Insert Tapper
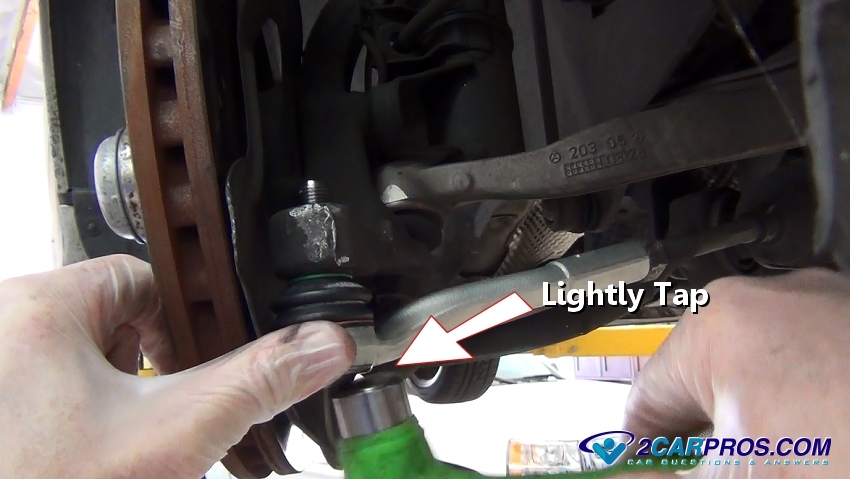
Step 15 - Use a small hammer, tap the tie rod end into place while setting the tie rod taper, this action will stop the stud from turning while tightening the nut.

Lightly Tap
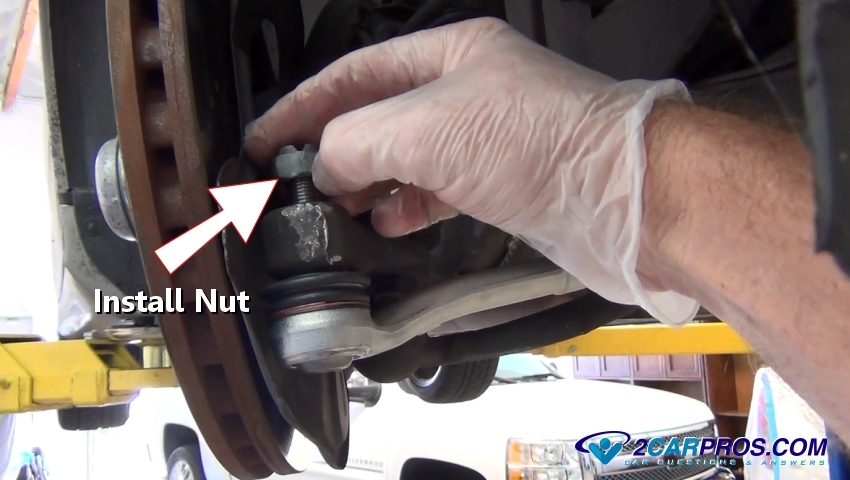
Step 16 - Thread the nut on by hand to avoid cross threading.

Install Nut
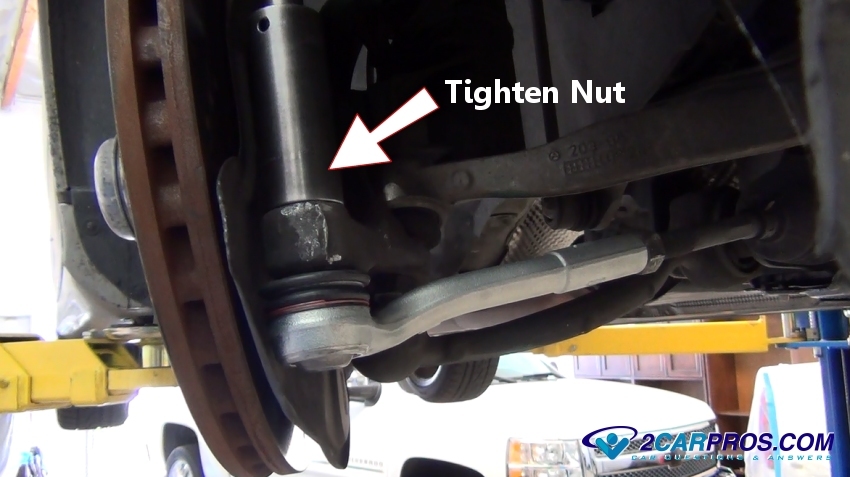
Step 17 - Tighten tie rod end nut securely.

Tighten Nut
Step 18 - Snug and tighten the jam nut against the tie rod end.

Tighten Jam Nut
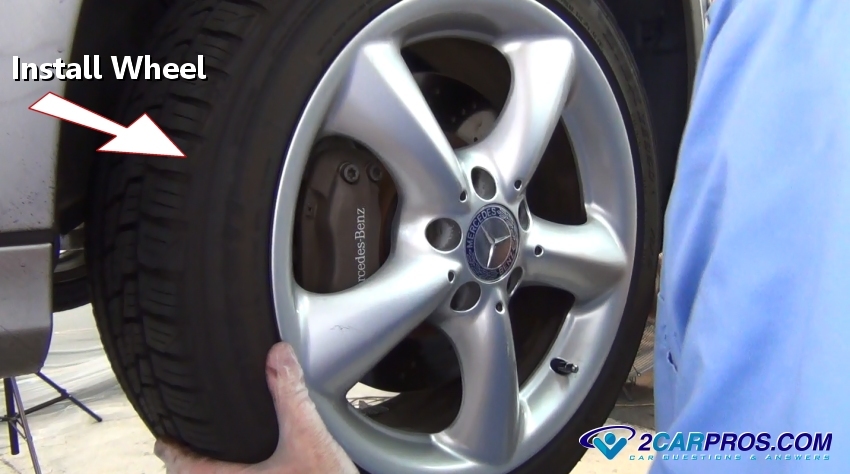
Step 19 - Reinstall tire while threading the lug nuts on by hand to avoid cross threading.

Install Wheel
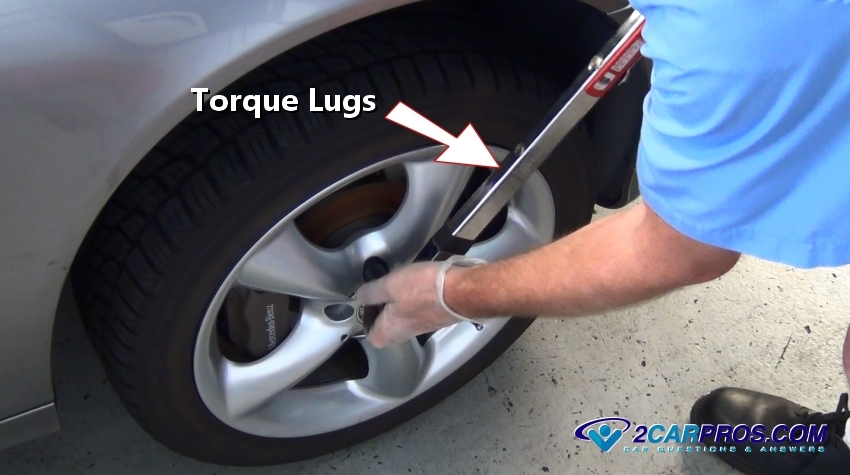
Step 20 - Use a torque wrench to tighten the wheel lugs to manufactures specifications (about 75 pounds) in a star pattern. The front end should be realigned after the job is complete and test driven.

Torque Lug Nuts
Removing Lug Nuts
Removing Wheel
Step 3 - Use a wrench or air impact to loosen the tie rod nut at the spindle, leave the nut "ON" to protect the threads and hold it in place during removal.

Loosen Tie Rod End Nut
Tie Rod Nut Loose
Marking Jam Nut Position
Loosen Jam Nut
Apply Pressure to Tie Rod Taper Fit
Hammer Spindle Bulk Head
Tapper Released
Remove Nut

Remove Tie Rod End
New Tie Rod
Install New Tie Rod
Insert Tapper
Lightly Tap
Install Nut
Tighten Nut

Tighten Jam Nut
Install Wheel
Torque Lug Nuts


Comments
Post a Comment