How To Test Blown Head Gasket
Head Gasket Blown Test
Testing Head Gasket
Helpful Information
When a head gasket is replaced, re-machine the cylinder head to ensure a fresh square surface in which to seal against. Use a torque wrench to seat the head into place, while adhering to manufacturers torque specifications.
Step by step guide on how to test automotive engine head gaskets, this information pertains to most cars.
Difficulty Scale: 4 of 10
Begin with the vehicle parked on level ground, engine cold, with the parking brake set. There are many ways a head gasket can fail which causes a variety of symptoms.
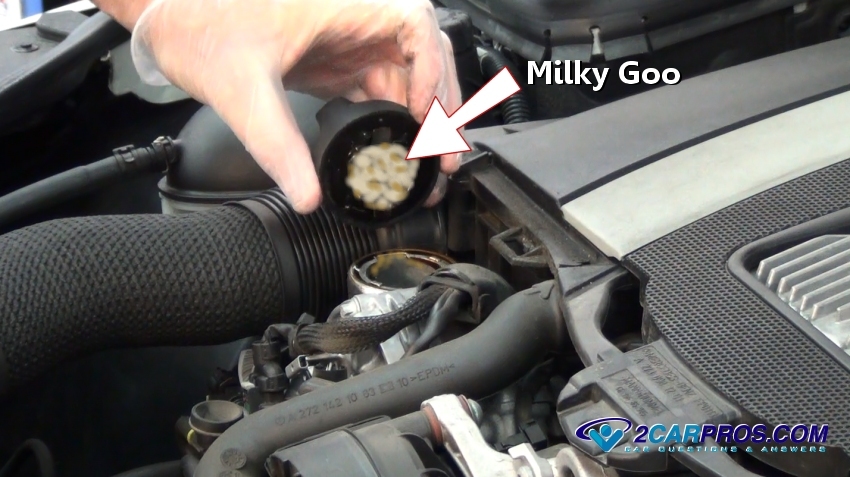
Step 1 - With the engine cold, remove the oil filler cap to inspect for a brown milky goo that has collected on the bottom of the cap, this is an indication coolant is leaking into the oil. Though this leakage could be generated by a cracked cylinder head, block or leaking intake manifold (in some cases), the head gasket is more prone to this kind of failure. (Note: some moisture maybe present which is normal.)

Milky Goo
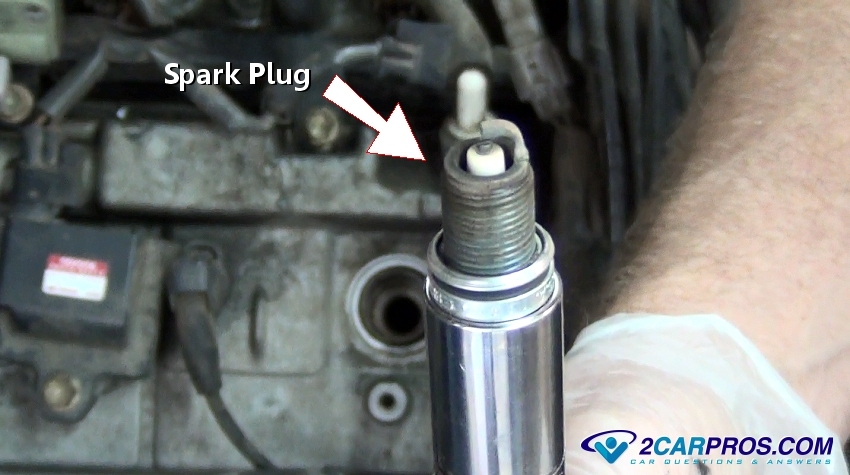
Step 2 - Head gaskets are designed to control engine coolant in and around the engine block and cylinder head(s) and when fail, can cause a leak which can be found by removing all spark plugs (continued below). Learn More

Spark Plugs Removed
Pressurize the cooling system and crank the engine over while observing the spark plug holes, if coolant is present at any one of the holes the head gasket is blown. Its a good idea to disable the ignition or fuel system fuse before testing to avoid fire. (Note: If the engine is warm it can leave residual pressure in system which can aid the test without using the pressure tester.)Learn More

Radiator Pressurized
Step 3 - If the head gasket has failed and is allowing combustion gases into the cooling system they can be detected by removing the radiator cap and observing the liquid while checking for a continuous stream of bubbles.

Radiator Bubbles
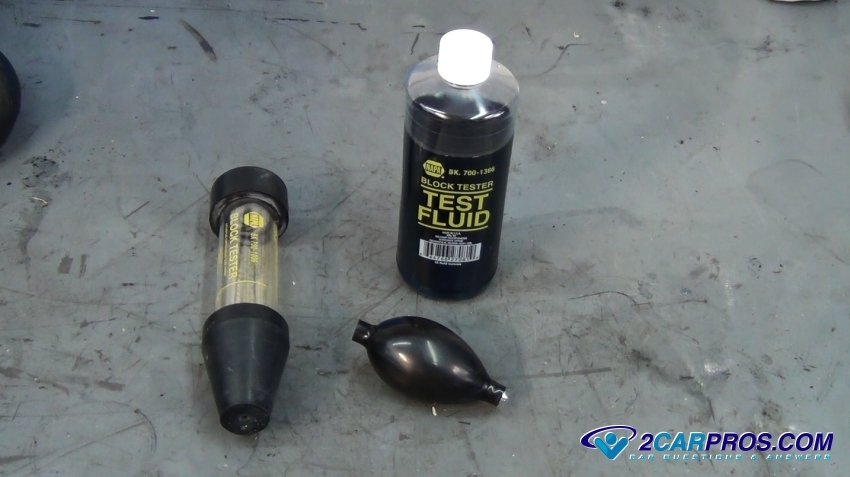
Step 4 - To confirm exhaust gases inside the cooling system, (gasket failure, cracked head or block) use a chemical tester. Drain a small amount of coolant from the radiator as to not contaminate the test.

Chemical Tester
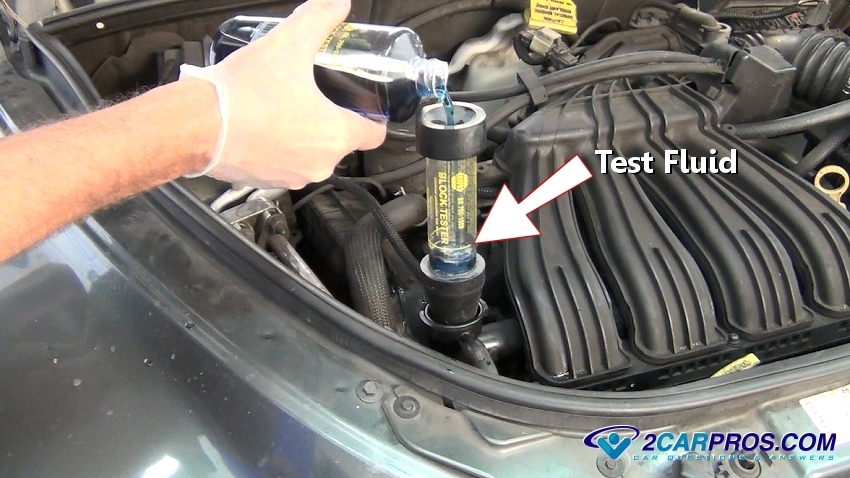
Step 5 - Once the coolant has been drained down slightly, insert the test tube and add test fluid to the full line.

Tester Installed w/Fluid
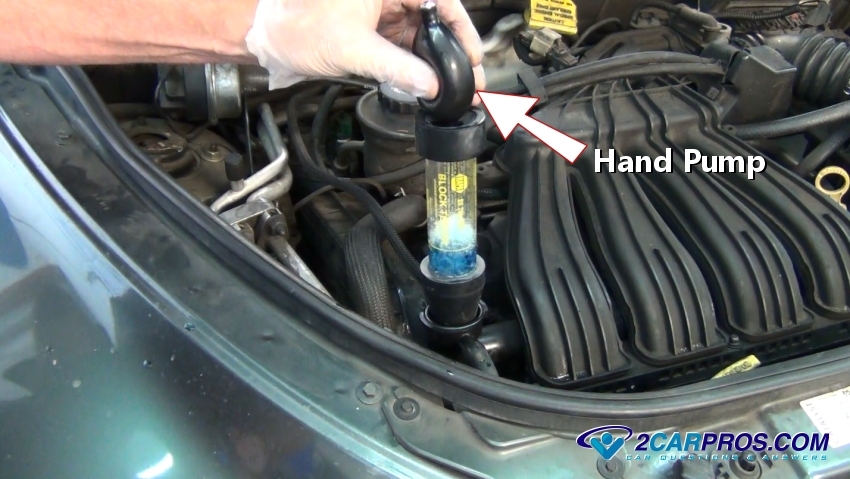
Step 6 - Next, start he engine while using the hand pump to draw air inside the radiator through the tester.

Hand Pump
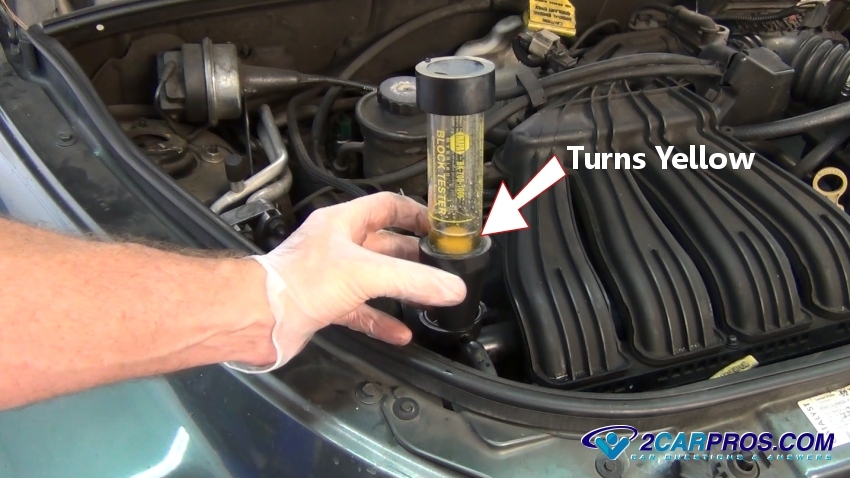
Step 7 - While testing the radiator air, the test fluid will turn yellow if exhaust gases are present, or remain blue indicating the opposite. (Note: Because the combustion process is not 100% efficient, small consistent pockets of fuel enriched air (not exhaust) exists inside the combustion chamber after ignition, this fact can sometimes (rare) cause a false positive in this test result.)

Test Fluid Turned Yellow
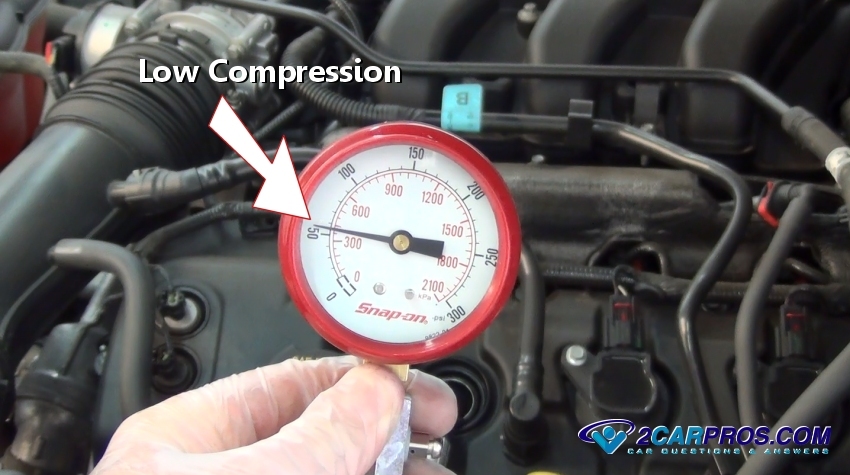
Step 8 - A head gasket can fail between cylinders causing a consistent two cylinder misfire, to check for this condition remove each cylinder's spark plugs while conducting a compression test. If two readings are consistently low in neighboring cylinders, this can be an indication of failure between these cylinders. Learn More

Low Compression
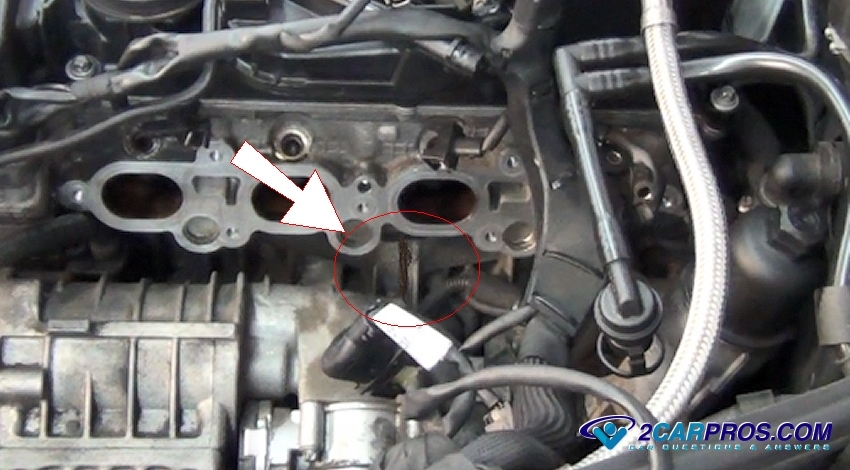
Step 9 - Some engines are designed with oil pressure passing though the engine block and into the cylinder head, via the head gasket, when the gasket fails it can cause an engine leak which is detectable by inspection. Learn More

Head Gasket Oil Leak
Milky Goo
Spark Plugs Removed

Radiator Pressurized

Radiator Bubbles
Chemical Tester
Tester Installed w/Fluid
Hand Pump
Test Fluid Turned Yellow
Low Compression
Head Gasket Oil Leak


Comments
Post a Comment