How To Test Car Battery
Battery Test
Testing Car Battery
Helpful Information
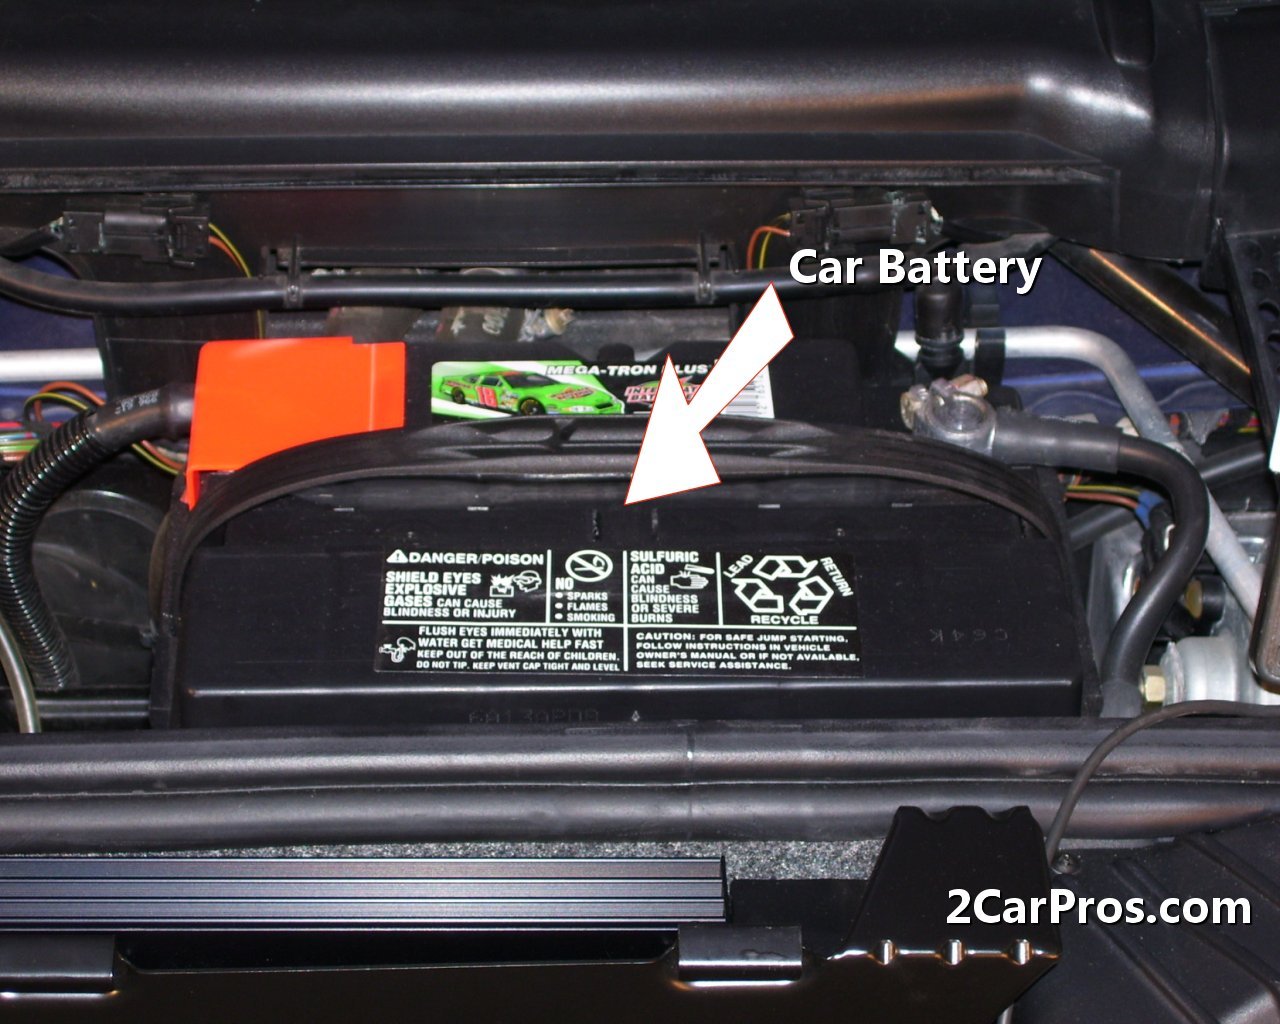
A common problem with a car battery is low voltage. As a battery ages it loses the ability to store electricity resulting in an insufficient flow of electrical energy to the starter. Most starters are designed to operate on a high amperage 12 volt system. When a starter is subjected to low voltage or amperage (flow) it will cause the starter to engage and disengage rapidly producing the machine gun like sound. To fix this problem a battery inspection or replacement is needed.
There are two main causes a battery will not perform as it should, either the alternator has failed allowing the battery's state of charge to become weak, or the battery has failed internally and replacement is required. To check the alternator the engine must be running, the battery must be charged or jump started to check the charging system. If the alternator output test is okay, the battery is bad and must be replaced, if the charge light indicator is not "ON" the battery is most likely the culprit.
Never connect anything across battery terminals to create a short, this can cause the battery to explode. A car battery is a high amperage-low voltage unit that can deliver a high amount of amperage very quickly and can cause burns and possible fire. Never disconnect a battery when the engine is running, this can cause electrical system and computer damage. Most car batteries must have a "rest" or "down" time to allow the plates inside the battery time to cool. If a battery is subject to constant charge and discharge it will fail prematurely. Also, a battery cannot be discharged completely and then recharged more than a few of times before the battery fails unless its a "deep cycle" type battery. A car battery is hazardous material so you must dispose of your old battery at a local car part store or recycle center.
Battery Cable Corrosion
Battery cables are used to transfer electrical power from the battery to the starter. Battery acid and electrolysis can cause corrosion inside the battery cable which will inhibit the electrical flow. To check for this condition look for bulges near the top of the cable, these bulges indicate corrosion expansion caused by the chemical reaction between the acid and copper wire and must be replaced.
Inspect Battery for Bulging
When a battery short circuits internally, the case sides can bulge indicating warped plates which can can short circuit causing the vehicle to stall due to a drop in system voltage.
Common Problems
- Alternator fails producing no electrical power causing the engine to stall.
- Battery fails due to age or internal defect.
- Battery cables become loose, causing the electrical system to fail and the engine to stall.
- Always wear protective eyewear, gloves and necessary clothing before work begins.
- Stand clear of the battery while the engine is cranked over.
- A battery is filled with acid that produce explosive gasses that can ignite when a spark or flame is present.
- A battery could have residual acid on the outside casing so use caution when handling a battery and the surrounding area, use baking soda to neutralize any acid residue before work begins.
Step by step guide on how to test an automotive battery.
Difficulty Scale: 2 of 10
Tools and Supplies Needed

Car Battery
Step 1 - If the engine's alternator is not functioning properly it will allow the battery to drain down. Visit - Alternator testing
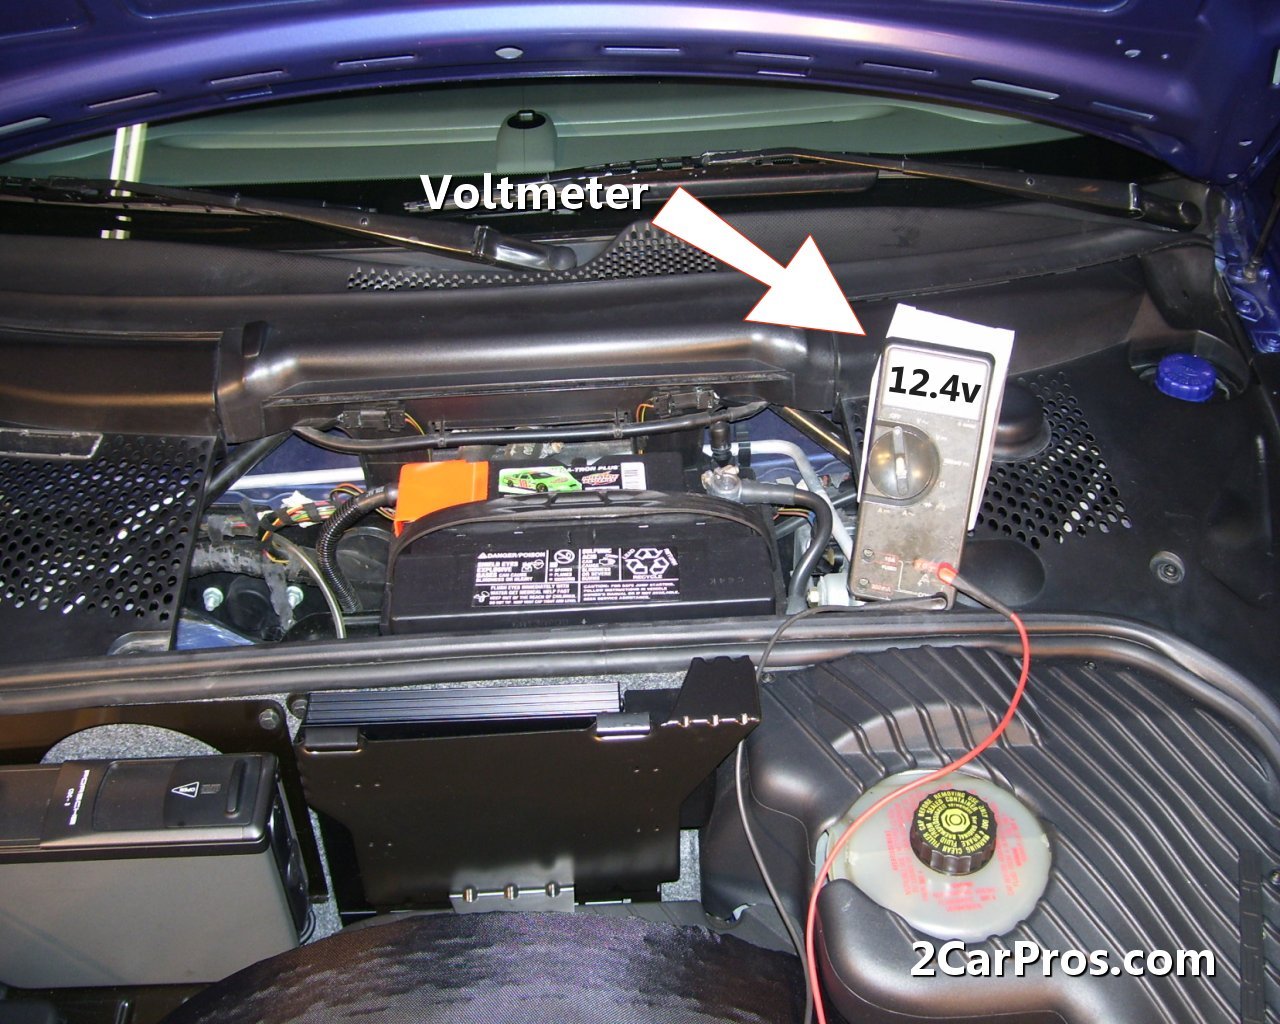
Step 2 - Use a voltmeter and connect the leads to their respective terminals (black - negative, red - positive.) This will check the batteries surface voltage and its ability to hold a charge. Voltage should read 12.4 to 12.6 volts. (Note: New battery goes dead overnight. Visit - Battery goes dead overnight.)

Checking Surface Voltage
Step 3 - All batteries must withstand a load test which simulates the engine being cranked over by the starter motor. Begin by turning the headlights to the "ON" position. Next, crank the engine over while observing the headlight brightness. The headlights should only dim slightly when using the starter, if they dim way down, or go out, the battery can not supply the amperage needed to operate correctly and must be replaced. As a secondary test, turn the headlights on for 15 minuets, if the battery fails replacement is needed.

Head Lights On - Load Test Battery
Once you have concluded the battery has failed please visit - Battery replacement
- Voltmeter
- Protective eyewear and gloves
Car Battery
Checking Surface Voltage

Head Lights On - Load Test Battery


Comments
Post a Comment