Windshield Washer Pump with Reservoir Replacement
How To Replace Windshield Washer Pump
How To Replace Windshield Pump Reservoir
When replacing the reservoir or pump motors clean out the spray nozzles to help the pattern and flow of the washer fluid. If the pump is not working listen for its operation, a hose or nozzle could be blocked stopping the fluid flow, check the washer system fuse before replacing the pump motor.
Best Practices
- When replacing the washer fluid pump, be sure to clean the reservoir thoroughly to ensure proper pump operation.
- Use compressed air to blow clean the washer fluid lines and nozzles.
Easy step by step guide on how to replace an automotive washer pump and reservoir, though configurations may vary, the process is the same, this information pertains to most vehicles. (Chevy Tahoe is used in this article).
Difficulty Level - 4
Begin with the vehicle on level ground, engine "OFF" in park with the emergency brake set, using a basic set of tools while wearing safety glasses and gloves.
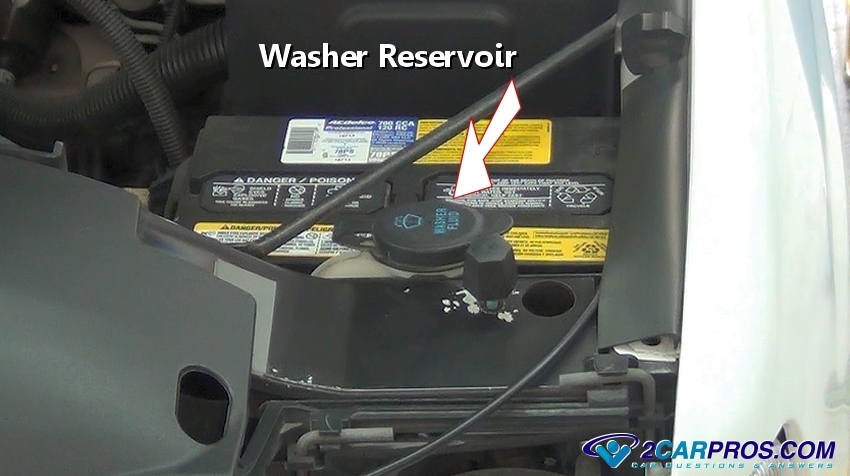
Step 1 - Locate the washer fluid reservoir, the pump will be attached to the bottom of the unit.

Washer Reservoir
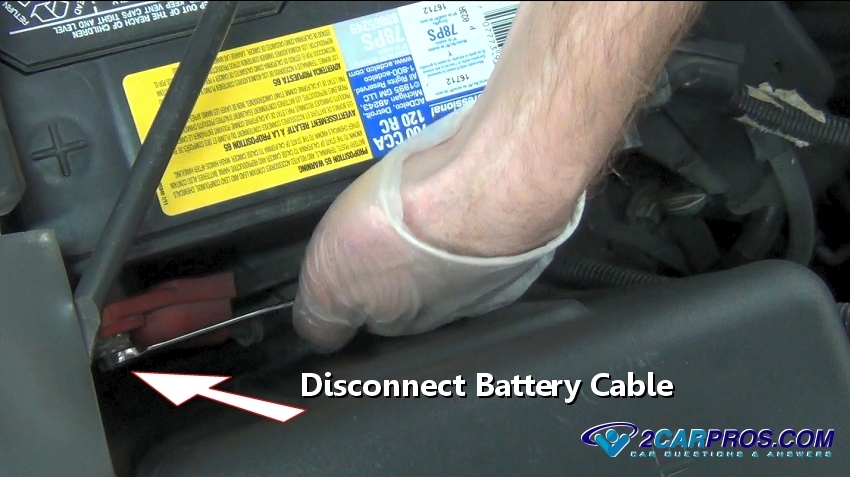
Step 2 - Depending on design, the reservoir location will vary, it could be below the battery or some other component, in this case, remove the negative, and then the positive battery cables.

Disconnect Battery Cable
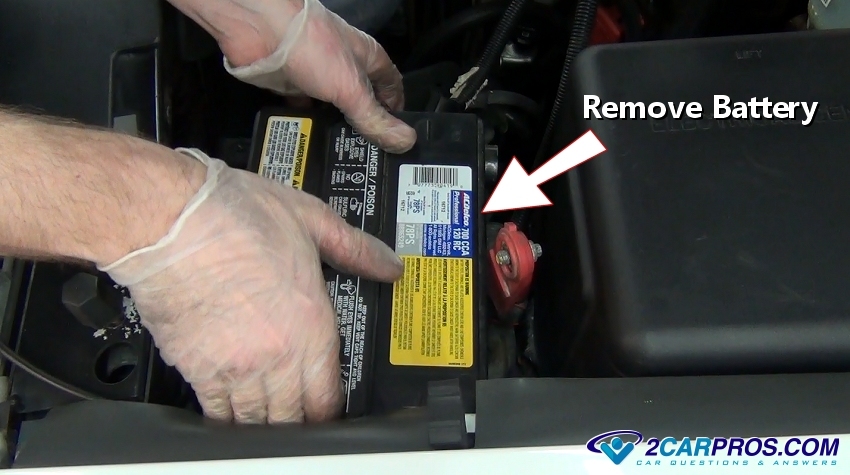
Step 3 - After removing both cables and the hold down, grasp the battery firmly and remove it from the engine bay. (Caution: Batteries contain acid which can be present outside the battery case, handle with care.)

Remove Battery
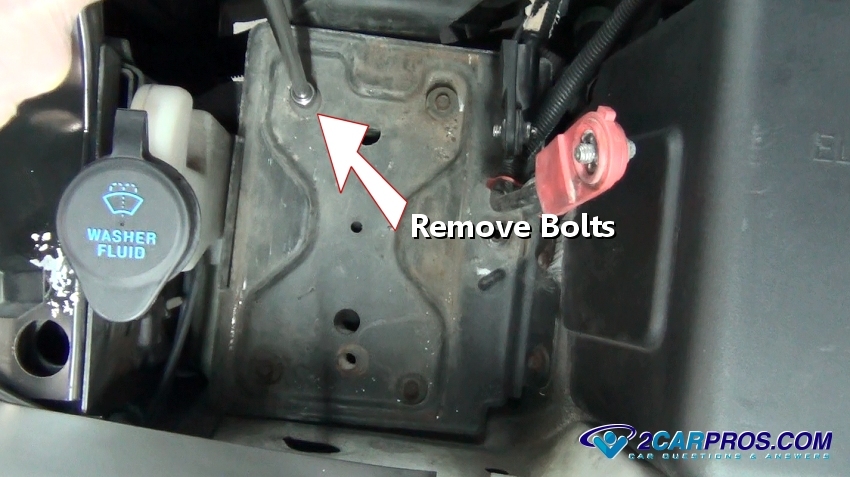
Step 4 - Once the battery has been removed, use a socket to remove the battery tray bolts.

Removing Battery Tray Bolts
Step 5 - Remove the battery tray to expose the washer reservoir.

Remove Battery Tray
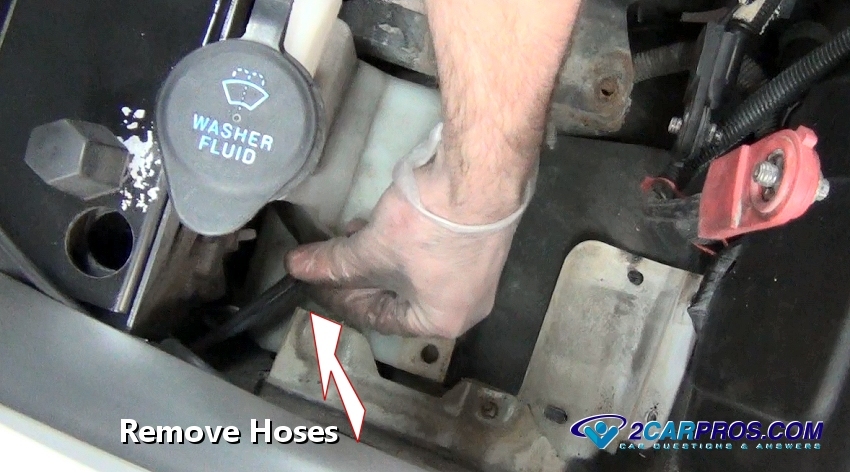
Step 6 - Locate washer fluid tubes and release the clip which holds the lines in place.

Remove Washer Fluid Hoses
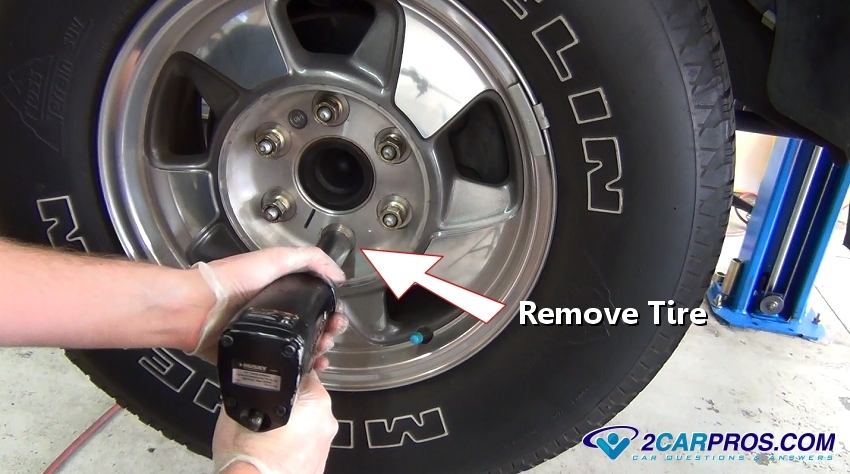
Step 7 - In some cases the tire will need to be removed to gain further access, lift the vehicle safely before this step.

Removing Tire
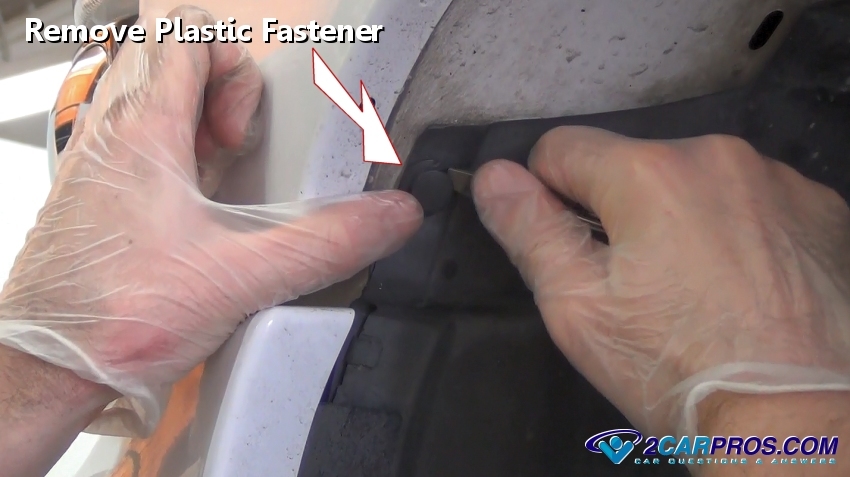
Step 8 - After the tire has been removed, release and remove the plastic fasteners holding the fender liner in place.

Removing Plastic Fender Fasteners
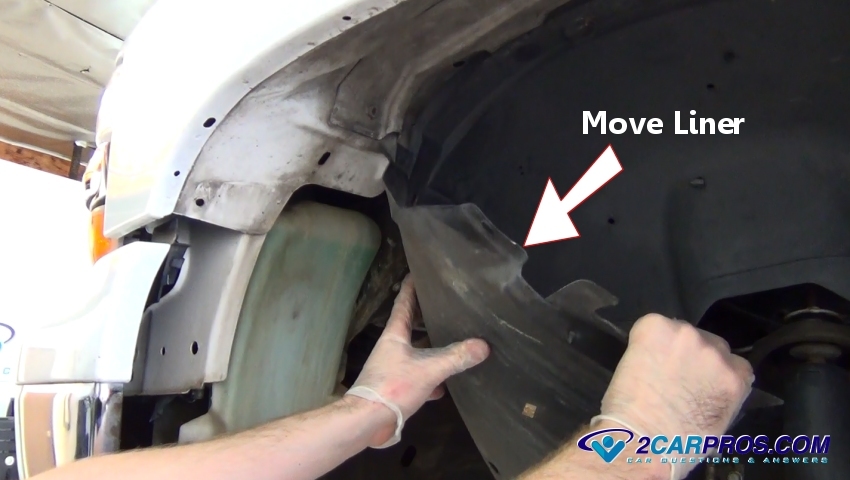
Step 9 - Move the fender liner back out of the way to allow access to the reservoir.

Move Fender Liner
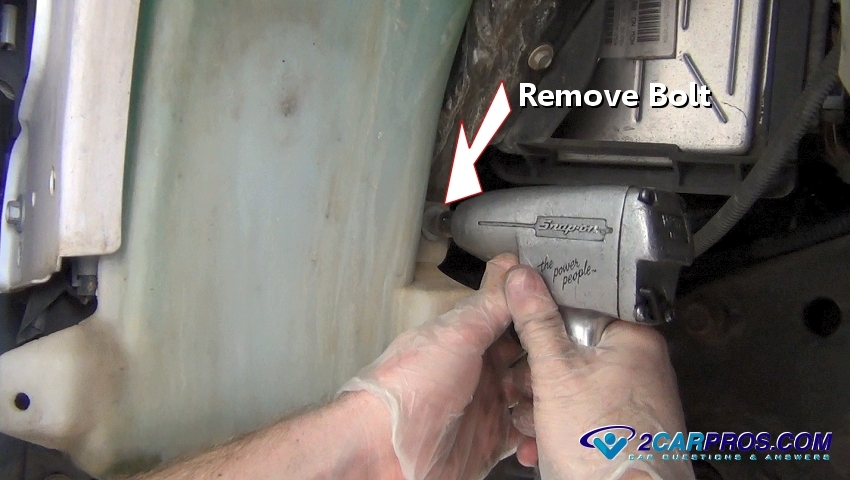
Step 10 - Locate and remove all but one of the reservoir mounting bolts, the container will become loose but not come out, leave the remaining bolt loose.

Remove Reservoir Bolt
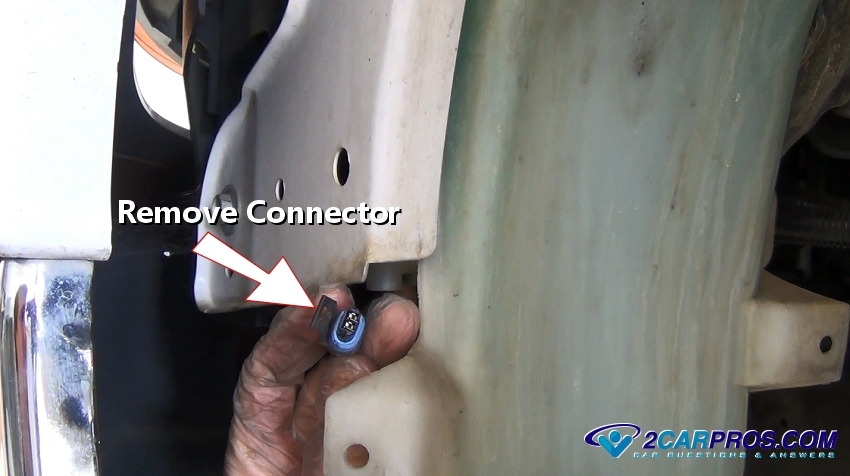
Step 11 - Release and remove the electrical connectors from the washer fluid motor and fluid level sensor. (Note: Some units have two pumps.)

Remove Electrical Connector
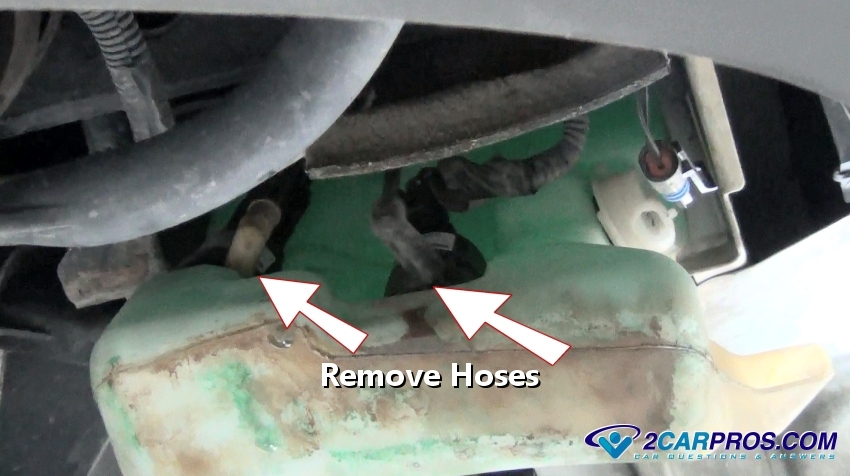
Step 12 - Locate the fluid pump output hoses and remove, washer fluid will start to leak, which is normal.

Remove Washer Pump Hoses
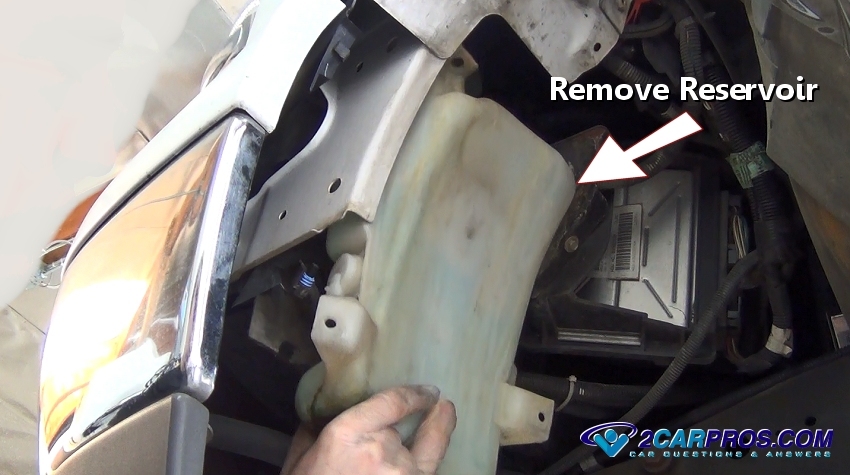
Step 13 - Remove the last remaining mounting bolt and lower the container from the vehicle.

Remove Washer Fluid Reservoir
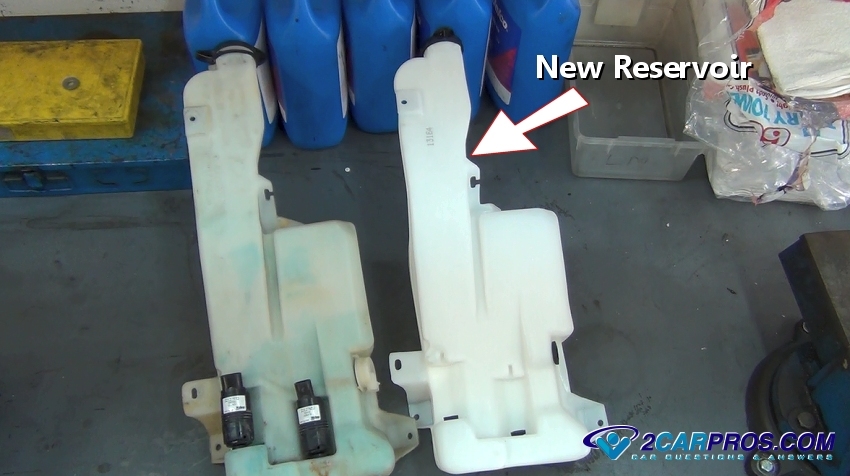
Step 14 - Match the old unit to the new washer reservoir to ensure a proper installation.

New Washer Reservoir
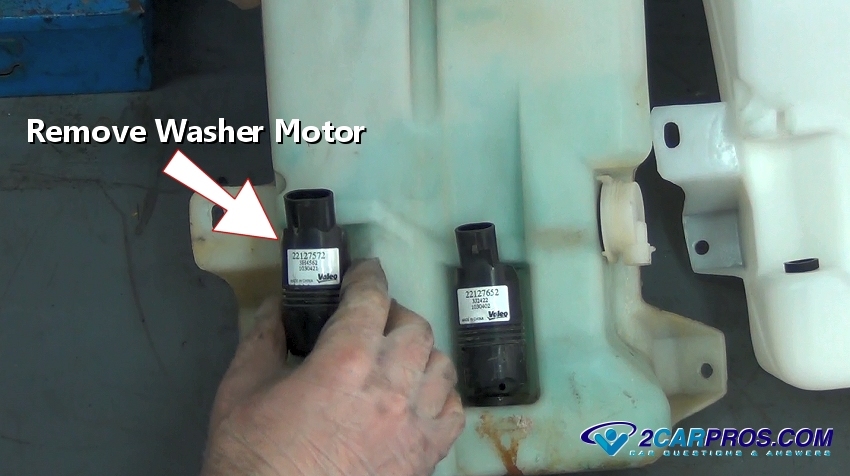
Step 15 - If just the fluid reservoir is being replaced remove the washer pump motors from the old container.

Remove Washer Fluid Pump
Step 16 - Remove (pop) the fluid level sensor which is located in the side of the reservoir container.

Remove Fluid Level Sensor
Step 17 - Inspect the level sensor for damage, then install the sensor into the new container. (Note: It may require lubricant.)

Installing Fluid Level Sensor
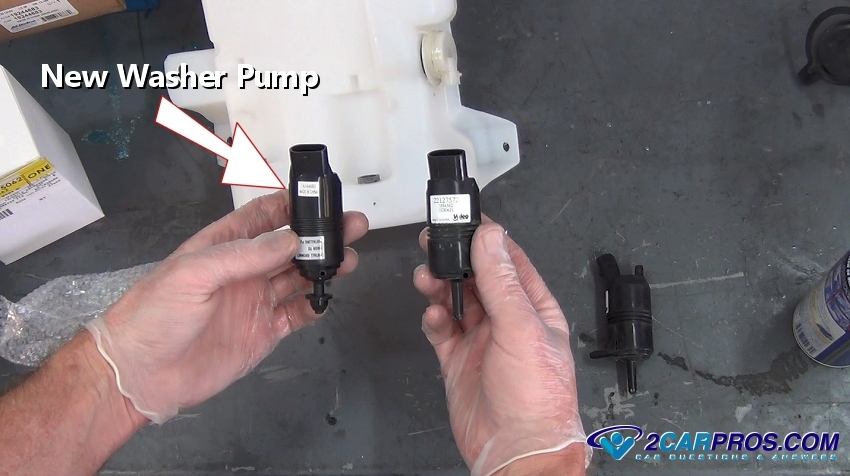
Step 18 - Match the new washer pump motor to the old pump to ensure a proper installation.

New Washer Fluid Pump
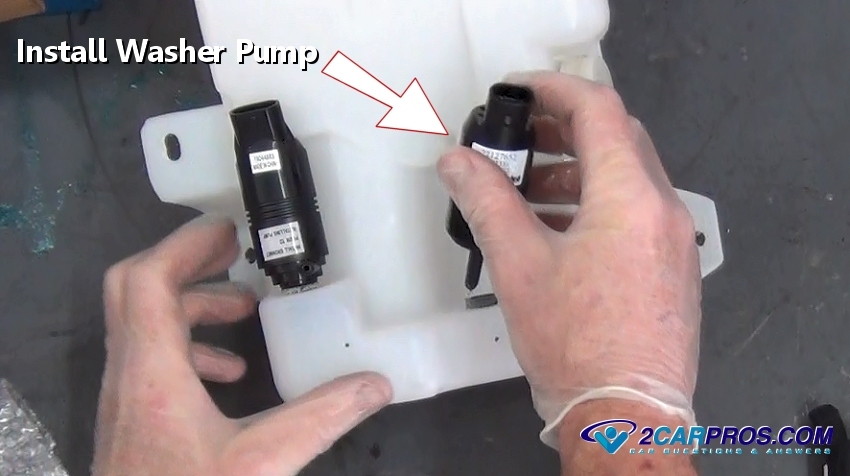
Step 19 - After matching the new pump motors to the old, install the new motors into the container.

Installing New Washer Pump Motor
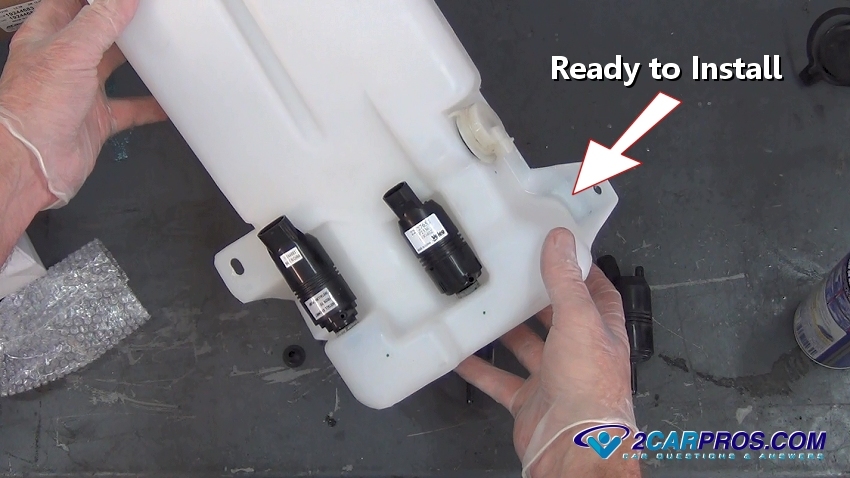
Step 20 - Now the new reservoir and fluid pump motors are ready to be installed, simply reverse the order in which they were removed and refill with new washer fluid.

Washer Reservoir Ready to Install
Washer Reservoir
Disconnect Battery Cable
Remove Battery
Removing Battery Tray Bolts

Remove Battery Tray
Remove Washer Fluid Hoses
Removing Tire
Removing Plastic Fender Fasteners
Move Fender Liner
Remove Reservoir Bolt
Remove Electrical Connector
Remove Washer Pump Hoses
Remove Washer Fluid Reservoir
New Washer Reservoir
Remove Washer Fluid Pump

Remove Fluid Level Sensor

Installing Fluid Level Sensor
New Washer Fluid Pump
Installing New Washer Pump Motor
Washer Reservoir Ready to Install


Comments
Post a Comment