ABS Computer Module Replacement
How to replace ABS Computer Module
Helpful Information
The ABS controller in a car is responsible for limiting the brake line pressure to allow the tire or tires to start rotating when locked up to maintain an equal spin rate. If the controller fails or malfunctions it can cause the ABS system to stop working and illuminate the ABS warning light. Most ABS diagnostic systems can be access by the ALDL connector much like the body or engine control system. Using a trouble code reader with the capability to read such codes can be connected with the ignition key in the "ON" position. Once a trouble code that confirms the controller failure.
Tools and Supplies Needed
- Replacement ABS computer control module
- Socket set including torx
- Screw driver set
- Shop towels
- Protective eyewear and gloves
- When the ABS module fails it will illuminate the ABS warning light.
- If the vehicle is equipped with traction control it uses a different ABS computer which are not interchangeable with non-traction controlled vehicles.
- Always use quality ABS replacement parts
Easy step by step replacement guide for changing an automotive ABS computer control module, configuration may vary but follow the same steps, this article pertains to many ABS brake system vehicles.
Difficulty Scale: 4 of 10
Begin place car on level ground with the emergency brake set, remove the battery cable from the negative side of the battery.
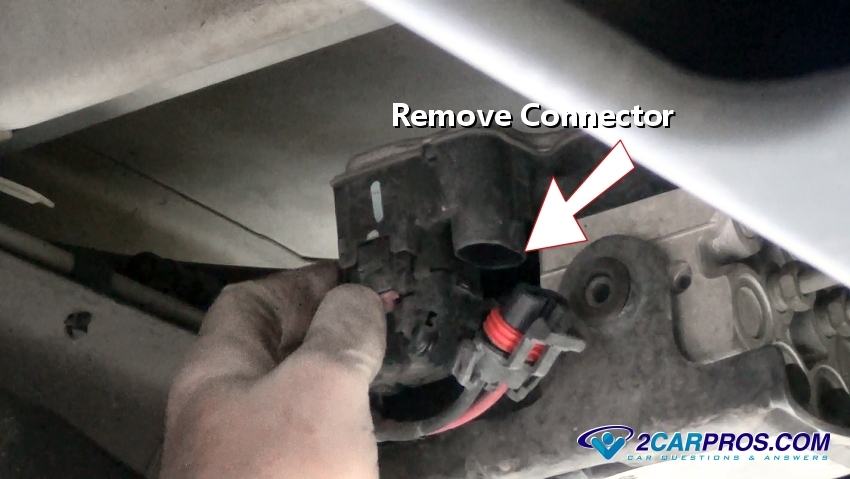
Step 1 - Locate and identify the ABS brake computer module which is usually under the hood or mounted to the frame rail under the vehicle, disconnect all electrical connectors.

Disconnecting Electrical Connectors
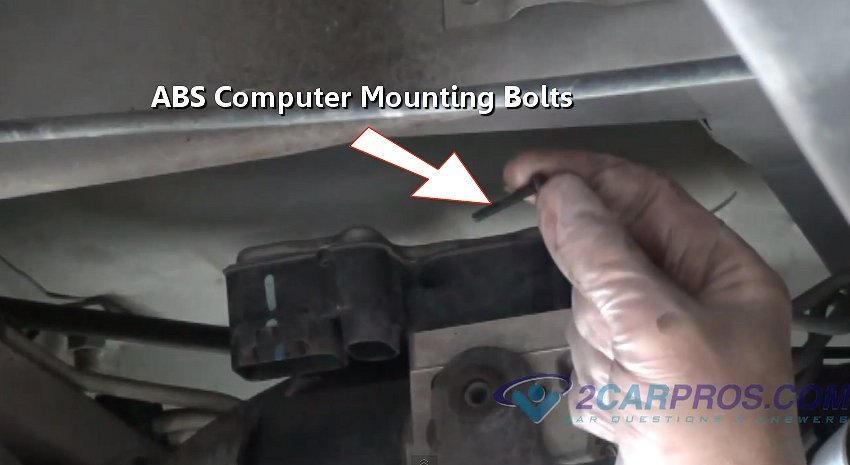
Step 2 - Next, remove all ABS controller mounting screws, these bolts can be torx head bolts.

Removing ABS Computer Controller Mounting Bolts
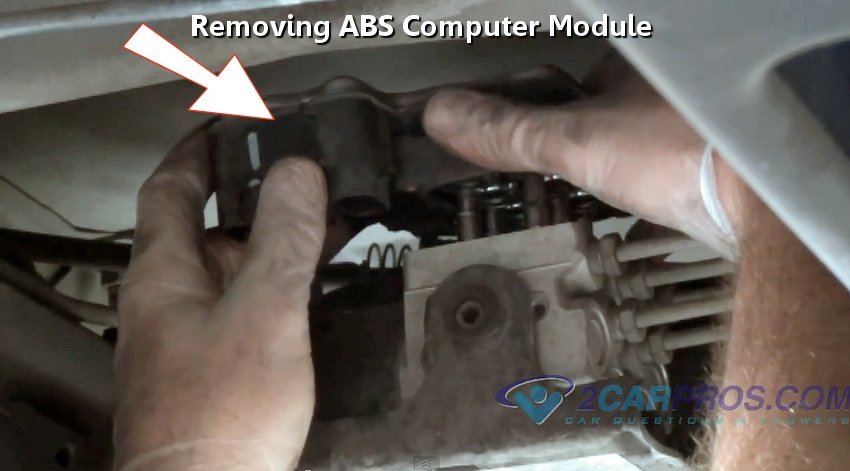
Step 3 - Once all mounting bolts have been removed gently remove the controller by lifting it straight up from the ABS valve assembly.

Removing ABS Computer Control Module
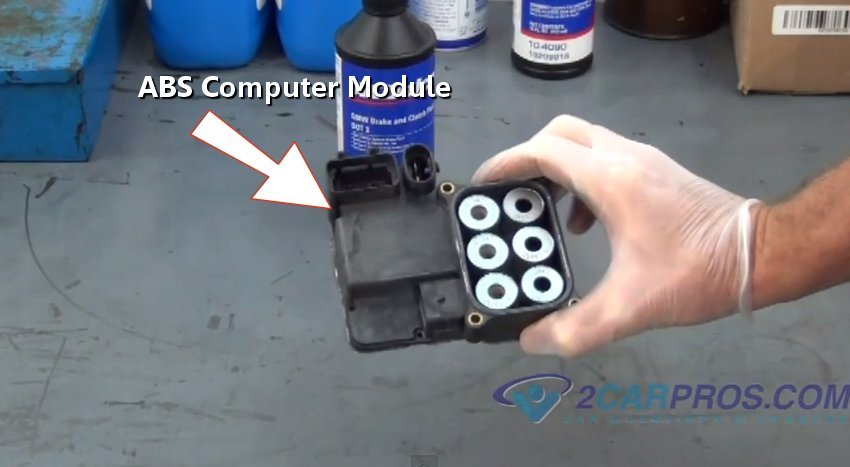
Step 4 - After the old module has been removed, match the old module to the new replacement unit, they should be an identical match.

New ABS Computer Control Module
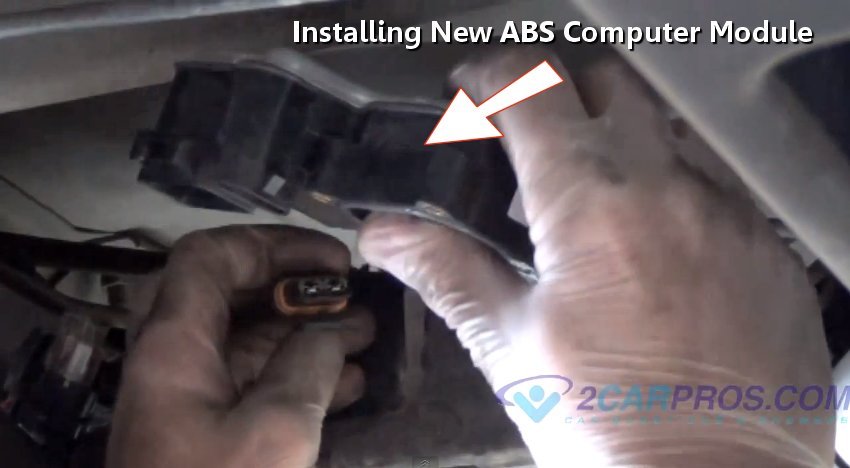
Step 5 - Next, install the new unit, be sure to clean all mounting surfaces to ensure proper installation.

Installing New ABS Computer Control Module
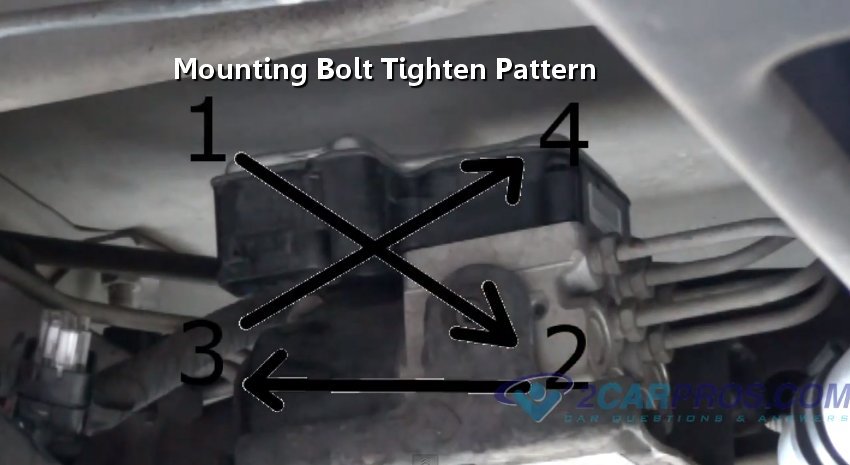
Step 6 - After the module is securely in place, reinstall the mounting bolts and tighten in an "X" pattern.

Mounting Bolt Tighten Pattern
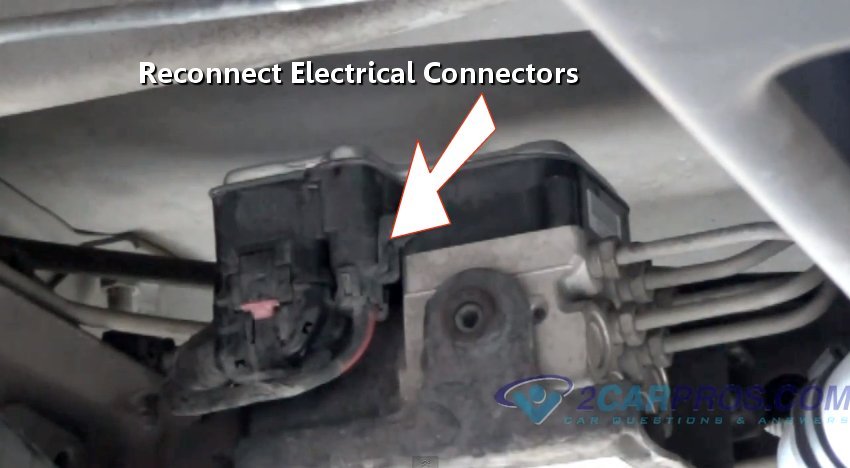
Step 7 - Once all the mounting bolts are tight, reconnect the remaining wiring connectors recheck system operation

Reconnecting Electrical Connectors
Disconnecting Electrical Connectors
Removing ABS Computer Controller Mounting Bolts
Step 3 - Once all mounting bolts have been removed gently remove the controller by lifting it straight up from the ABS valve assembly.
Removing ABS Computer Control Module
New ABS Computer Control Module
Installing New ABS Computer Control Module
Mounting Bolt Tighten Pattern
Reconnecting Electrical Connectors


Comments
Post a Comment