Hood Opening Instructions
How To Open Car Hood
Helpful Information
Opening a vehicles hood is a relatively simple task that can be done in a few minutes with no tools required. The hood release consists of two latch stages, primary and secondary. The secondary latch is designed as a safety device, if the hood is accidentally released while driving, it will not open completely and cause a vision obstruction. Make sure the hood is properly secured by using the prop rod or shock before removing your grip. A prop rod will need to be installed into a designated position to hold the hood up properly. If a hood is slightly damaged or has a sticky latch it can cause the hood not to "pop" open, in this case use a helper to pull up on, or push down on, or even small rap with a hand on the hood near the latch to assist the primary latch to release. (Note: When performing this action use caution to not dent the hood.)
After hood has been opened, occasionally the latch will fall closed not allowing the striker located on the hood to engage, (not closed). In this case pull the hood latch, a helper may need to manually releases the latch (open) with a small screwdriver if the latch fails to open on its own, once the latch has re-opened the hood can be closed. Close the hood firmly, and recheck the latches ability to keep the hood closed by pulling up on the hood.
If the hood will not open, the latch cable could be broken or misadjusted, in this case the hood latch could be opened manually through the front grill or from underneath the car, there are many different ways to perform this action and can take some imagination.
Tools Needed to Release
Long screw driver
Pliers
Flashlight
Long pry bar
Common Problems
Once the primary latch has been activated the hood will not "pop up" to the semi open position due to a sticky or misadjusted latch.
Step by step guide on how to open an automotive hood release, this information pertains to most vehicles.
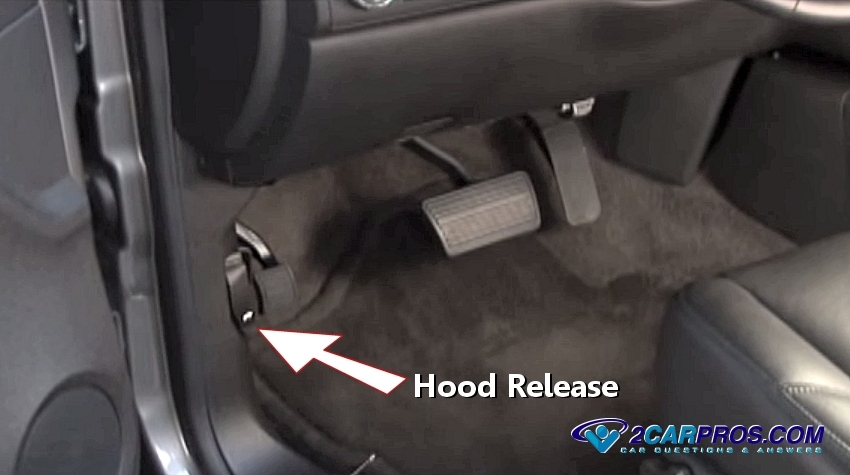
Hood Release
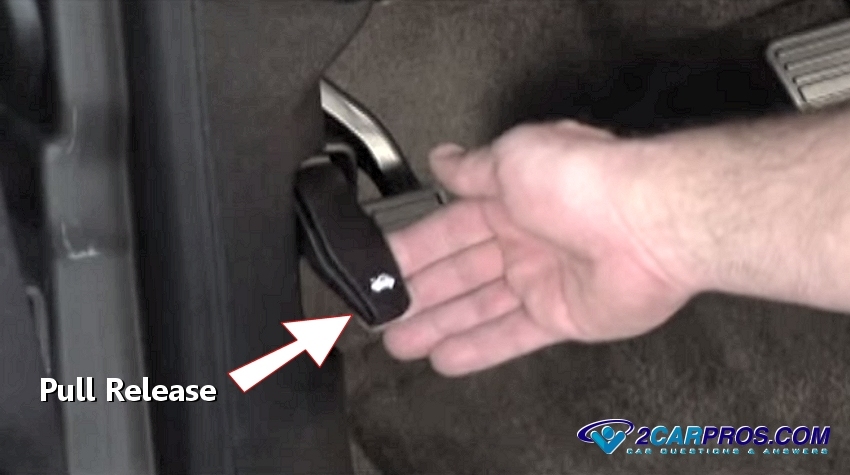
Pull Release
 Step 3 - After pulling the release, the hood will pop open to the first stage having a noticeable gap between the fender and the hood line.
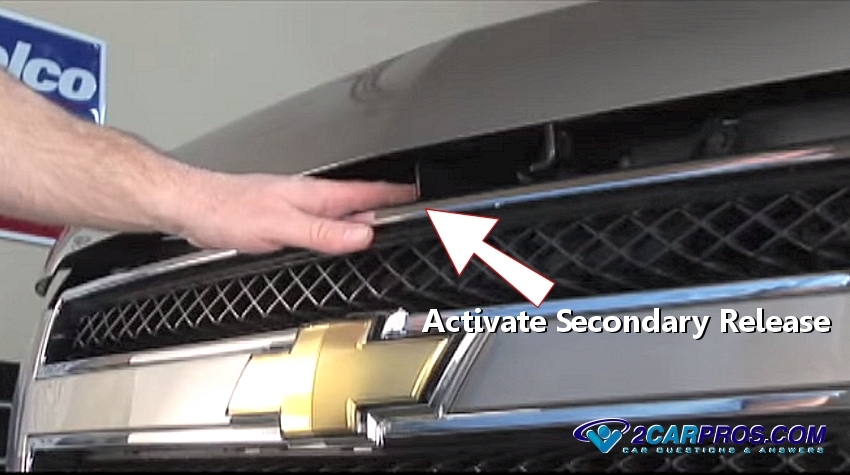
Activate Secondary Release
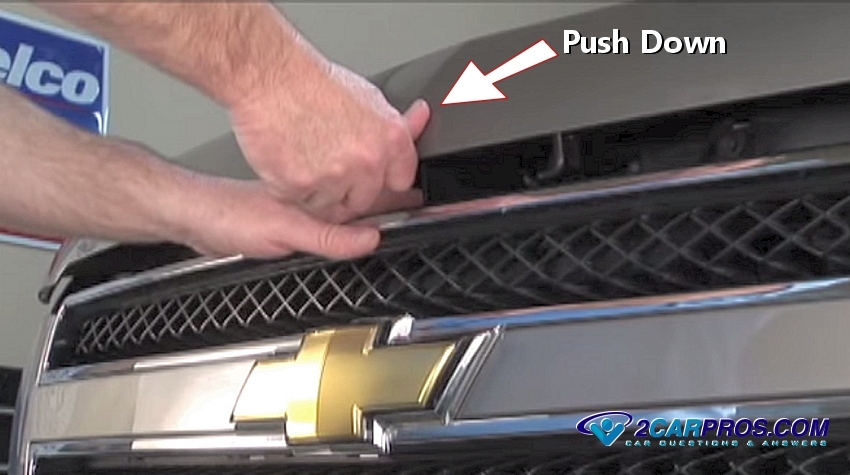
Gently Push Hood Down
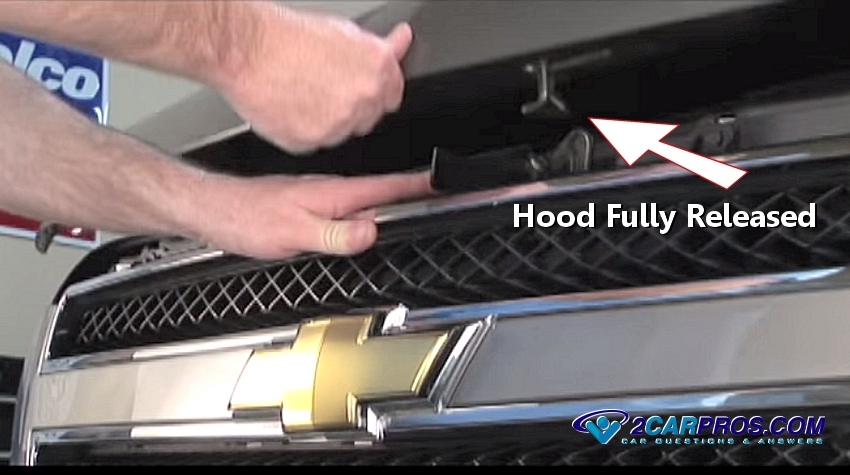
Hood Fully Released
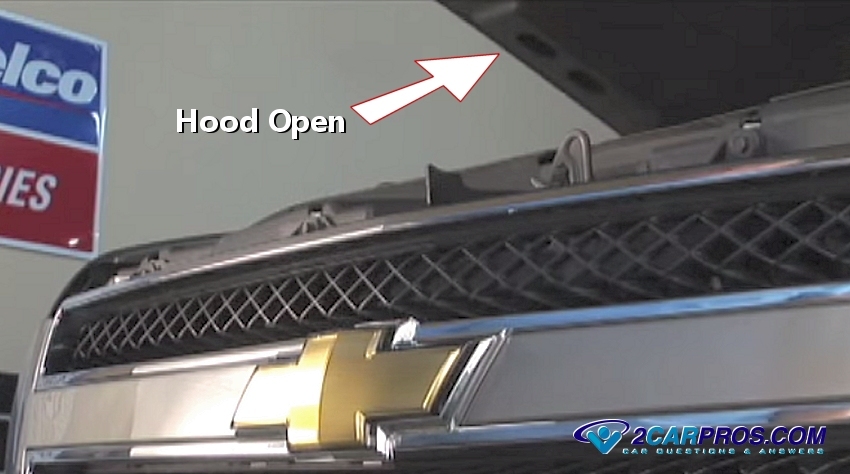
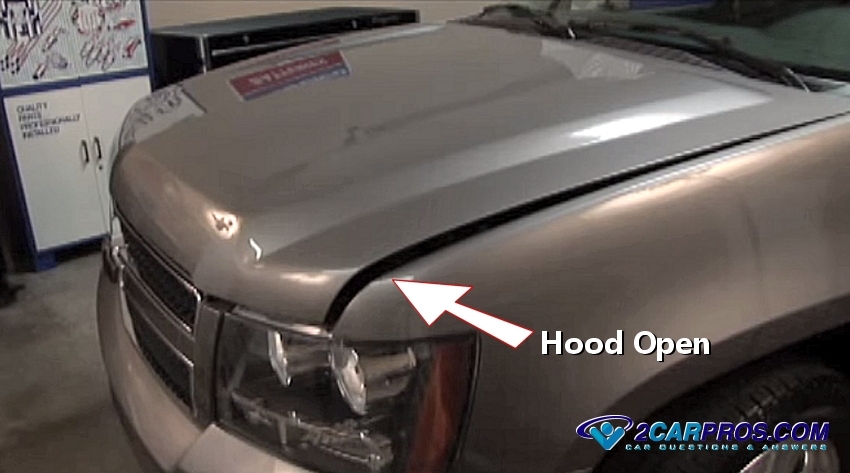
Open Hood
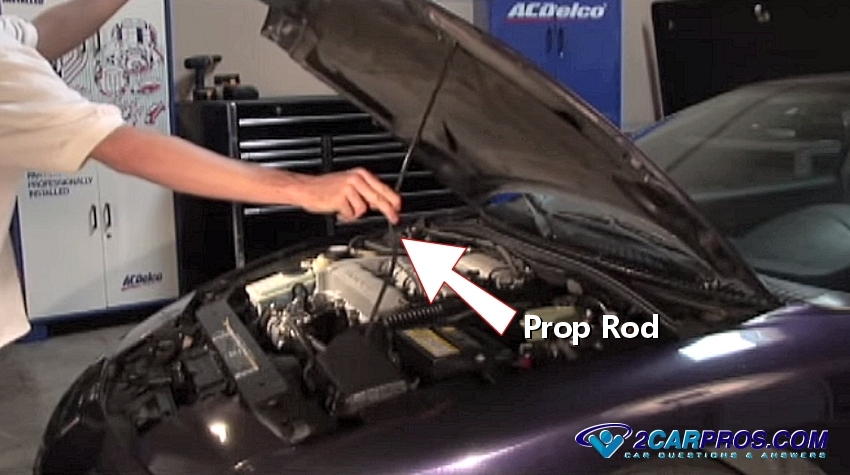
Hood Prop Rod
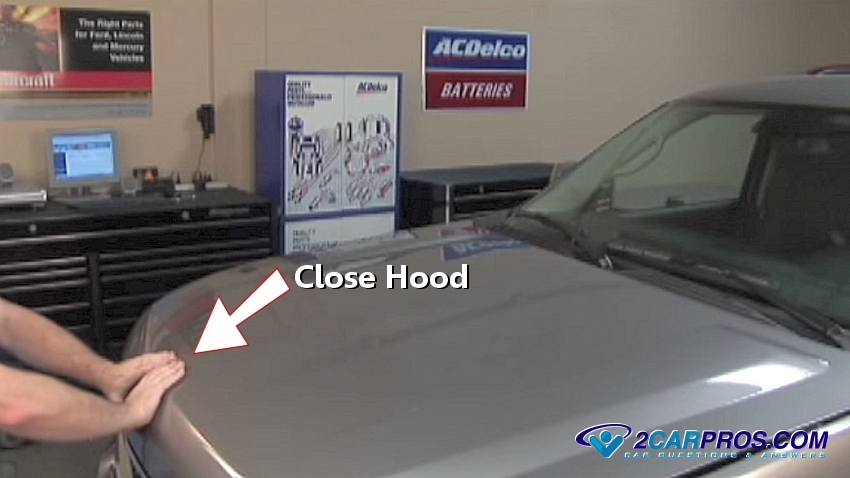
Close Hood


Comments
Post a Comment