How To Replace Front Main Seal
Crankshaft Seal Replacement - Front
Replacing Crankshaft Seal In Car
Helpful Information
An engine front crankshaft seal is mounted into the front timing cover which rides against the vibration dampener sealing surface. This seal controls oil from leaking to the outside of the engine, once the seal starts leaking it must be replaced. A harmonic balancer or dampener is the common term for a weighted unit used to help an engine run smoothly.
Best Practices
- Always use top quality seals to avoid premature failure.
- Clean sealing surfaces to enhance sealing ability.
- Use high quality silicone sealer
Step by step repair guide on how to replace an automotive engine crankshaft front seal. This replacement is for external mounted seals only and applies to most vehicles.
Difficulty Scale: 4 of 10
Tools and Supplies Needed
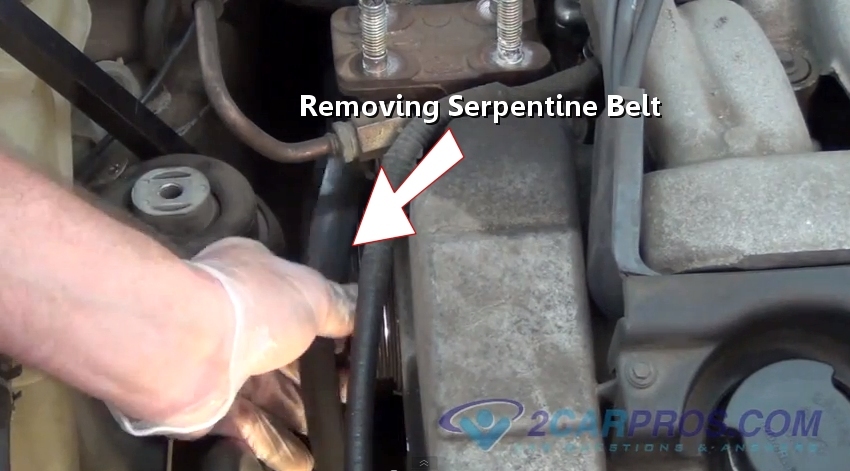
Step 1 - Release the serpentine belt tensioner, while removing the belt from the engine compartment.

Removing Serpentine Belt
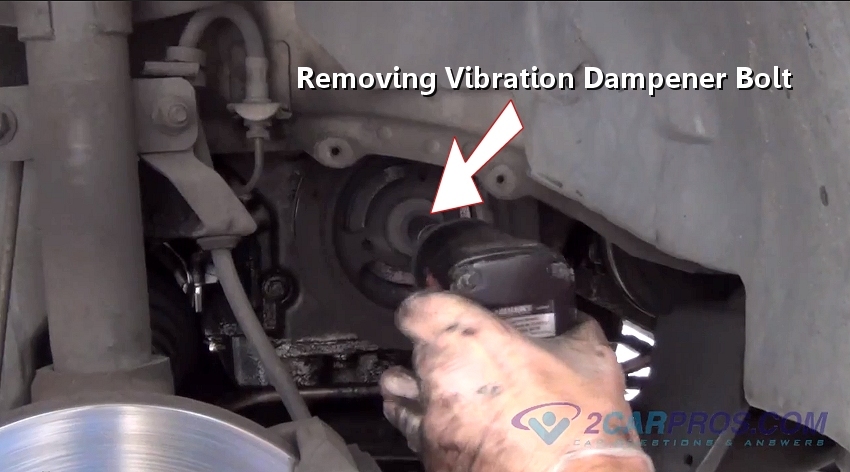
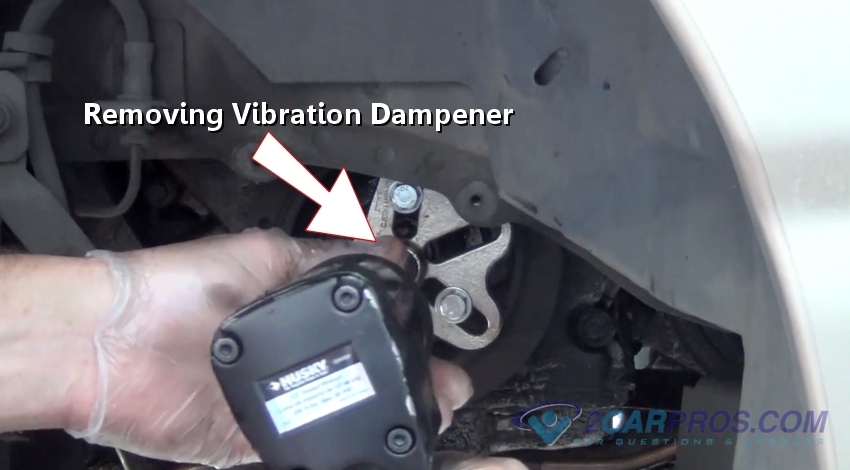
Step 2 - Once the serpentine belt has been removed, remove the front vibration dampener retainer bolt and washer. In this illustration an air impact is being used, but this can be done be with a regular socket wrench by holding the crankshaft at the flywheel. (Note: The starter will need to be removed.) Visit - Starter replacement

Removing Vibration Dampener Bolt
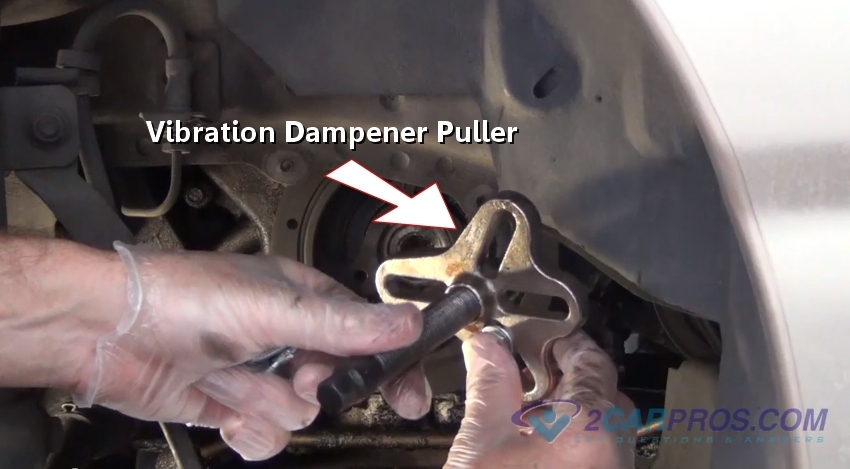
Step 3 - After the bolt and washer have been removed, assemble a dampener puller with the appropriate mounting bolts. (Note: Puller mounting bolts must be obtained.)

Vibration Dampener Puller
Step 4 - Once puller mounting bolts have been supplied, install the puller. Try to get the puller square with the dampener for proper operation. (Note: If puller is allowed to wonder it can break and cause damage.)

Puller Installed
- Socket set
- Dampener puller
- Large pry bar
- Shop towels
- Carburetor cleaner
- Replacement front seal
- Hammer
- Seal installation tool or large socket
- Safety eyewear and gloves
- Hydraulic jack
- Jack stands
- Silicone sealer (high grade)
Step 1 - Release the serpentine belt tensioner, while removing the belt from the engine compartment.
Removing Serpentine Belt
Removing Vibration Dampener Bolt
Vibration Dampener Puller

Puller Installed
Step 5 - Next, tighten the puller center screw to start removing the dampener, continue this action until the dampener has released from the crankshaft. If a regular socket wrench is used, the crankshaft with need to be held.

Removing Vibration Dampener
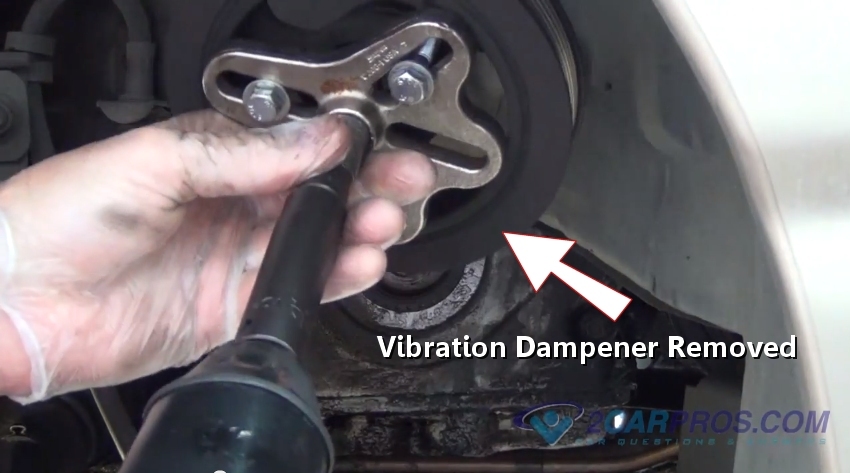
Step 6 - As the dampener becomes loose the puller tool with be attached to the dampener, remove the tool.

Vibration Dampener Removed
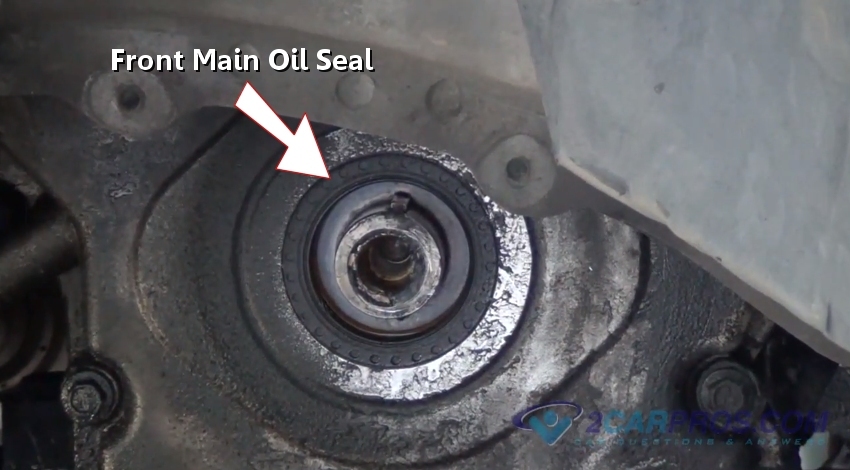
Step 7 - Once the dampener has been removed it will expose the failed front crankshaft seal.

Failed Crankshaft Seal
Step 8 - Using a large standard screw driver "pop" the seal loose and out of the timing chain cover or engine block. (Note: Some applications require a seal removal tool, but most of the time an alternative is available.)
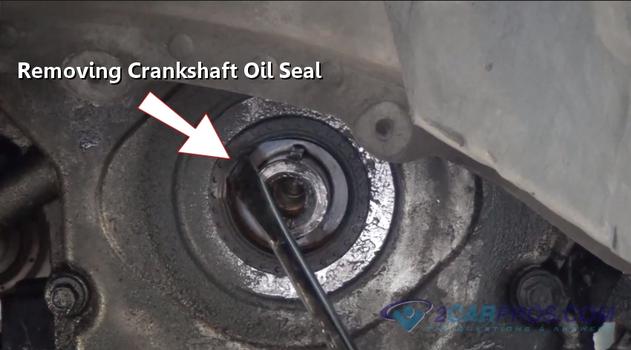
Removing Front Crankshaft Oil Seal
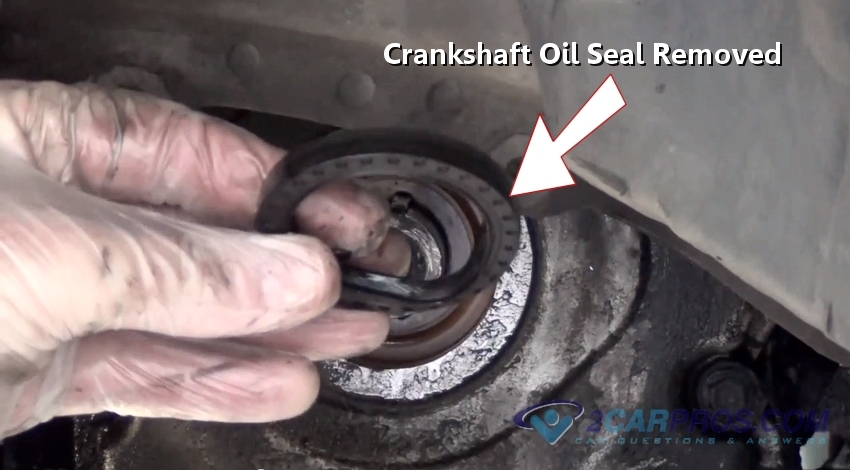
Step 9 - Once the seal has been removed inspect the seal for obvious failure. Such failures include: dried, torn or dilapidated.

Crankshaft Seal Removed
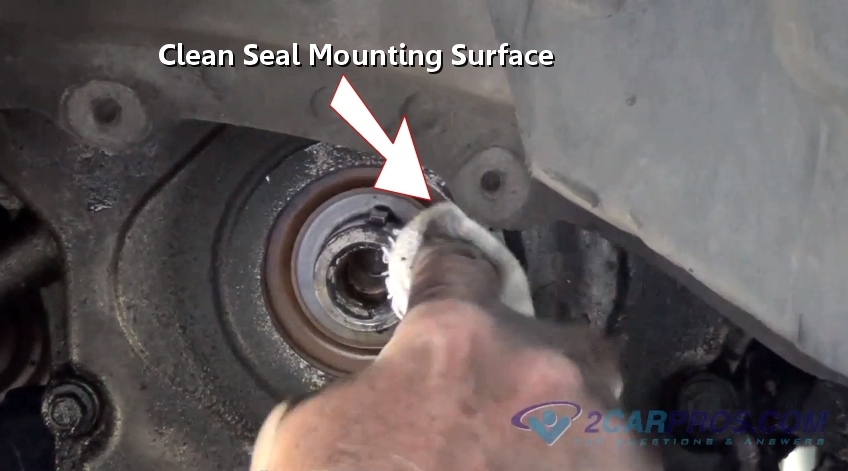
Step 10 - After the seal has been removed use a shop towel with carburetor cleaner to wipe down the area and seal mounting surface.

Cleaning Seal Mounting Surface
Removing Vibration Dampener
Vibration Dampener Removed
Failed Crankshaft Seal
Step 8 - Using a large standard screw driver "pop" the seal loose and out of the timing chain cover or engine block. (Note: Some applications require a seal removal tool, but most of the time an alternative is available.)

Removing Front Crankshaft Oil Seal
Crankshaft Seal Removed
Cleaning Seal Mounting Surface
Step 11 - Next, compare the old seal to the new replacement seal. Then add a small bead of high grade silicone sealer to the outside rim of the seal.

Applying Silicone Sealer to Crankshaft Seal
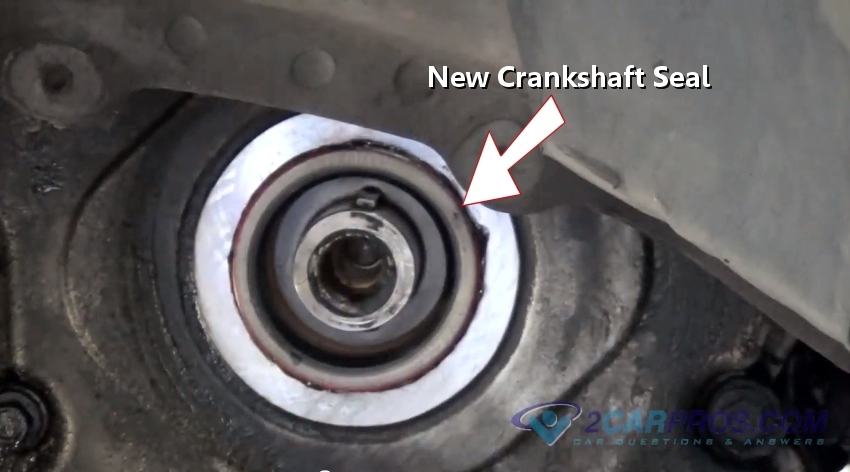
Step 12 - After the sealer has been applied push the seal into place. (Note: Always install seals with the "lip" of the seal pointing inward.)

Crankshaft Seal Set Into Place
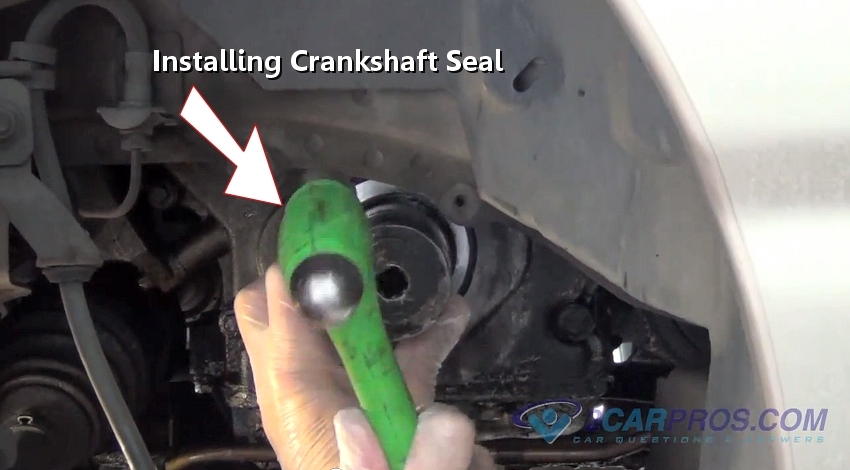
Step 13 - Then, use a large socket or seal installation tool to finish installing the seal. The seal is fully installed when its flush with the timing cover or block.

Installing New Crankshaft Seal
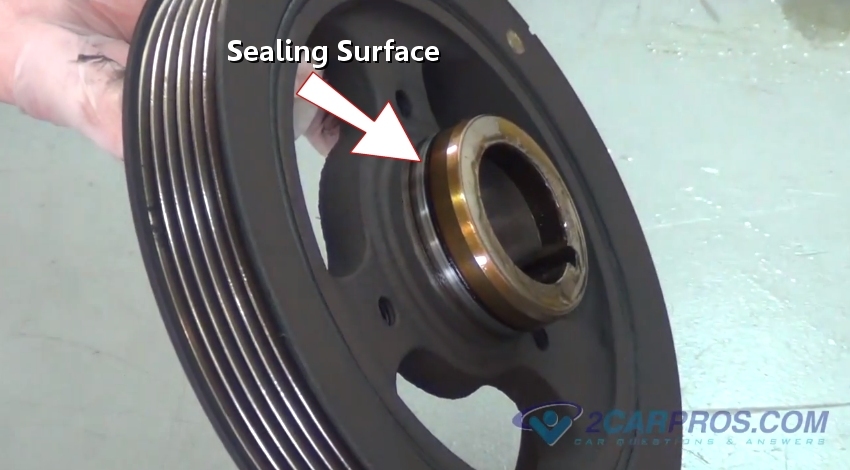
Step 14 - Once the crankshaft seal has been installed, the dampener sealing surface must be prepared for installation.

Dampener Sealing Surface
Step 15 - Use a small piece of emery or sand paper and clean the seal mounting surface.

Cleaning Dampener Seal Surface
Step 16 - Completely clean the sealing surface to enable proper seal operation.

Applying Silicone Sealer to Crankshaft Seal
Crankshaft Seal Set Into Place
Installing New Crankshaft Seal
Step 14 - Once the crankshaft seal has been installed, the dampener sealing surface must be prepared for installation.
Dampener Sealing Surface

Cleaning Dampener Seal Surface
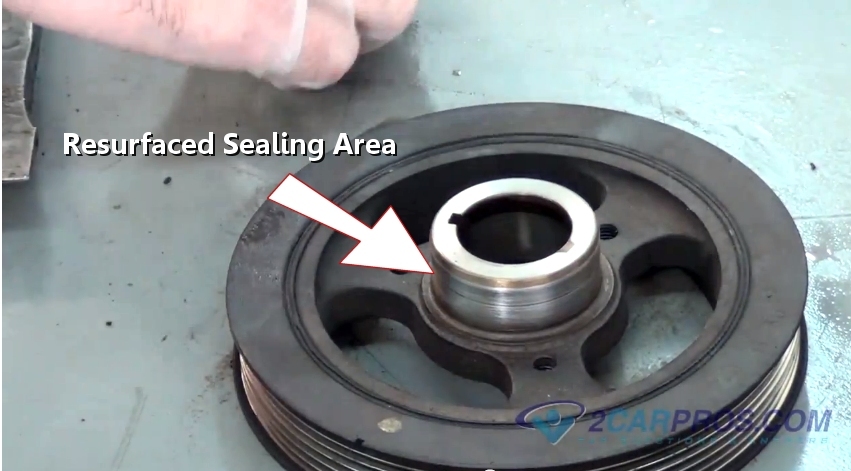
Resurfaced Sealing Area


Comments
Post a Comment