How To Replace Main Crankshaft Seal
Crankshaft Seal Replacement - Front
FOR PREVIOUS PART CLICK PART 1 HEREStep 17 - Then assemble the dampener (balancer) installation tool using the proper thread insert. This will be used to install the dampener.
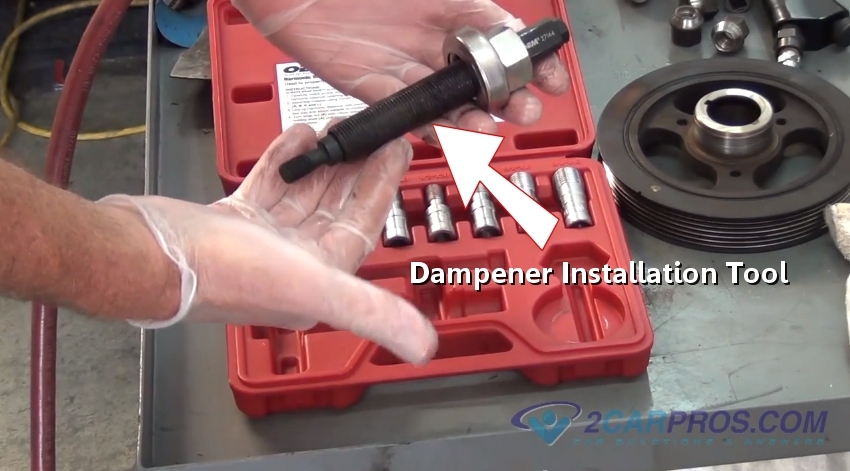
Vibration Dampener Installation Tool
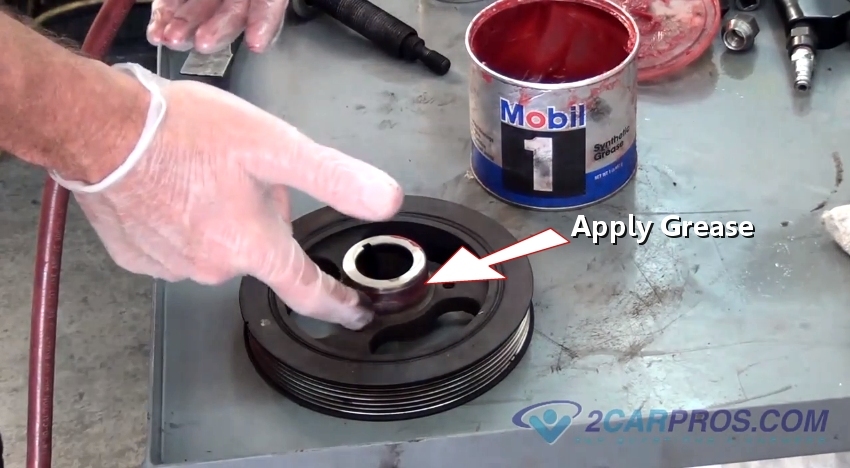
Apply Grease To Sealing Surface
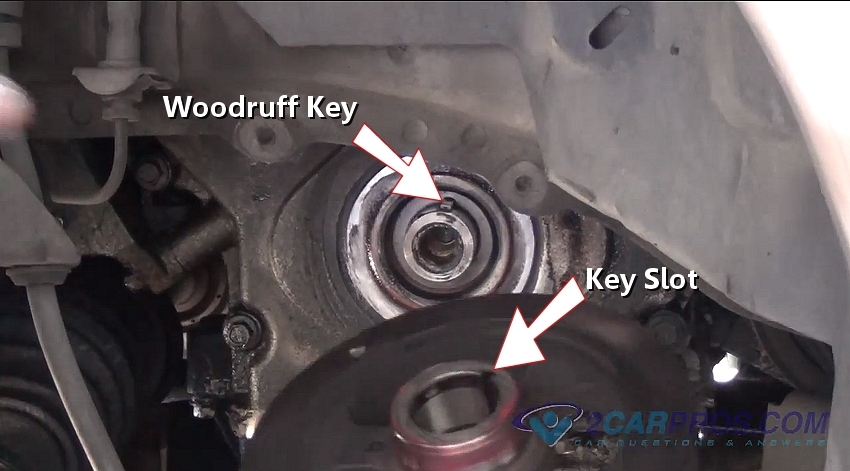
Aligning Woodruff Key
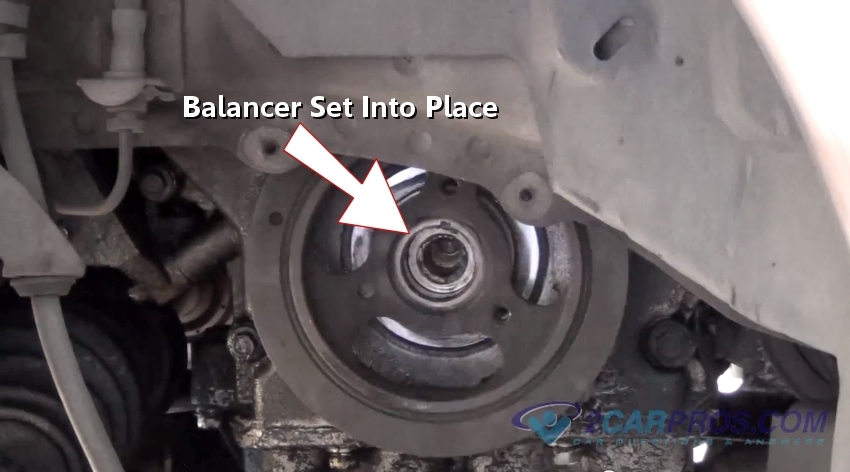 Step 20 - Once the balancer has been aligned push the balancer into place, ready to fully install the balancer into the crankshaft (press fit.)
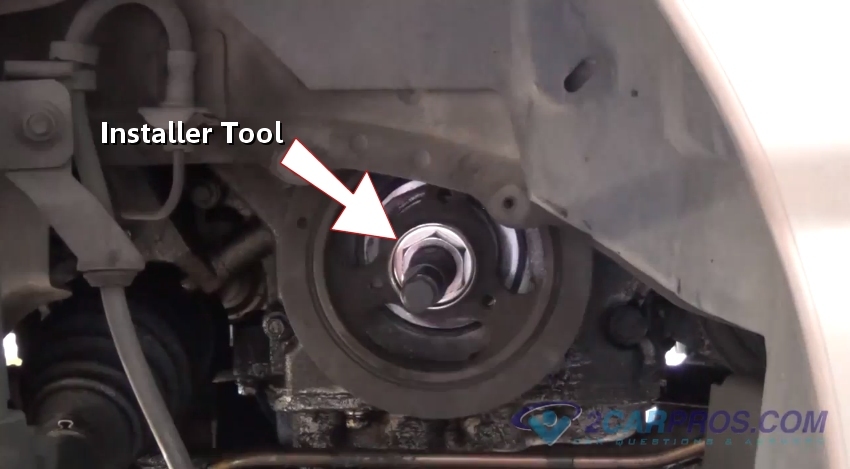
Balancer Installation Tool Installed
Step 22 - Once the installer is in place, using wrenches to wind the balancer completely onto the crankshaft. The outside wrench holds the balancer steady. When complete unscrew installation tool to remove.
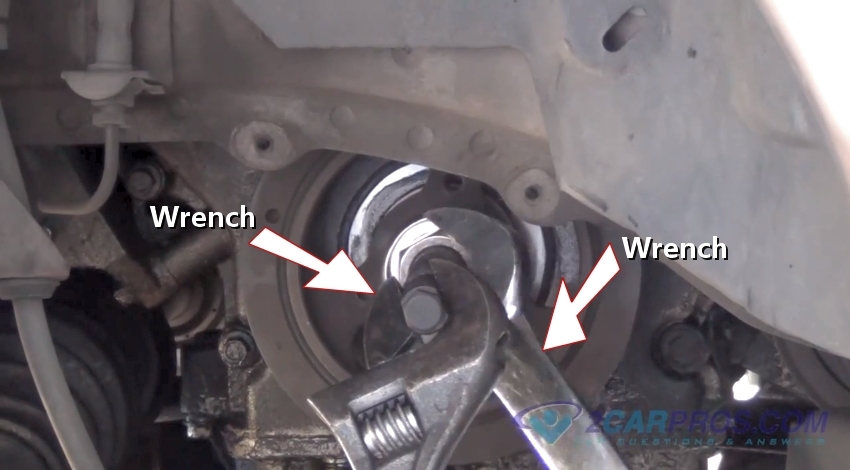
Wrench Tightens Installation Tool
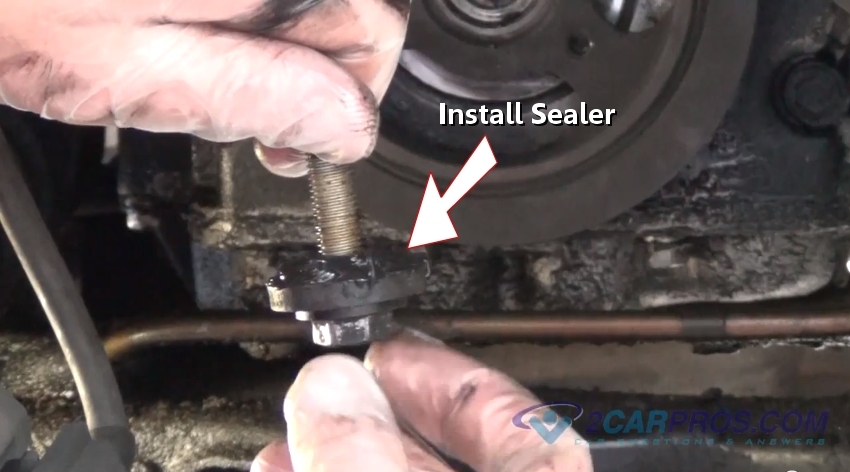
Sealer Installed On Mounting Bolt

Tighten Balancer Mounting Bolt
Once the balancer has been installed, reinstall serpentine belt and any plastic cover which were removed in the repair process.


Comments
Post a Comment