How To Replace A Starter Motor
Starter Motor Replacement
Replacing Car Starter Motor
Helpful Information
A starter motor is designed to crank an engine over and allow the internal combustion process to begin. Starter operation can fail for many reasons producing different results, a rapid clicking noise could mean a battery is low on charge. The battery must be in good working order, with a proper state of charge for a starter motor to work properly. Battery cables can cause starter problems as well, inspect the cables for corrosion, melted or bulged insulation, a starter's lifespan can be shortened if a high resistance connection exists.
Tool and Supplies Needed
Starter motors have gone through many changes as they have evolved from a hand crank protruding from the front of the vehicle. The starter motor became an industry standard soon after the first internal combustion engine was used a motor car. In the yearly years of production starter shims where used to help gear mesh, today these shims are not needed.
- Replacement starter motor
- Socket set
- Wrench set
- Hydraulic jack
- Jack stands
- Protective eyewear and gloves
- Flashlight
- Screwdriver set
Easy step by step guide on how to replace a starter and solenoid on an automotive internal combustion engine, this information pertains to most vehicles.
Difficulty Scale: 4 of 10
Begin with the engine off and the emergency brake set, then the car safely lifted on level ground using jack stands.
Step 1 - Lift the hood and remove the negative battery cable from the battery making sure the cable end is clear of the battery to avoid an accidental connection.

Negative Battery Terminal Removal
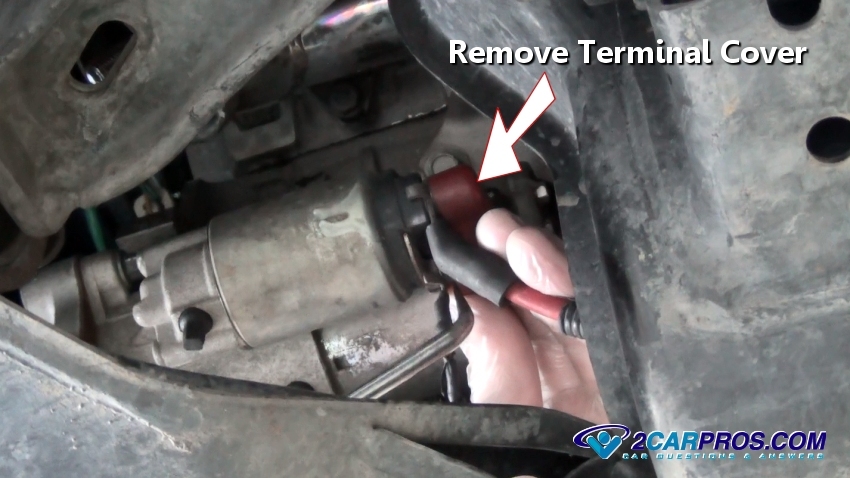
Step 2 - After the battery has been disconnected, remove all access shielding and covering to expose the starter terminals on the solenoid. (Note: Some starters may not have this.)

Removing Starter Terminal Cover
Step 3 - Exposing these terminals will allow access to loosen and remove the battery cable and trigger wire, note the position of the wires on the solenoid.

Starter Terminal
Step 4 - After the terminals have been exposed, use a small socket or wrench to remove the starter solenoid trigger wire. (Note: Next two steps can be done after the starter has been unbolted.)

Remove Starter Trigger Wire
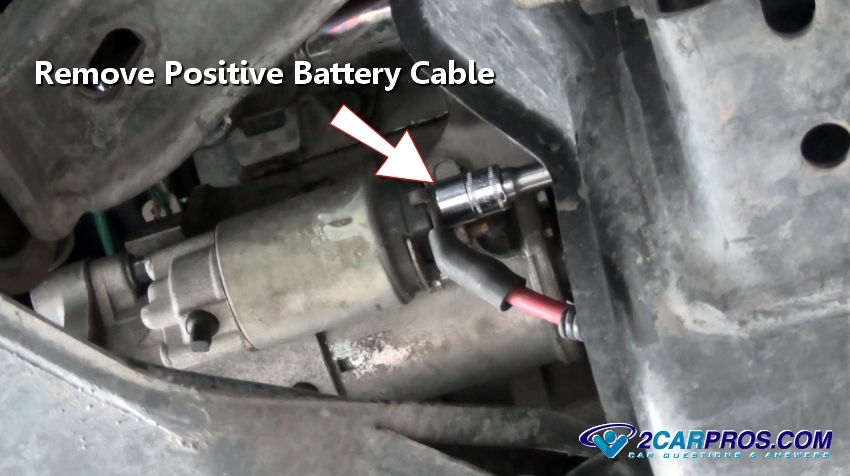
Step 5 - Next, use a slightly larger socket or wrench to remove the positive battery cable.

Removing Positive Battery Cable
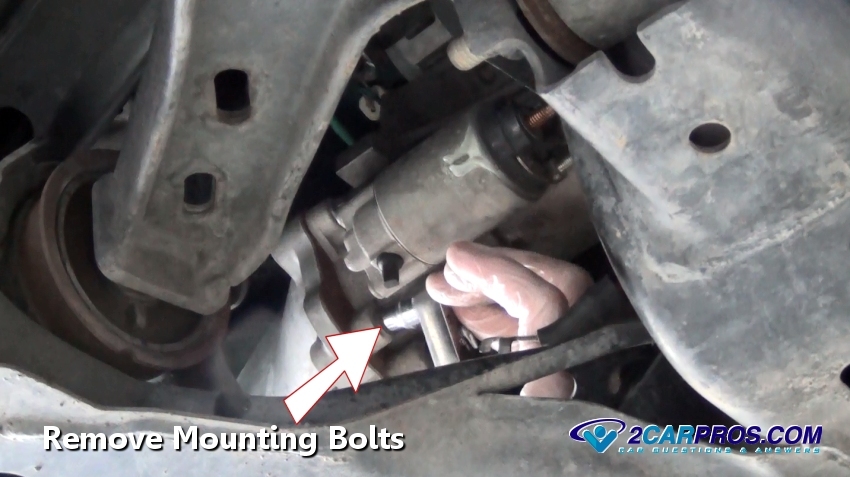
Step 6 - Once the wiring has been removed, locate the starter mounting (2 or 3) bolts and remove them. (Note: The starter will become free from the bell housing, it weighs a few pounds.)

Removing Starter Mounting Bolts
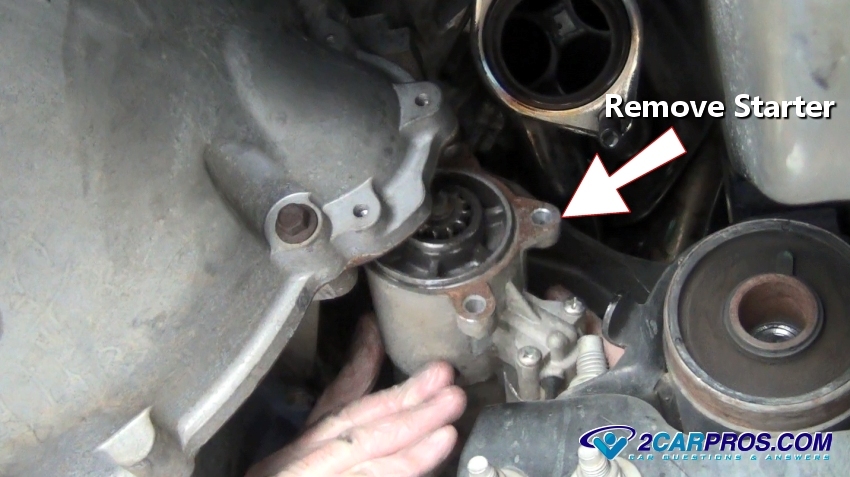
Step 7 - After removing the starter motor mounting bolts, grasp the starter and remove it from the bell housing area, take this opportunity to inspect the flywheel gear condition.

Remove Starter
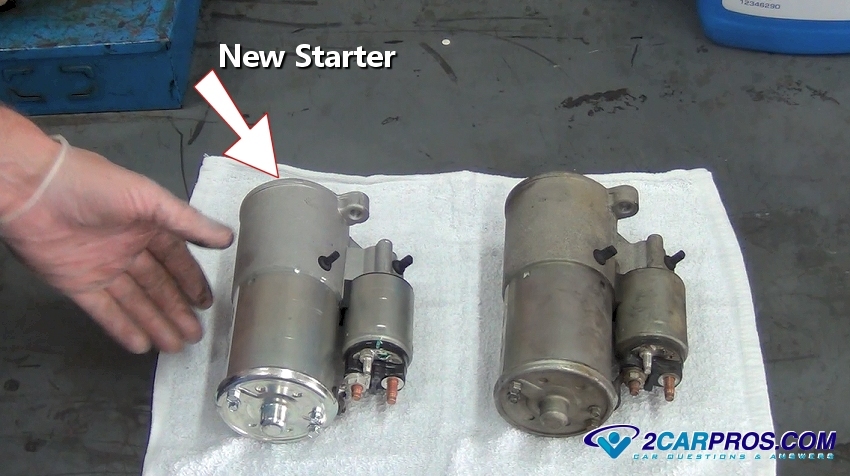
Step 8 - Once the old starter has been removed, match the replacement unit to ensure a proper installation.

New Starter
Step 9 - After cleaning the mounting surfaces thoroughly, gently install the starter motor. (Note: Starters contain magnets which are brittle and can crack hindering the starter performance if not handled carefully.)

Installing New Starter Motor
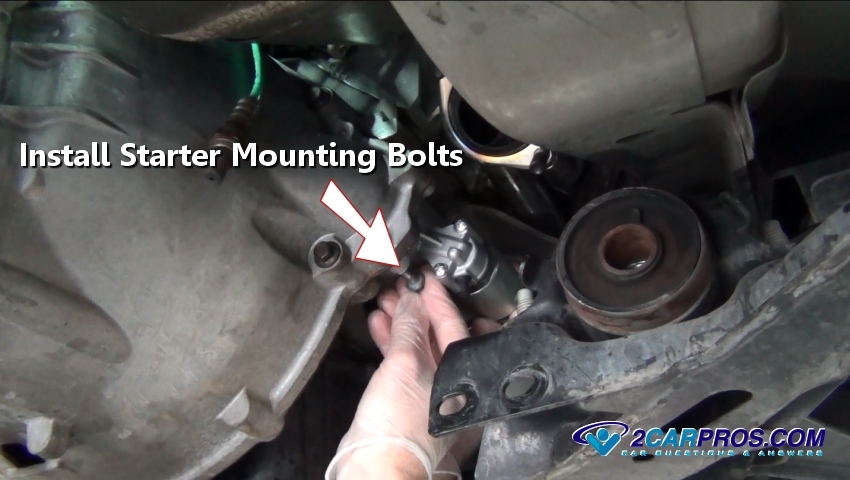
Step 10 - Position the starter into the transmission bell housing, insert the mounting bolts and thread by hand.

Installing Starter Mounting Bolts
Step 11 - After all starter bolts have been installed, use a socket or wrench to tighten evenly.

Tightening Starter Mounting Bolts
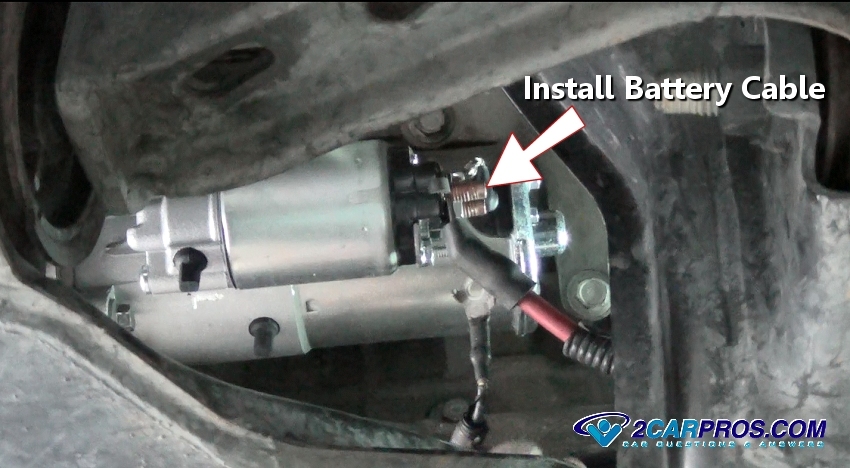
Step 12 - After tightening mounting bolts, insert the positive battery cable onto the starter solenoid.

Installing Positive Battery Cable
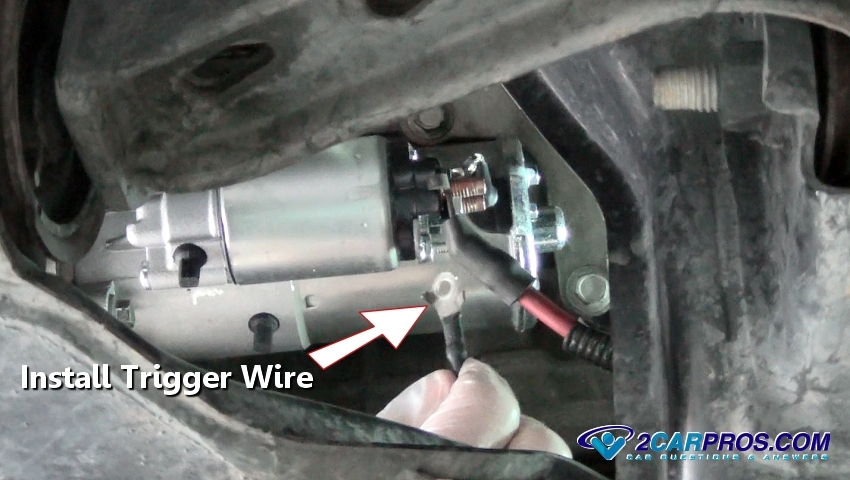
Step 13 - Grasp the starter trigger wire and insert in onto the starter solenoid.

Installing Starter Trigger Wire
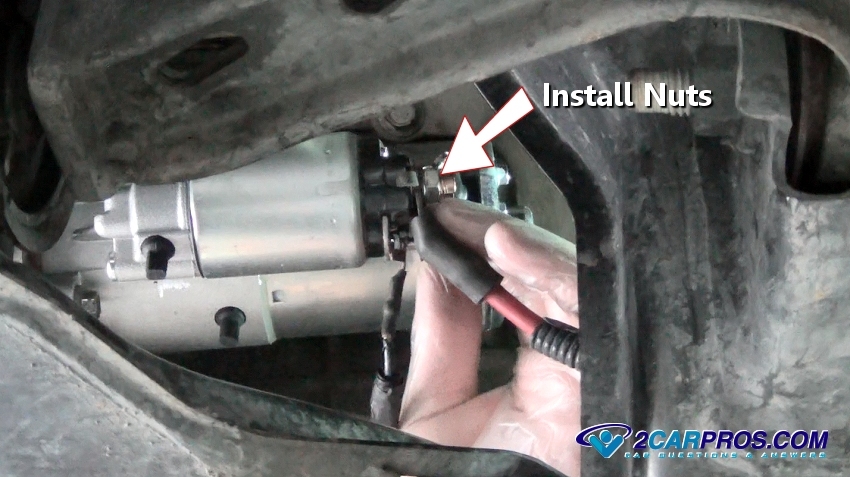
Step 14 - Reinstall both positive battery, and trigger wire mounting nuts by hand to avoid cross threading.

Installing Wiring Nuts
Step 15 - Use a wrench or socket to tighten both, positive battery cable and trigger wire, do not to over tighten to avoid breaking the solenoid end cap.

Tighten Starter Mounting Bolts
Step 16 - After wiring mounting nuts have been tightened, reinstall the terminal cover. Before lowering the car, double check all wiring connections to ensure there is no contact to ground (engine block, frame etc.)

Reinstall Terminal Cover
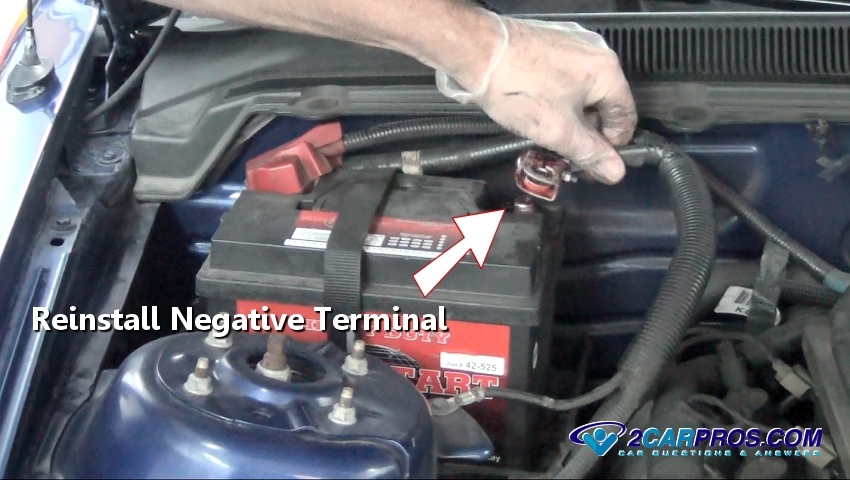
Step 17 - When reconnecting the negative battery cable, quickly (lightly) touch and release the cable to battery terminal, this quick check tests for a short circuit. Though a light (little) spark is normal, a large "zap" means there is a problem with the starter installation.

Reinstalling Negative Battery Cable
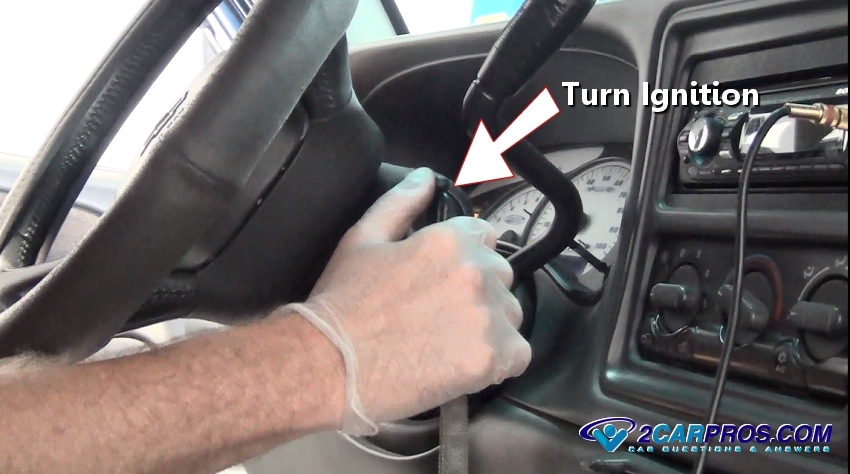
Step 18 - Once the job is complete, turn the ignition key to check the starter operation, if the starter does not work or makes abnormal noises, recheck the job wiring and starter mounting bolts.

Turn Ignition Key

Negative Battery Terminal Removal
Removing Starter Terminal Cover
Step 3 - Exposing these terminals will allow access to loosen and remove the battery cable and trigger wire, note the position of the wires on the solenoid.

Starter Terminal

Remove Starter Trigger Wire
Removing Positive Battery Cable
Removing Starter Mounting Bolts
Remove Starter
New Starter

Installing New Starter Motor
Installing Starter Mounting Bolts

Tightening Starter Mounting Bolts
Installing Positive Battery Cable
Installing Starter Trigger Wire
Installing Wiring Nuts

Tighten Starter Mounting Bolts

Reinstall Terminal Cover
Reinstalling Negative Battery Cable
Turn Ignition Key


Comments
Post a Comment