Rec1

Thursday 2 April 2015

Radiator Fan Motor Replacement

How To Replace Radiator Fan Motor


Tools and Supplies Needed
  • Socket set
  • Wrench set
  • Replacement cooling fan
  • Fluid catch basin
  • Protective eyewear and gloves
  • Hose clamp tool or channel locks
Helpful Information
A cooling fan helps move air through the radiator when the vehicle is stopped or moving slowly. An electric fan motor connected to a plastic fan blade located directly behind the radiator which is controlled by a coolant temperature sensor. This engine temperature information is utilized by the computer which signals the control relay to send power to the cooling fan.
When the air conditioner is used, the cooling fan automatically activates to remove heat from the condenser regardless of engine temperature. To inspect a cooling fan start with ignition key "OFF". By hand, spin the fan blade, it should "freewheel", if the fan motor does not spin or is hard to turn, it has failed and replacement is required. If the fan motor fails to activate electrically check the cooling fan fuse and relay and replace as needed.
Best Practices
  • Check the main fan blade mounting nut for tightness.
  • Electrical connectors must free from dirt and debris to ensure proper current flow.
  • Allow the engine to warm up to operating temperature until the cooling fan turns on. If the fans turn "ON" and the engine overheats anyway, check for engine overheating
  • Use caution while replacing the cooling fan, if radiator damage occurs it must be replaced.

Step by step repair guide on how to replace a radiator cooling fan motor, this article pertains to all vehicles designed with electric cooling fans.
Difficulty Scale: 3 of 10
Begin with the engine cold, vehicle on level ground in park, with the emergency brake set.

Step 1
 - Locate and disconnect the electrical connector for the cooling fan.

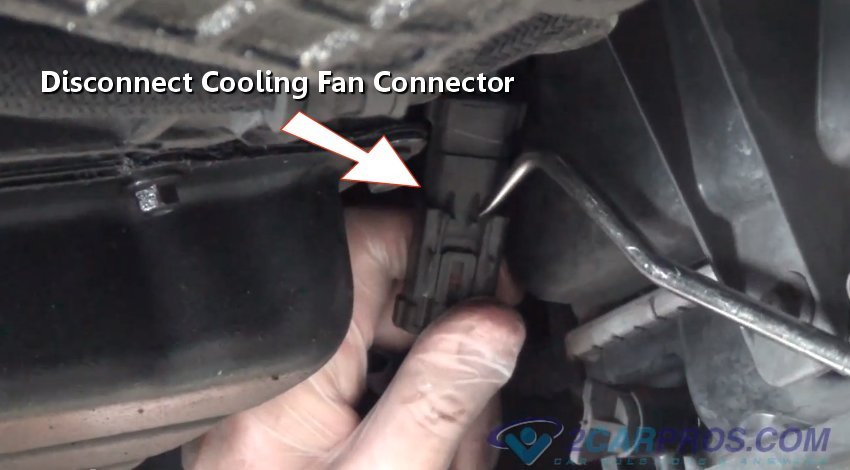
Disconnect Cooling Fan Electrical Connector
Step 2 - Next, remove the lower mounting bolts that attach the fan to the radiator. (Note: Some vehicles have alignment dowels which need not be removed.)

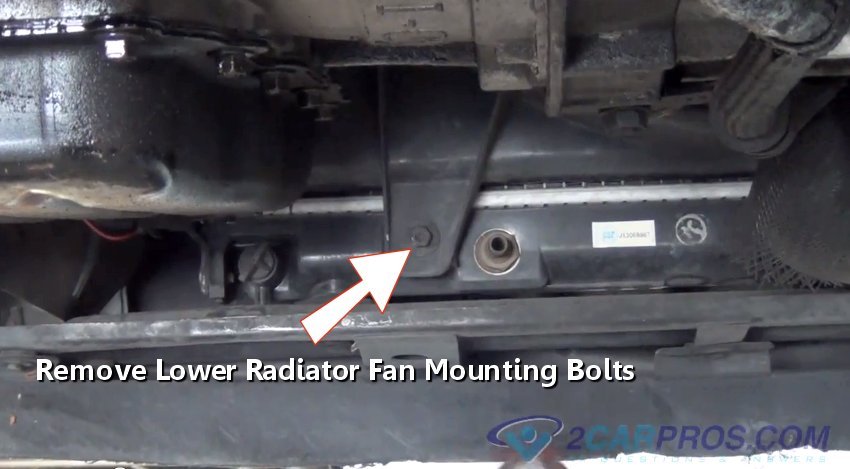
Removing Lower Fan Mounting Bolts

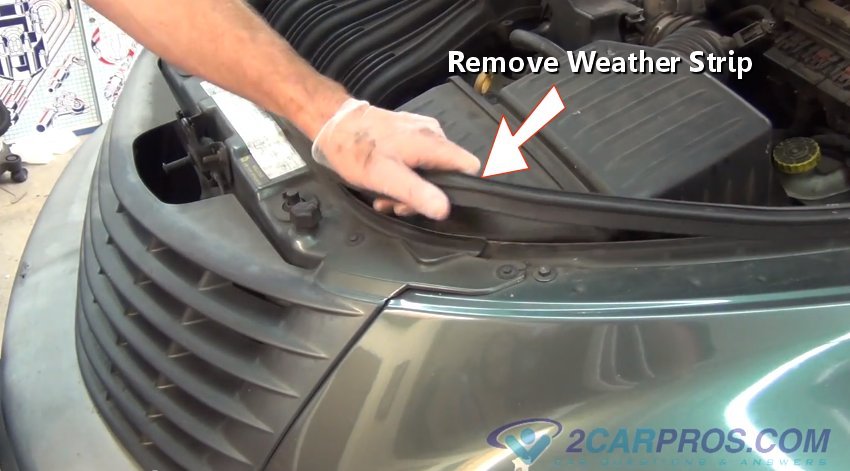
Step 3
 - Remove any weather stripping that will help access the cooling fan. (Note: This is not needed on most vehicles.)
Remove Weather Stripping
Step 4 - Then, loosen mounting bolts or clips to remove any plastic shielding that will inhibit the replacement of the cooling fan.

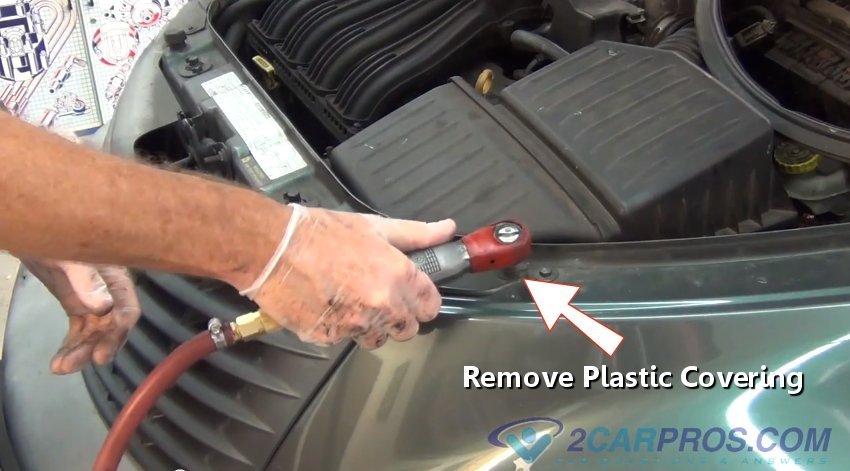
Remove Plastic Covering
Step 5 - Once all mounting bolts have been removed, lift the plastic covering from the vehicle.

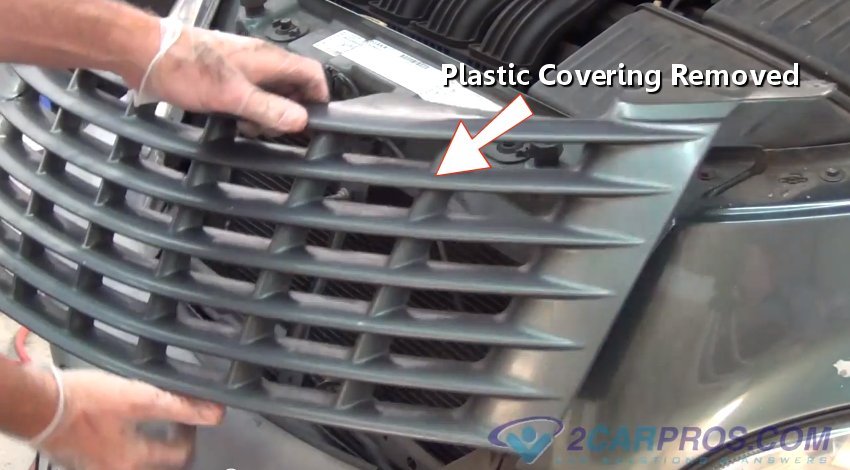
Plastic Cover Removed (Grill)
Step 6 - After the plastic covers have been removed, loosen and remove the core support mounting bolts. (Note: This is not needed in some vehicles.)

Remove Core Support Bolts
Step 7 - Next, lift the core support from the vehicle. (Note: A hood cable release could be mounted to this support.)

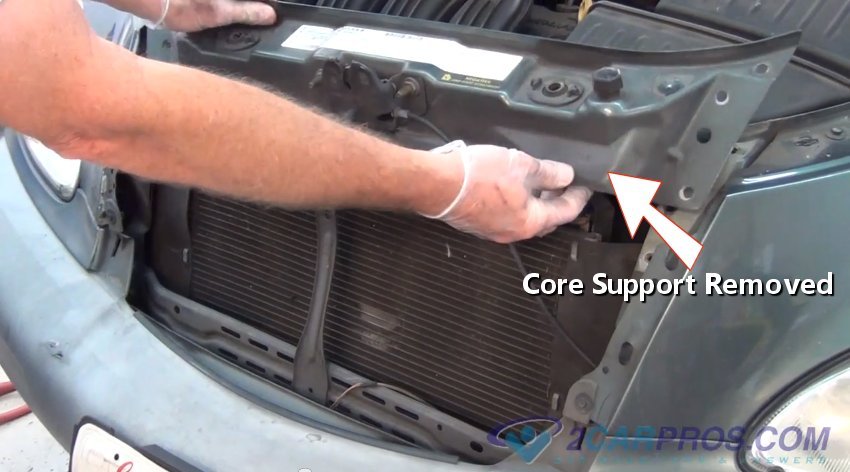
Core Support Removed
Step 8 - Then, loosen the upper radiator hose clamp using a hose clamp tool or channel locks.

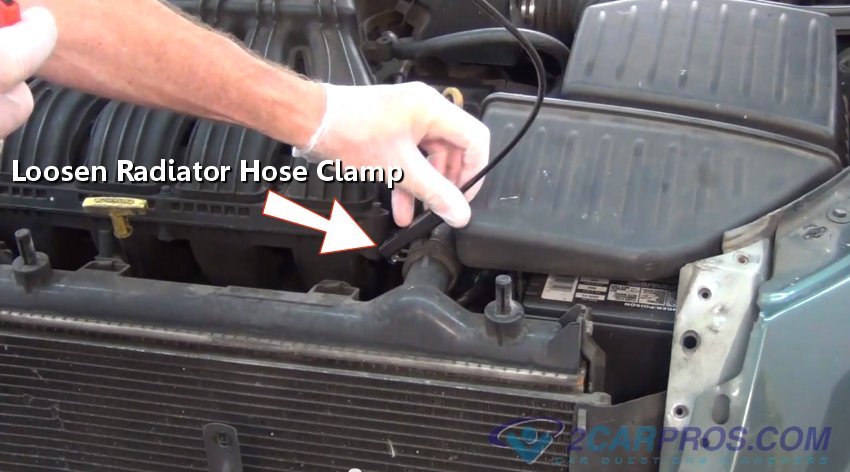
Loosen Upper Radiator Hose Clamp
Step 9 - Once the clamp has been loosened, grasp the hose and twist using a hose pick or screwdriver to assist. Have a fluid catch basin ready as coolant will leak out. (Note: Depressurize or drain the radiator if needed.)

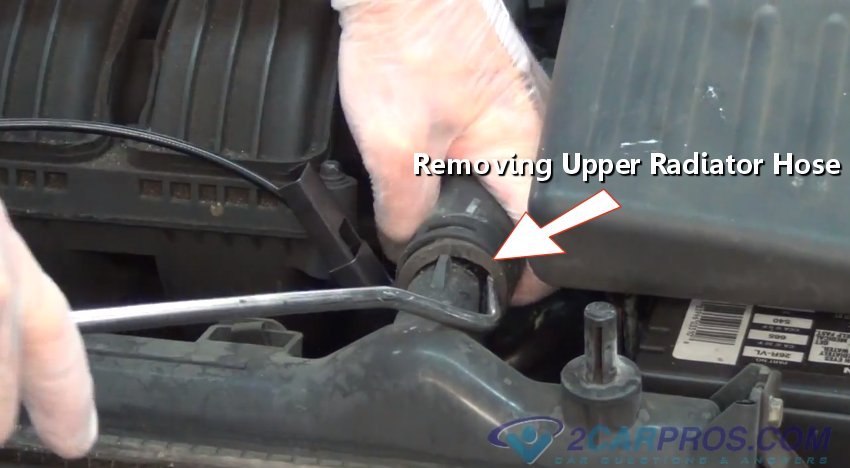
Remove Upper Radiator Hose
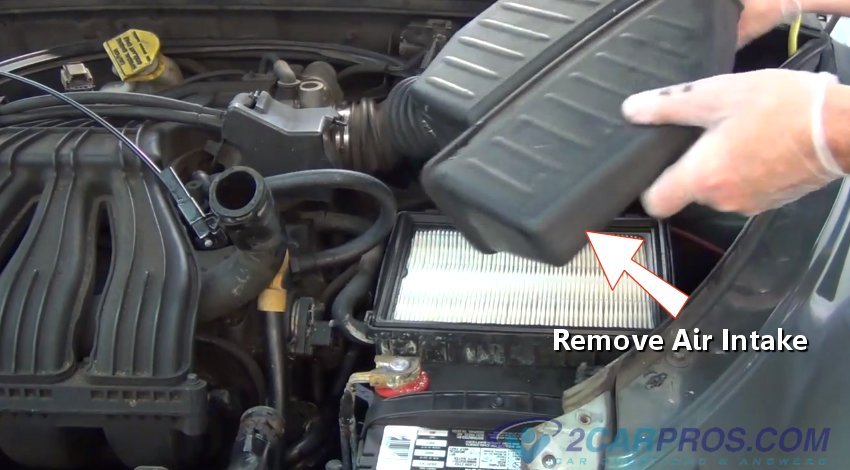
Step 10 - After the upper radiator hose has been removed, undo the mounting clips or bolts that hold the air intake in position. (Note: This step needed only if the air intake is blocking the removal of the cooling fan.)

Remove Air Intake
Step 11 - Next, loosen and remove the upper mounting bolts from the cooling fan radiator mount.

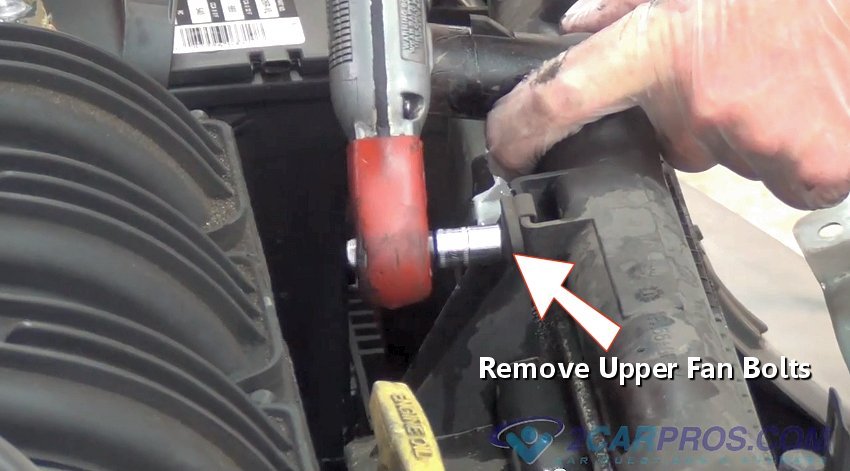
Remove Upper Cooling Fan Bolts
Step 12 - Once all mounting bolts and clips have been removed, gently lift the cooling fan from the engine bay. Use caution when performing this action as to not damage the radiator cooling fins.

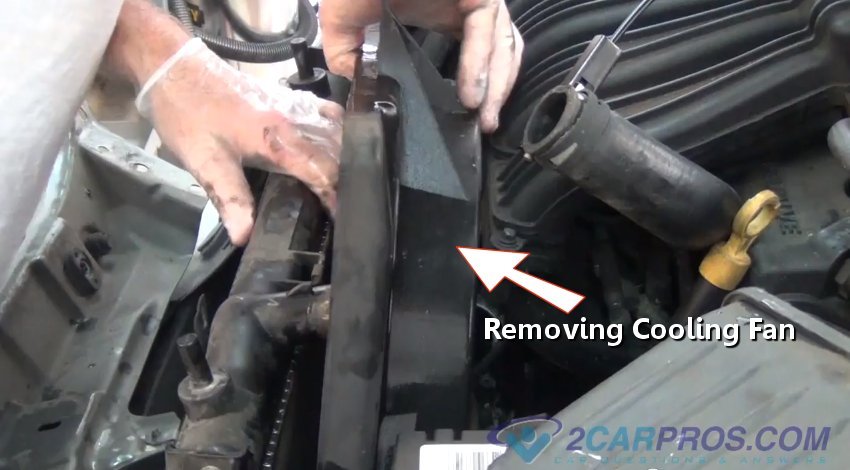
Removing Cooling Fan
Step 13 - After the failed cooling fan has been removed, compare the old fan to the replacement cooling fan. Inspect mounting tabs and electrical connector to ensure proper installation. (Note: Some cooling fan designs feature the replacement motor separate.)

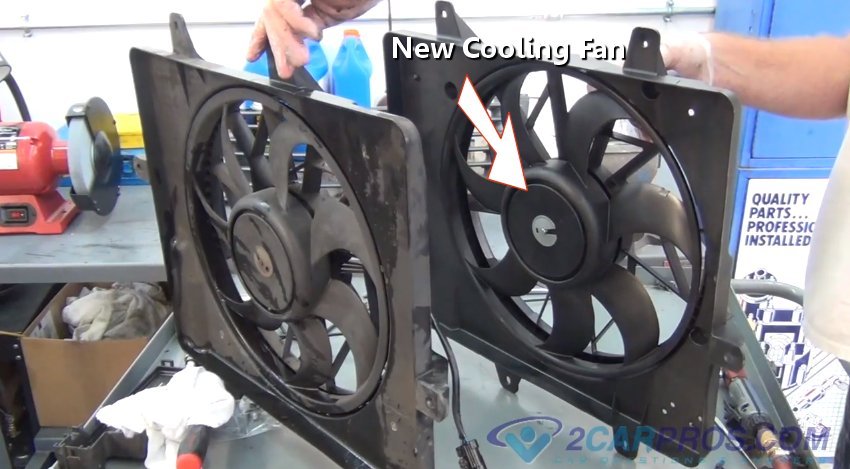
Matching Failed Fan to Replacement Fan
Step 14 - Gently lower the new cooling fan down into the engine bay and onto the radiator. Again, use caution when performing this as not to damage the radiator cooling fins.) Reassembly all mounting bolts etc., refill cooling system and check the coolant reservoir, add fluid as needed.

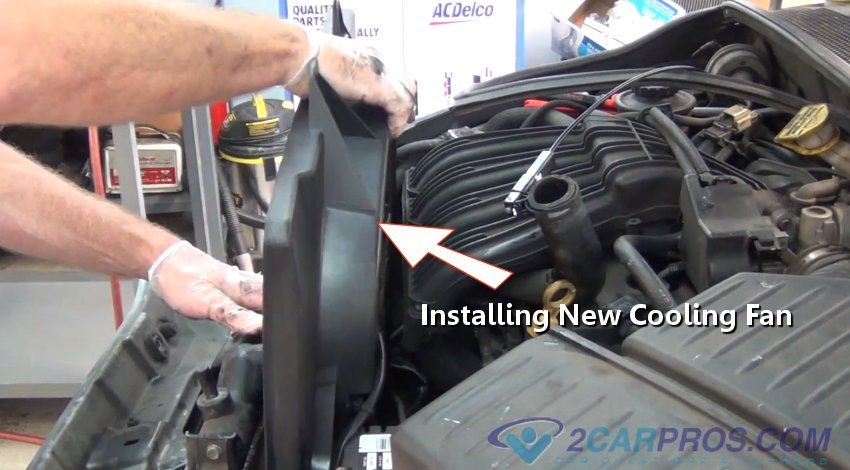
Installing New Cooling Fan
Once these steps have been completed, simply reverse the order to reassemble. Start the engine and turn the air conditioner "ON", or wait until the engine reaches operating temperature to check for fan operation and recheck coolant level.

No comments:

Post a Comment