Thermostat Replacement
How To Replace Car Thermostat
Helpful Information
Like any mechanical device, over time, the thermostat can fail due to a weak spring or corrosion. If the thermostat is stuck closed, coolant cant flow which will result in engine overheating, if the thermostat is stuck in the open position, the engine will not reach operating temperatures in cold weather, passenger heater operations will also be weak.
Coolant is toxic and can be fatal to animals and children so use caution when handling and be sure to recycle at a proper collection facility.
Tools and Supplies Needed
- Screwdriver set
- Pliers
- Drain pan
- Socket set
- Gasket scraper or sand paper
- Coolant
- New thermostat and gasket
- Shop towel
- Replace radiator hoses and clamps
- Flush cooling system
- When the system is hot it holds pressure, use caution.
Easy step by step guide on how to replace an automobile engine cooling system thermostat, this information will vary per application but follows the same process.
Difficulty Level - 4
Begin with the vehicle on level ground, engine cold, in park with the emergency brake set, disconnect the negative battery cable and wear protective gloves and eyewear.
Step 1 - Slowly open the radiator cap to relieve pressure inside the cooling system.

Remove Radiator Cap
Step 2 - Remove vehicle's under shielding to locate the radiator drain valve, loosen the valve to begin draining coolant, close the valve once finished draining. (Note: if no drain plug is available, use the lower radiator hose.)

Drain Coolant
Step 3 - Loosen the hose clamp which holds the radiator hose to the thermostat housing.

Loosen Hose Clamp
Step 4 - Use a wrench or a socket to remove the housing nuts or bolts.

Remove Thermostat Housing Nuts
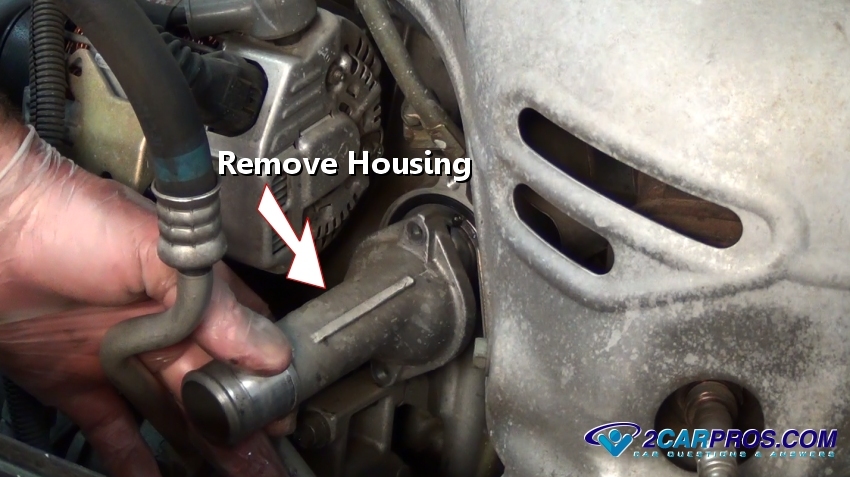
Step 5 - Gently tap on the housing using a small hammer to break the seal loose.

Remove Thermostat Housing
Step 6 - Once the housing has been removed, inspect and clean the gasket sealing surface for corrosion which would impede the new gaskets ability to seal correctly.

Thermostat Housing
Step 7 - The thermostat could be stuck in the block or intake manifold and will need pliers to be removed, note the direction of the thermostat.

Remove Thermostat
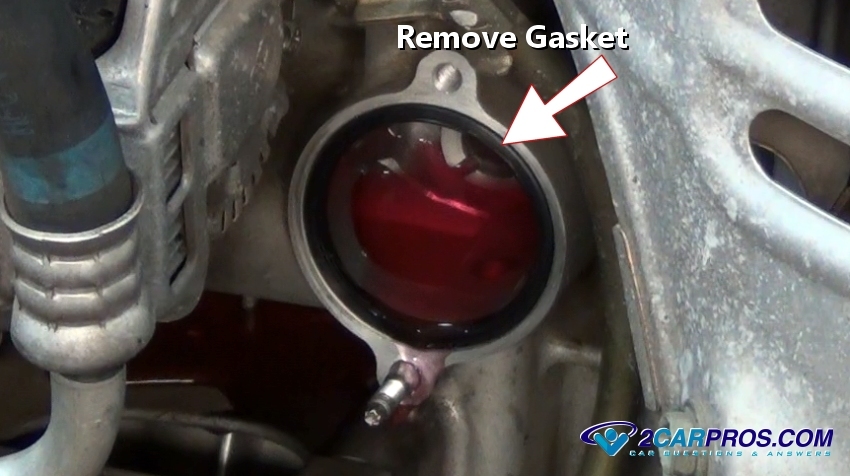
Step 8 - Remove the thermostat housing sealing gasket, clean the area using a shop towel to remove all debris which will enable the new gasket a proper sealing surface.

Remove Gasket
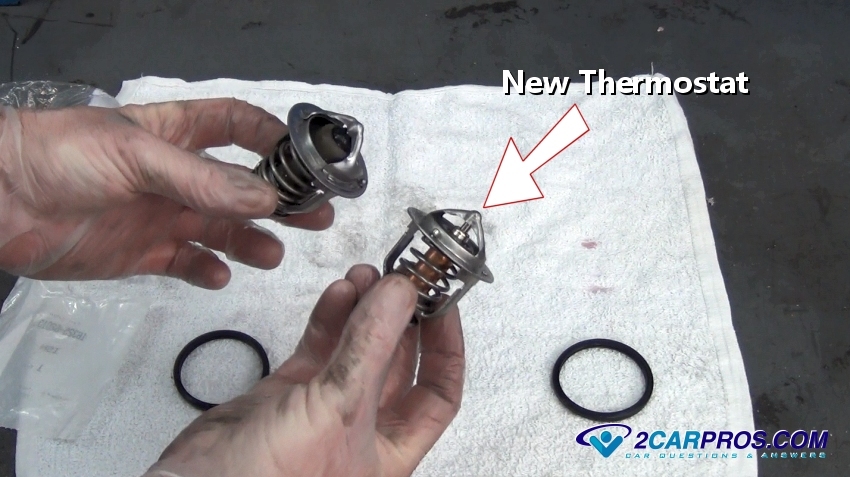
Step 9 - Match the old thermostat to the new unit, designs may vary.

New Thermostat
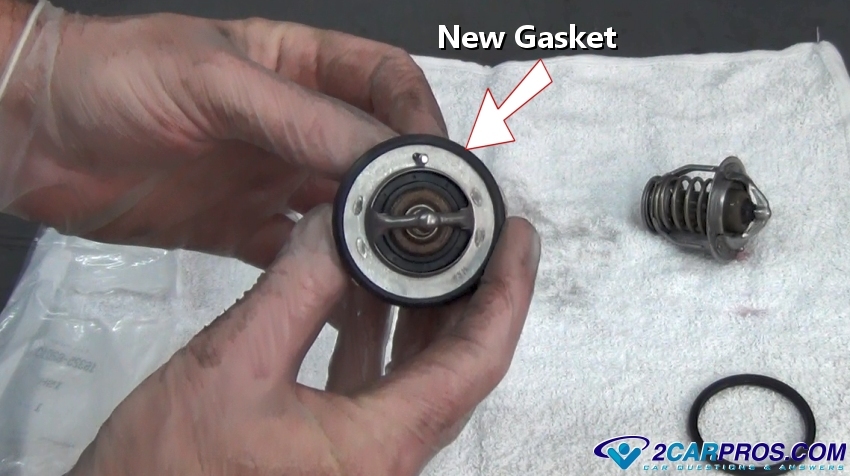
Step 10 - Install the new thermostat gasket to avoid leakage.

Install New Thermostat Gasket
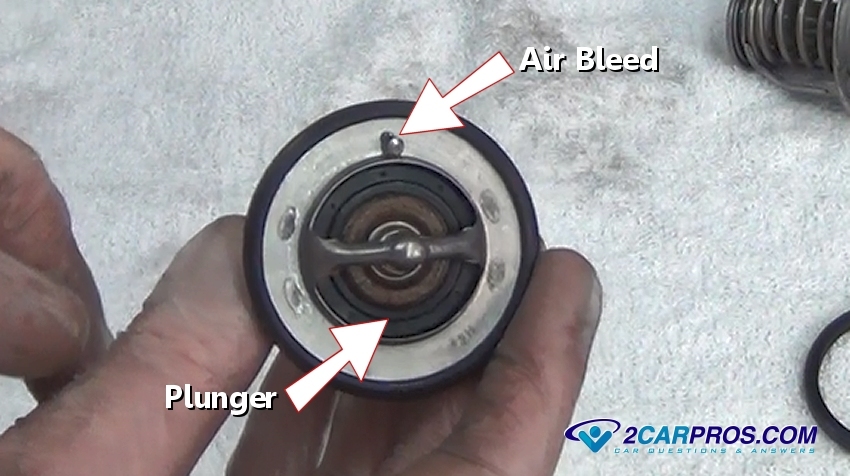
Step 11 - The new thermostat must be installed with the air bleed hole facing upward.

Air Bleed Hole
Step 12 - Once the sealing surfaces are clean, install the new thermostat, bleed hole "UP", push the thermostat into place.

Installing New Thermostat
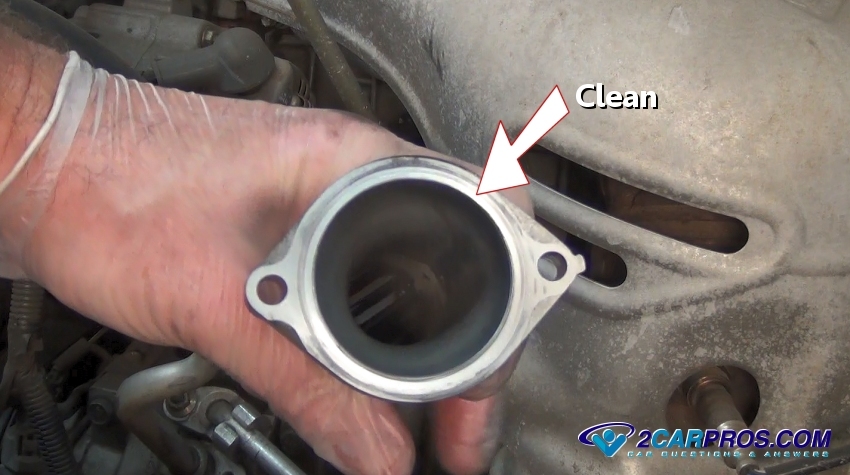
Step 13 - Before reinstalling the thermostat housing, clean the sealing surface using a gasket scraper or sand paper.

Clean Thermostat Housing Sealing Surface
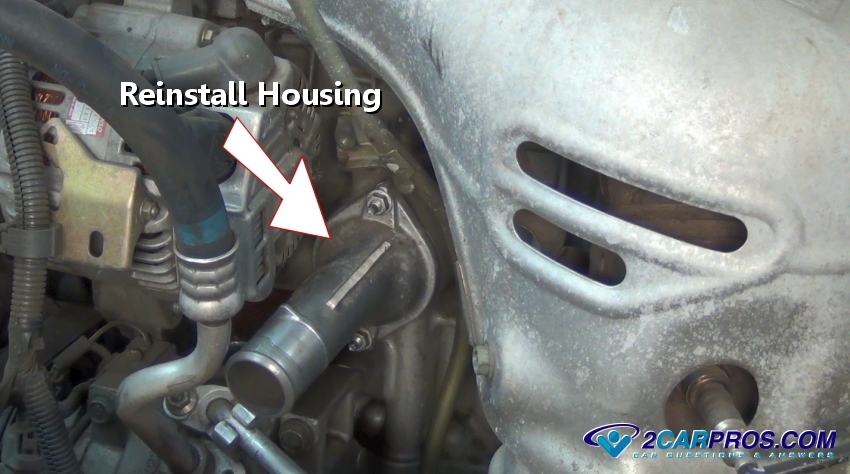
Step 14 - Reinstall the housing onto the block or intake manifold, install mounting bolts or nuts and tighten evenly.

Reinstall Thermostat Housing
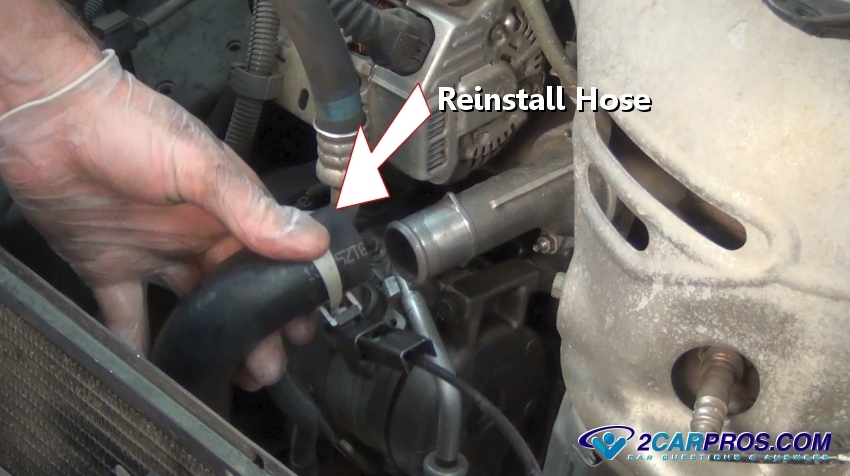
Step 15 - Release the hose clamp as the hose is reinstalled onto the thermostat housing.

Reinstalling Hose
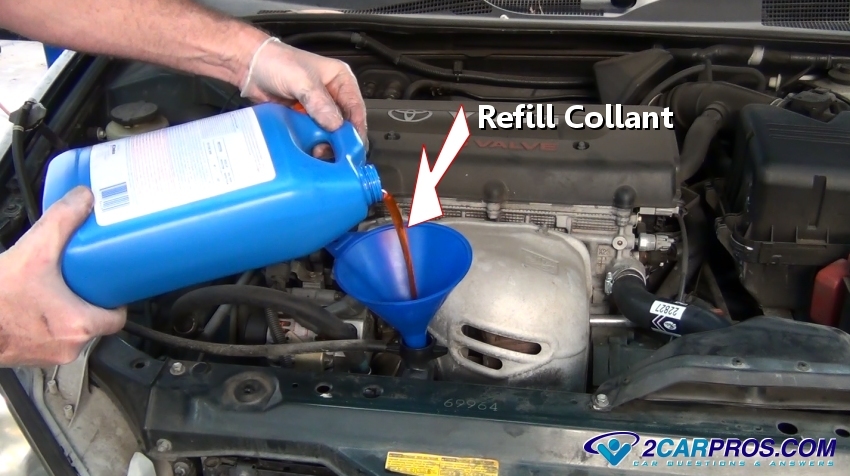
Step 16 - Refill the coolant level while slowly adding, start the engine and allow it to reach operating temperature (warm on the temperature gauge), recheck coolant level. ( Note: Some engines are designed with a coolant system bleeder valve which should be open when refilling.)

Refill Coolant
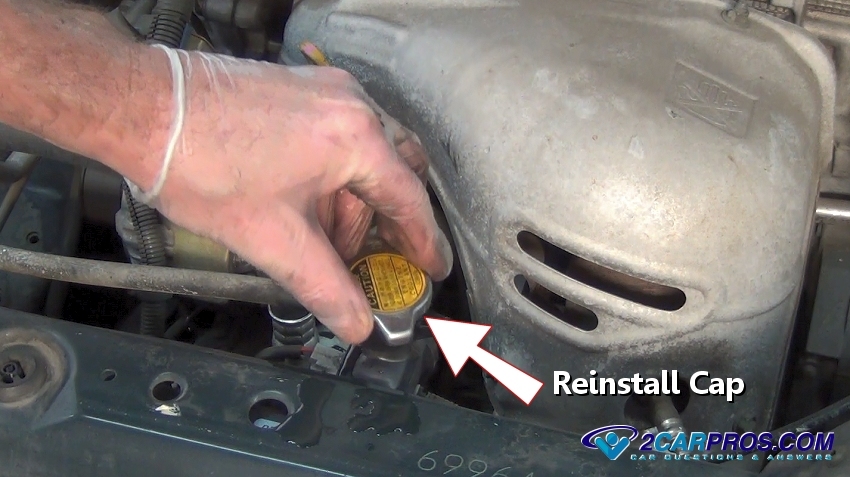
Step 17 - While the engine is running and warmed up, top off the coolant level and re install the radiator cap, check for leaks.

Reinstall Radiator Cap
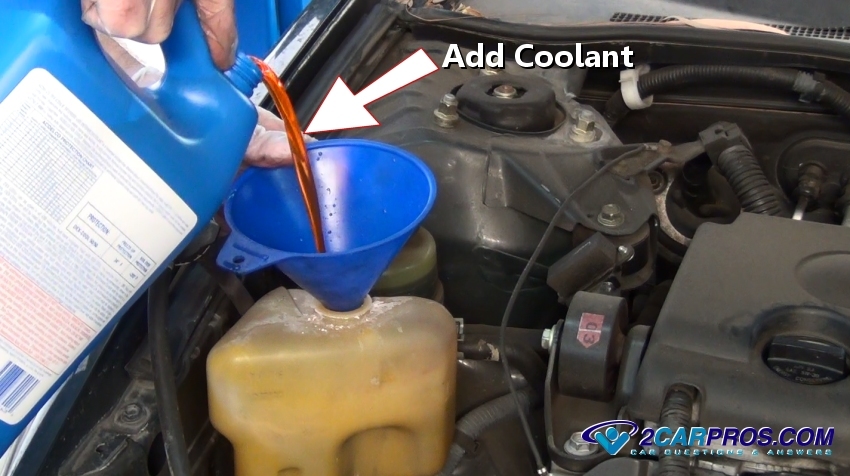
Step 18 - Remove the cap of the coolant reservoir it observe or add coolant. Its best to check this level in a few days in case more coolant is needed.

Add Coolant to Reservoir
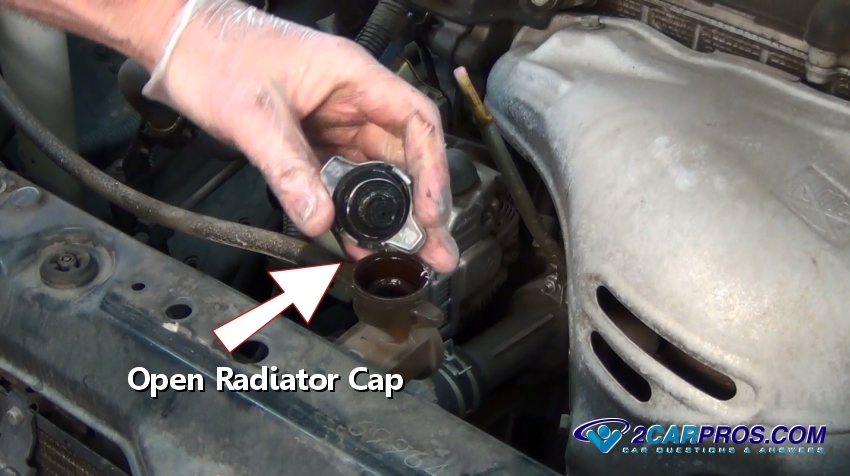
Remove Radiator Cap
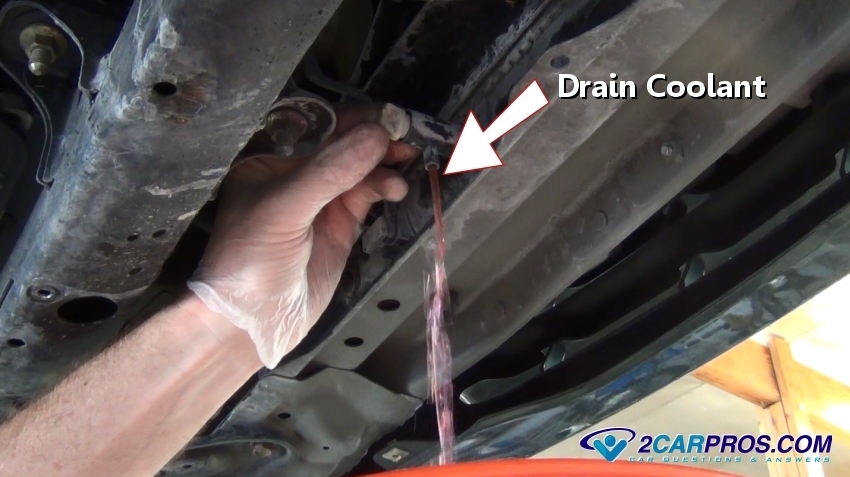
Drain Coolant
Step 3 - Loosen the hose clamp which holds the radiator hose to the thermostat housing.
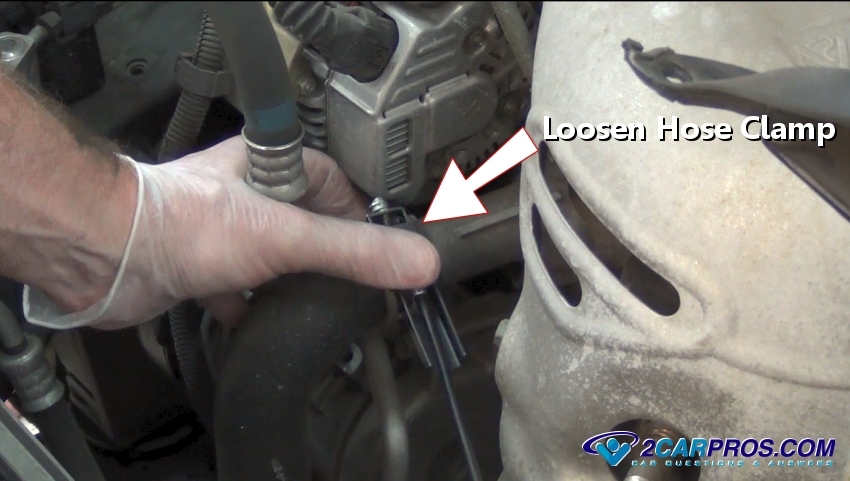
Loosen Hose Clamp
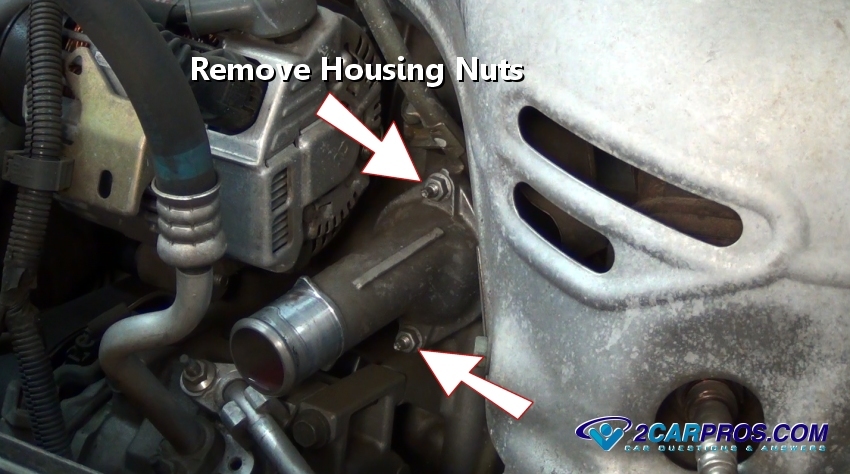
Remove Thermostat Housing Nuts
Remove Thermostat Housing

Thermostat Housing

Remove Thermostat
Remove Gasket
New Thermostat
Install New Thermostat Gasket
Air Bleed Hole

Installing New Thermostat
Clean Thermostat Housing Sealing Surface
Reinstall Thermostat Housing
Reinstalling Hose
Refill Coolant
Reinstall Radiator Cap
Add Coolant to Reservoir


Comments
Post a Comment