How To Replace Front Brake Pads And Rotors on Rear Wheel Drive Vehicles
Brake Pad and Rotor Replacement - Front RWD
Rear Wheel Drive Brake pad And Rotor Replacement
Step by step guide on how to replace front brake pads and rotors on a rear wheel drive vehicle. This article pertains to many rear wheel drive vehicles.
Difficulty Scale: 4 of 10
Tools and Supplies Needed
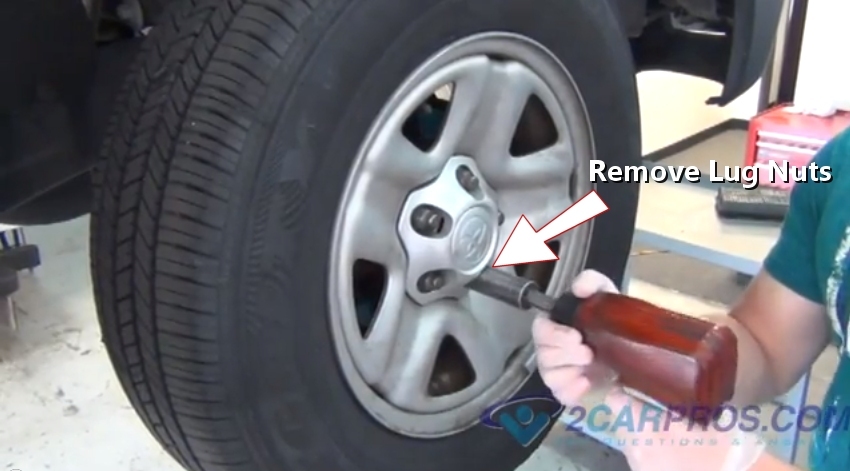
Step 1 - Once the vehicle is safely in the air remove the front tire lug nuts. (Note: If air tools are not used loosen the lugs (one turn) when the vehicle is still on the ground.)

Remove Lug Nuts
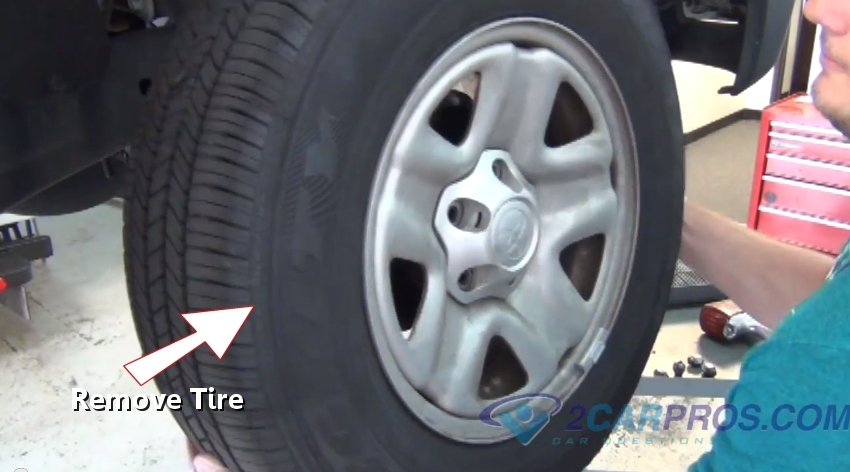
Step 2 - After the lug nuts have been removed, grasp the wheel and lift it from the rotor and wheel studs.

Remove Tire
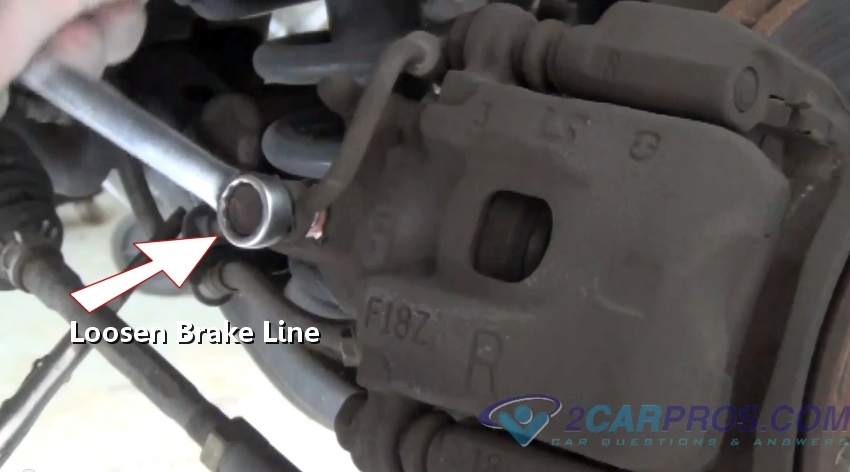
Step 3 - Gently using line pliers to stop the flow of brake fluid, loosen the brake line off of the brake caliper. (Note: This step needed only with some models.)

Loosen Brake Line
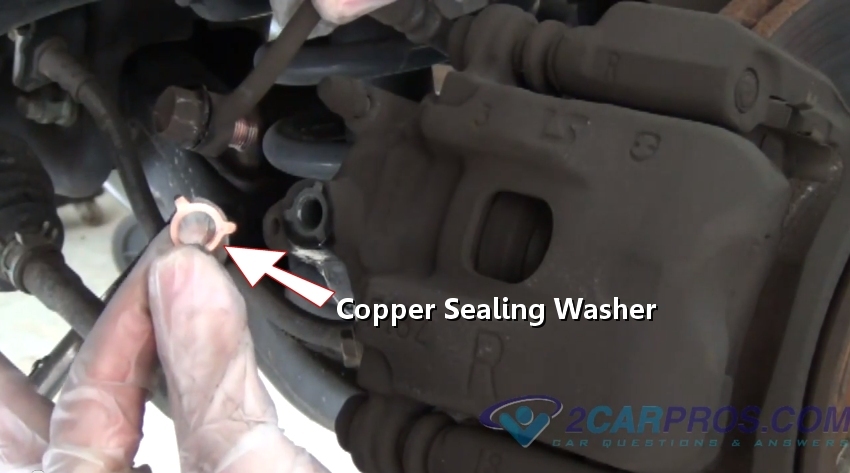
Step 4 - Once the brake line has been removed there will be two sealing washers which will need to be cleaned for reassembly.

Copper Sealing Washer
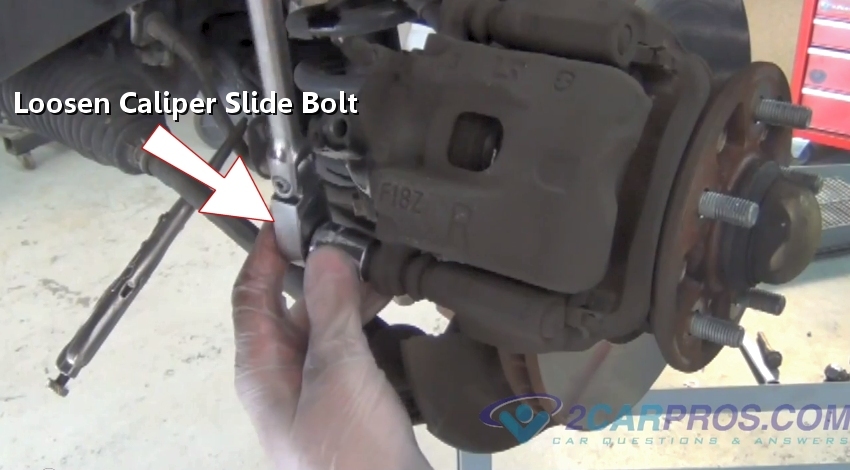
Step 5 - Loosen both caliper slide bolts with a socket or wrench.

Loosen Caliper Slide Bolts
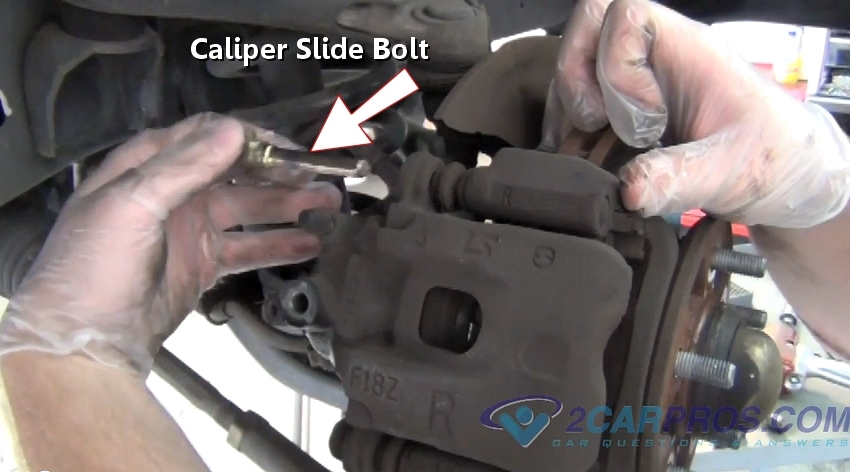
Step 6 - Next, finish loosening the bolts and remove.

Caliper Slide Bolt Removal
Step 7 - After the caliper bolts have been removed push the caliper side to side which will loosen the caliper for removal. Never allow the caliper to hang on the brake flex hose.

Brake Caliper
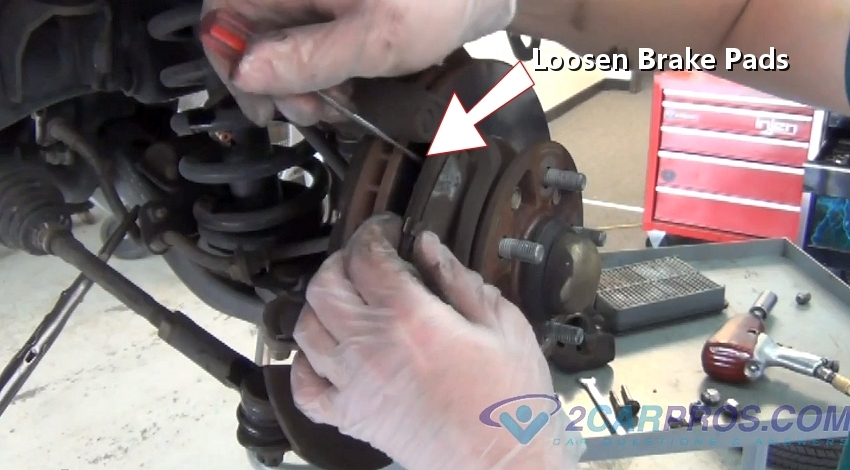
Step 8 - Using a small screwdriver loosen the pads from the brake rotor and caliper mount.

Loosen Brake Pads
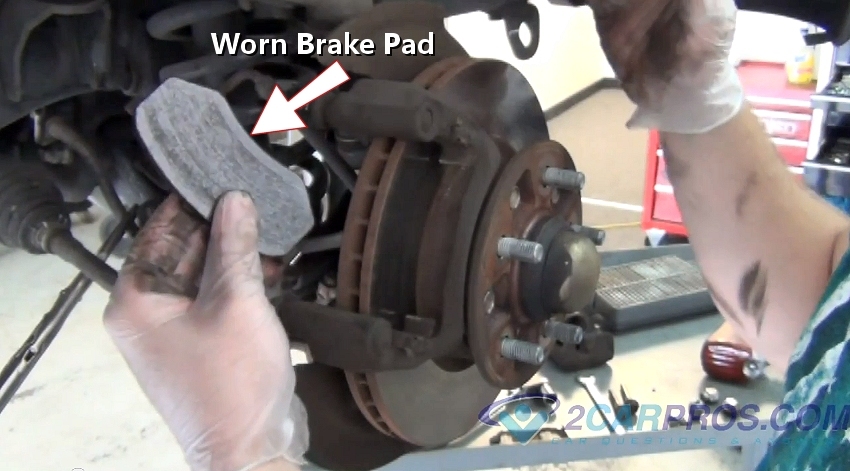
Step 9 - Once the pads are loose, remove them from the caliper mounting bracket.

Worn Brake Pad
Step 10 - Next, locate and remove the caliper mount bolts and remove the caliper mount.

Remove Caliper Mount Bolts
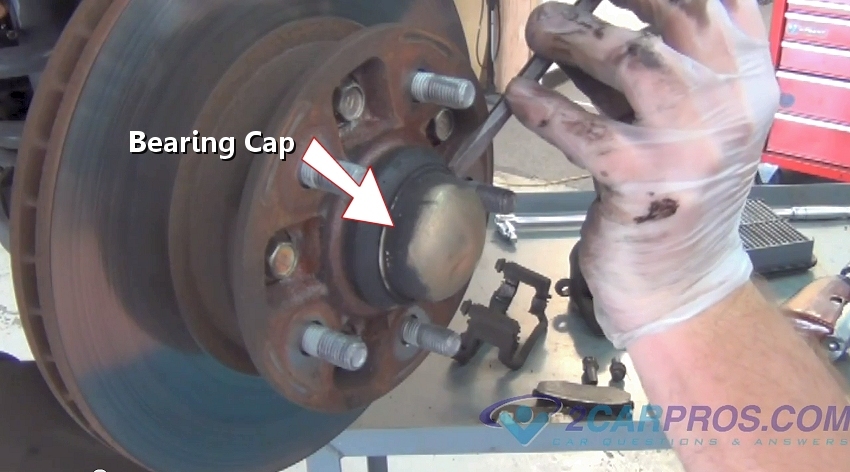
Step 11 - After the caliper mount has been removed, use a small chisel and hammer to knock the bearing dust cap from the rotor.

Remove Bearing Cap
Step 12 - While working the chisel and hammer be ready for the cap to pop off.
- Wrench set
- Socket set
- Large channel locks or "C' clamp
- Brake fluid
- Cotter pins
- Shop towels
- Replacement pads
- Replacement rotors
- Line pliers (optional)
- Dikes (side cutters)
- Small chisel
- Hammer
- Axle bearing grease
- Protective eyewear and gloves
Remove Lug Nuts
Step 2 - After the lug nuts have been removed, grasp the wheel and lift it from the rotor and wheel studs.
Remove Tire
Loosen Brake Line
Copper Sealing Washer
Loosen Caliper Slide Bolts
Caliper Slide Bolt Removal

Brake Caliper
Loosen Brake Pads
Worn Brake Pad

Remove Caliper Mount Bolts
Remove Bearing Cap
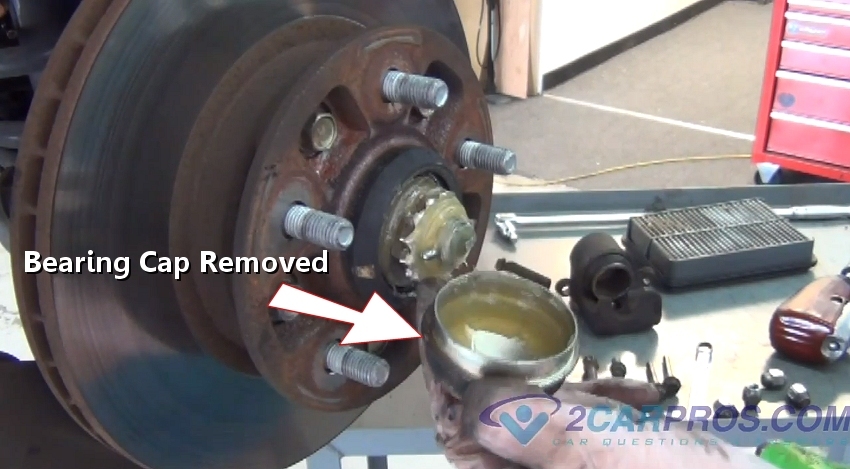
Bearing Cap Removed
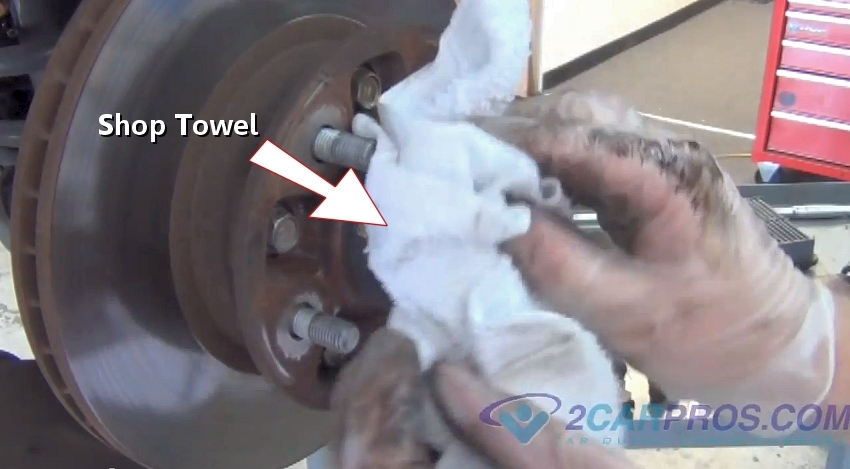
Cleaning Cotter Pin
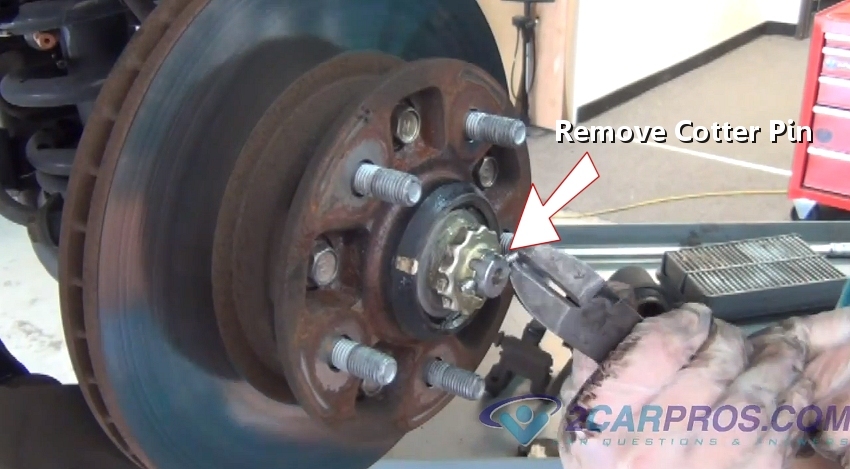
Remove Cotter Pin
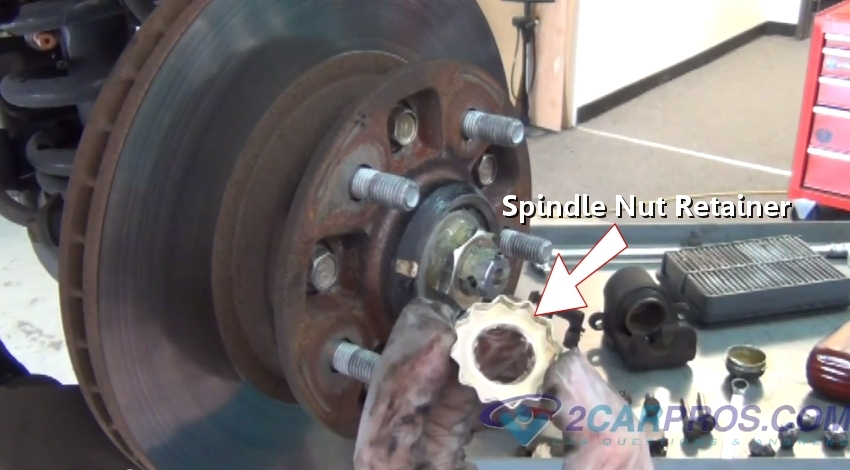
Spindle Nut Retainer
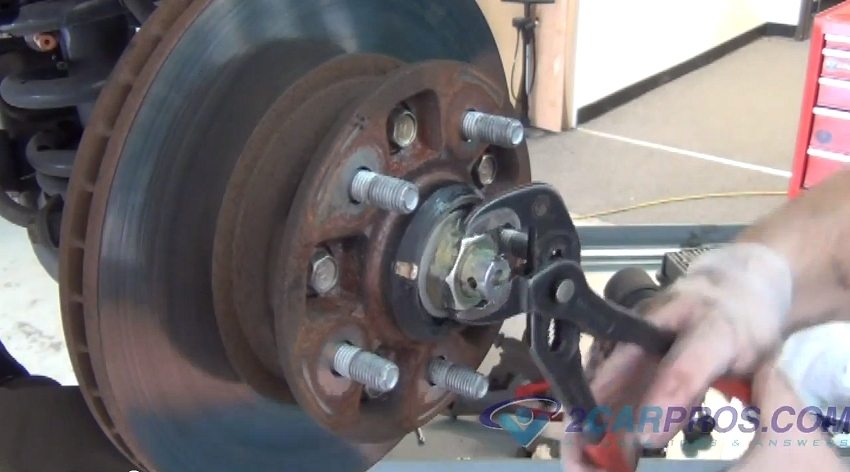 Step 16 - Then use a wrench or channel locks to remove the spindle nut.
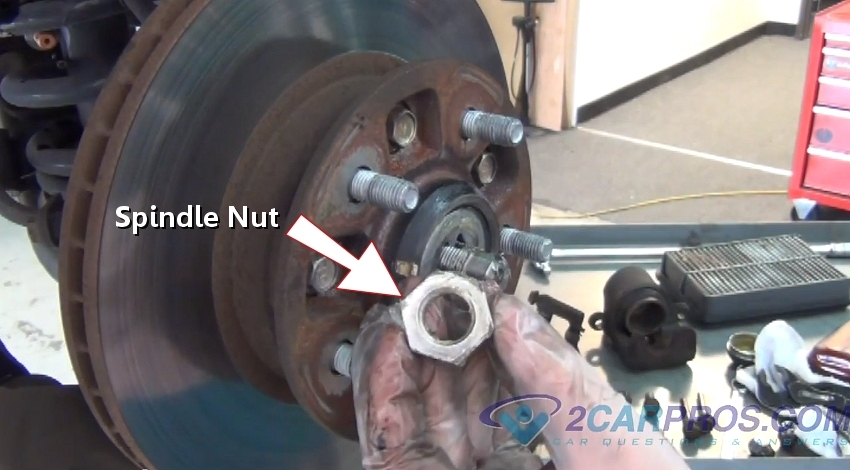
Spindle Nut
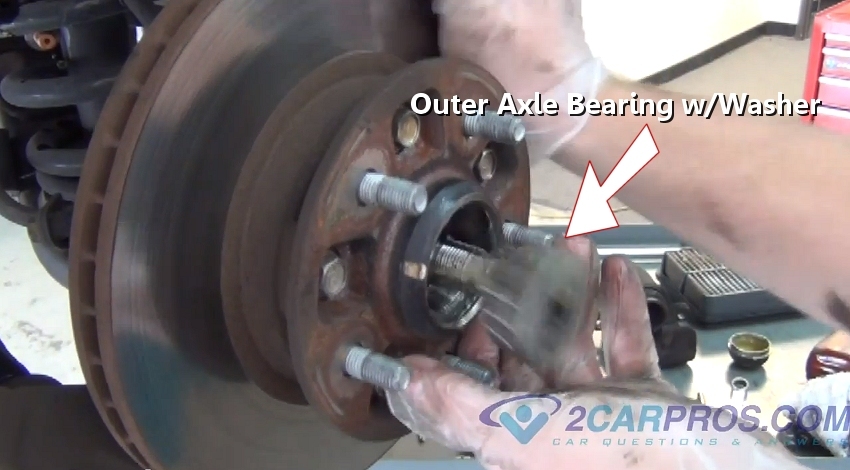
Removing Outer Axle Bearing
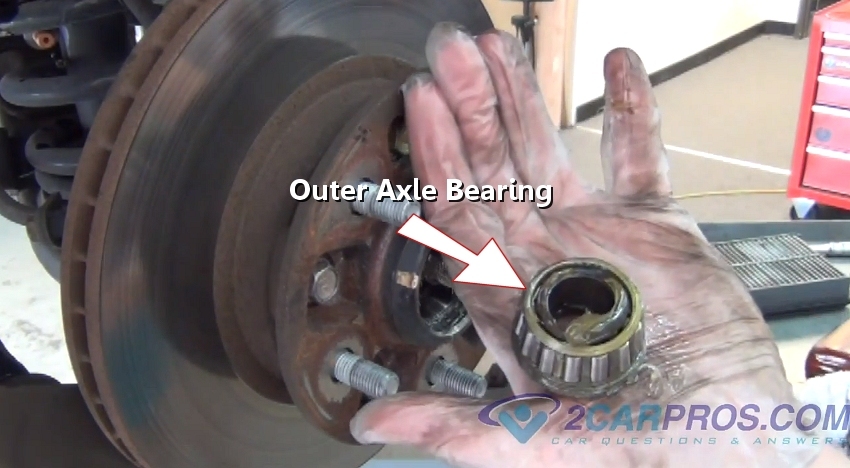
Outer Axle Bearing

Remount Axle Nut
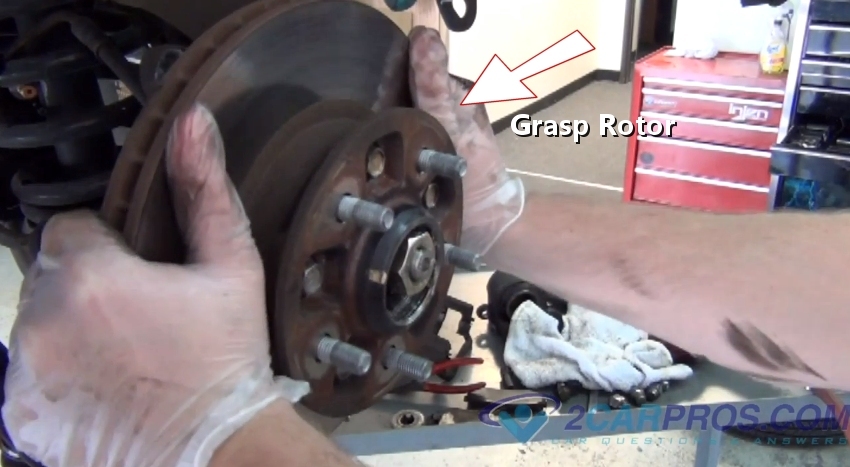
Grasp Rotor
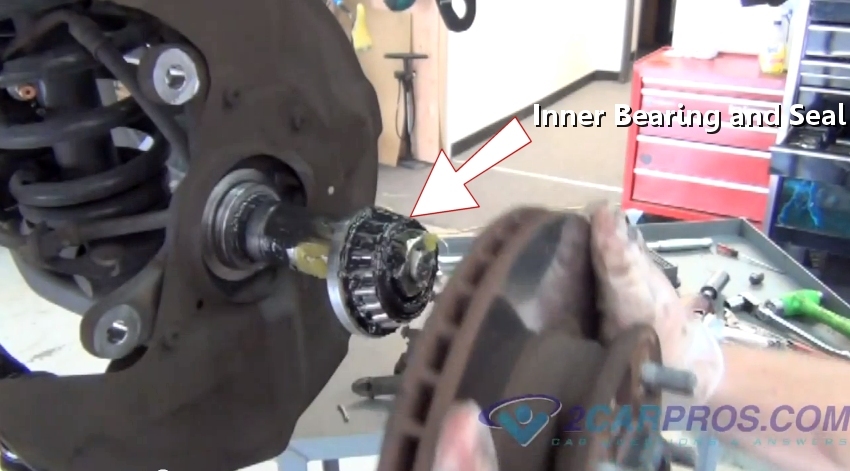
Inner Bearing w/Seal
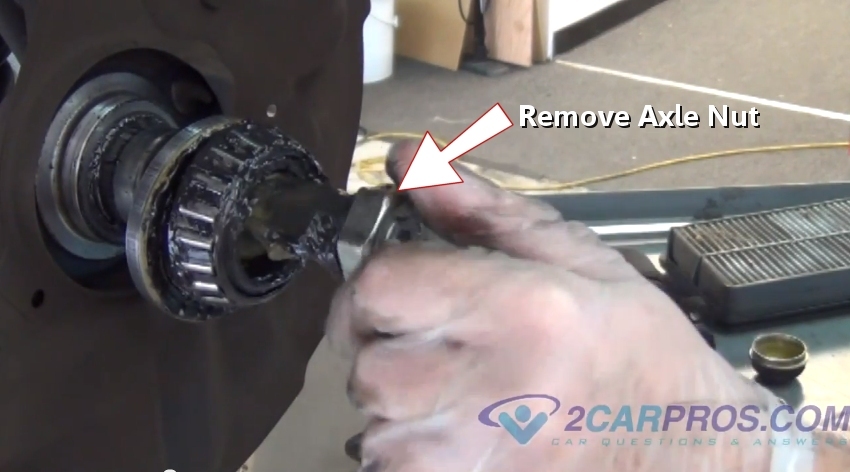
Remove Axle Nut
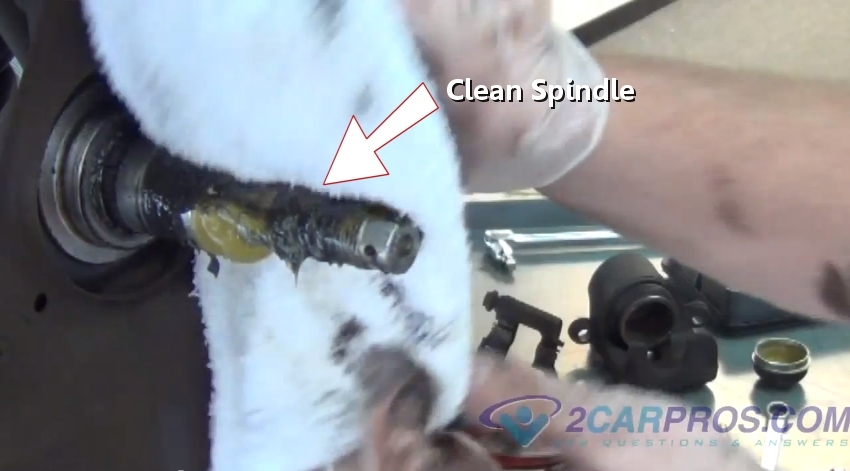
Clean Spindle
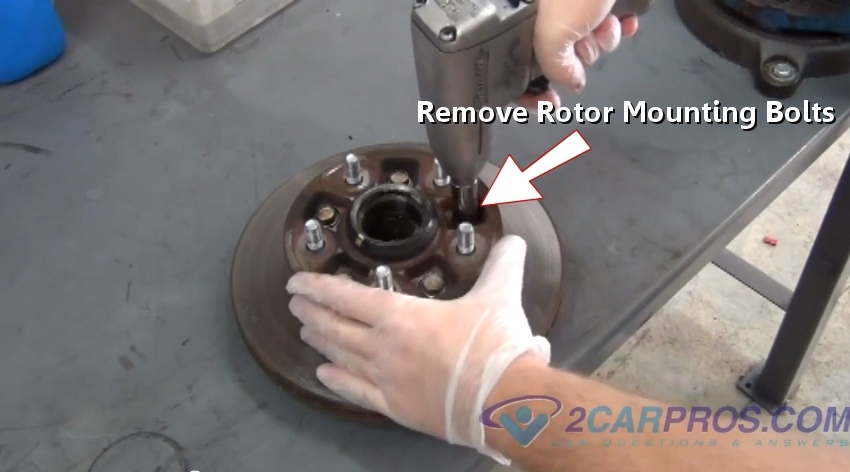
Rotor Mounting Bolts
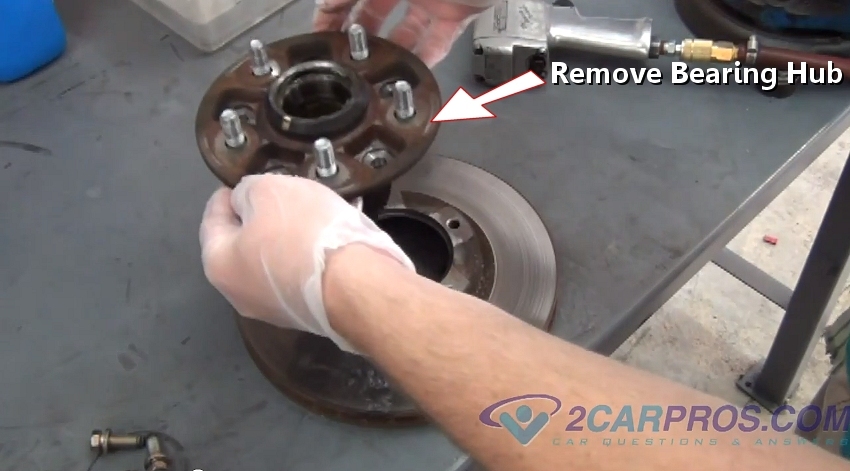
Removing Bearing Hub
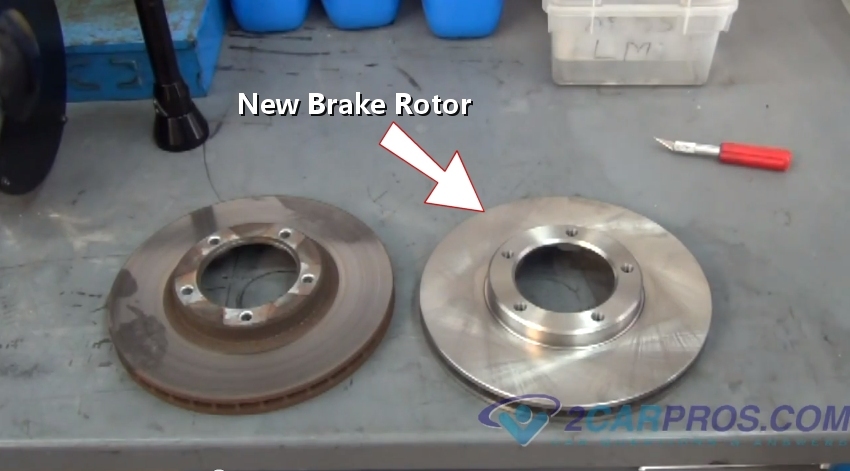
New Brake Rotor
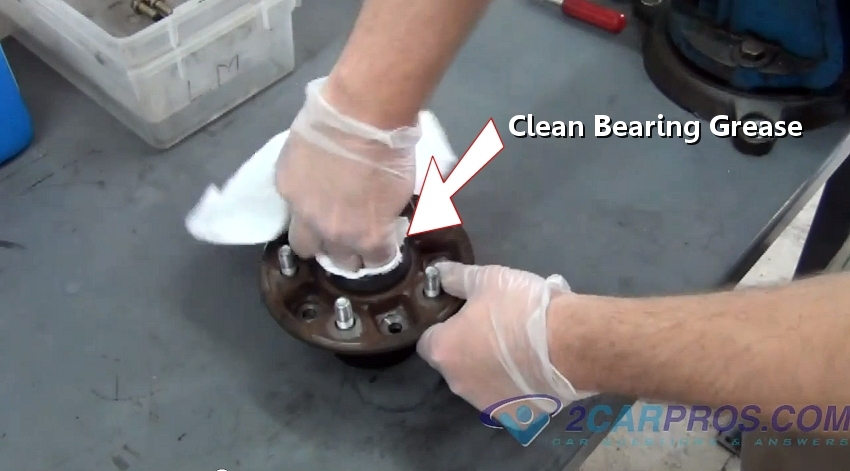
Clean Bearing Hub Grease
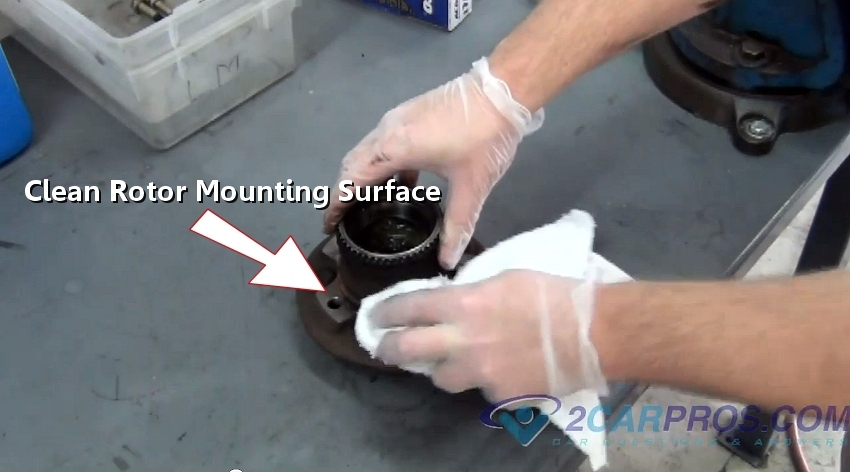
Clean Rotor Mounting Surface
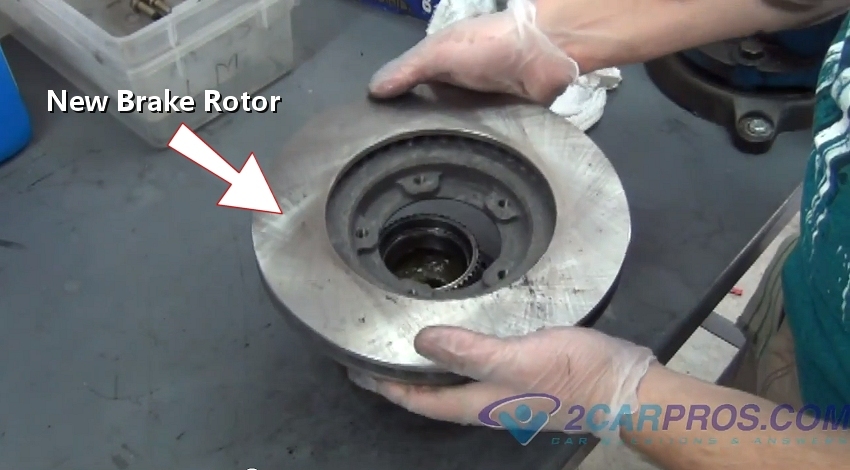
Installing Brake Rotor
FOR FURTHER PART GO TO PART 2:


Comments
Post a Comment