How To Replace Front Brake Pads And Rotors on Rear Wheel Drive Vehicles
Brake Pad and Rotor Replacement - Front RWD
How To Replace Brake pad And Rotor
FOR PREVIOUS PART GO TO PART 1:
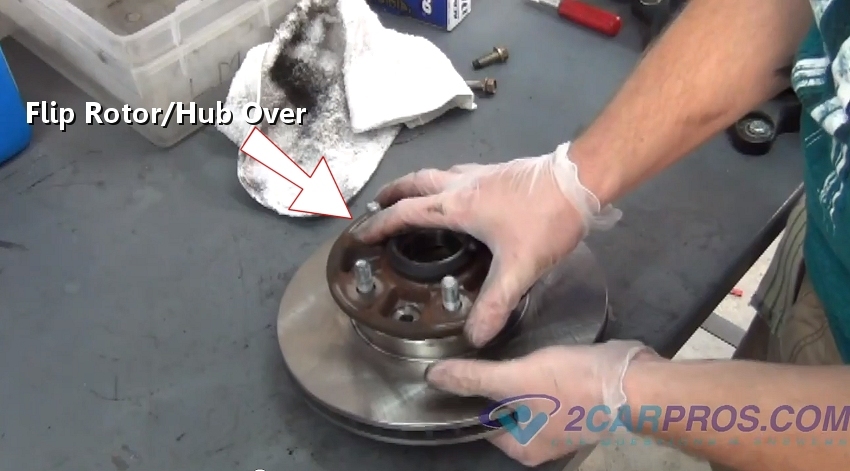
Step 31 - While holding the rotor and bearing hub together, flip the unit over and hold up on the brake rotor.

Flip Rotor and Hub
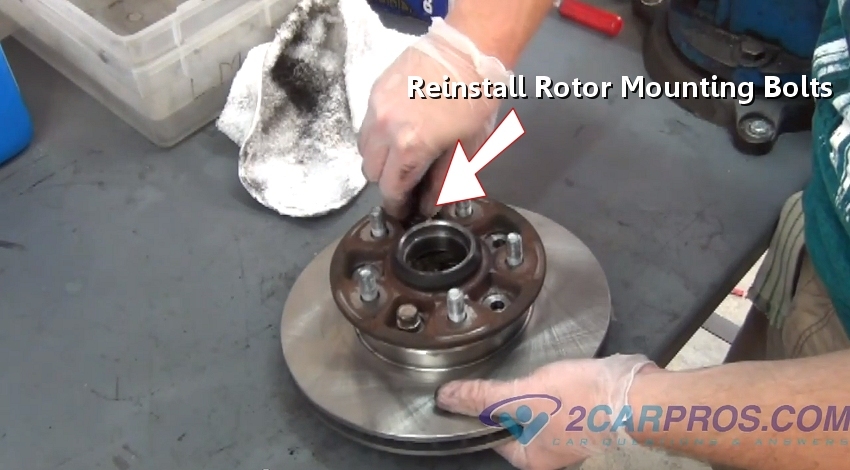
Step 32 - Install rotor mounting bolts while holding the rotor upward. Make sure all bolts are threaded in before tightening.

Reinstall Rotor Mounting Bolts
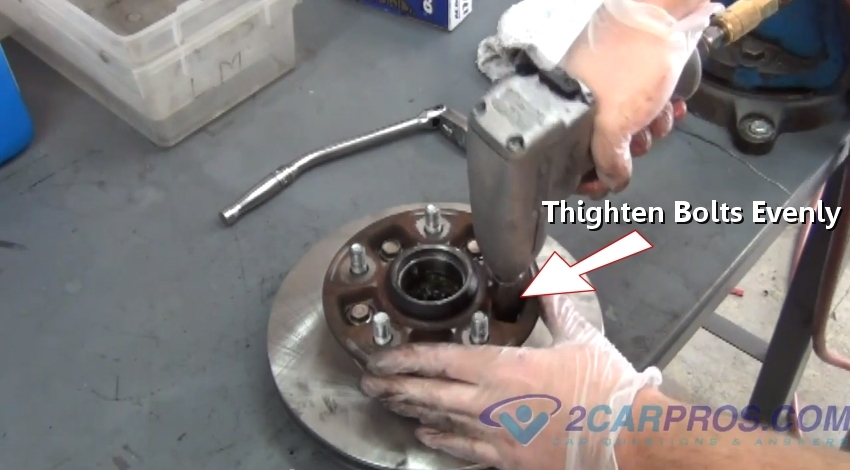
Step 32 - Using a impact wrench or socket wrench, tighten the mounting bolts evenly to ensure a square mount against the bearing hub.

Tighten Rotor Mounting Bolts
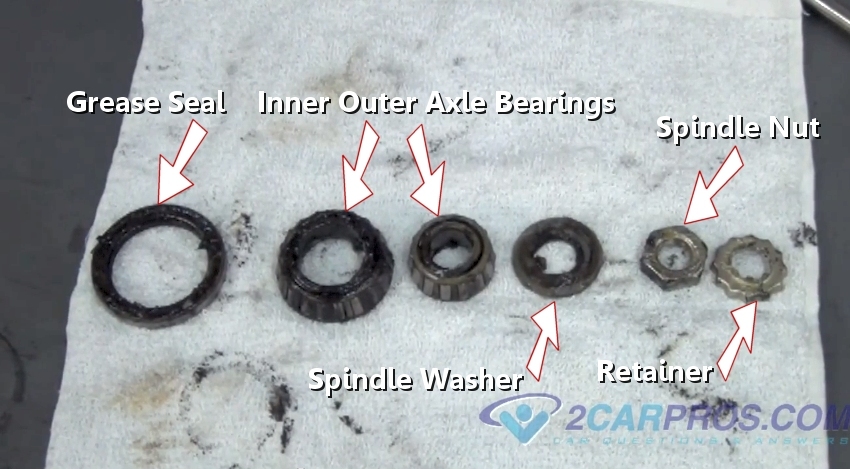
Step 33 - Next, layout the axle bearings, grease seal, spindle retainer and washer for cleaning.

Axle Bearings Grease Seal Spindle Washer Retainer
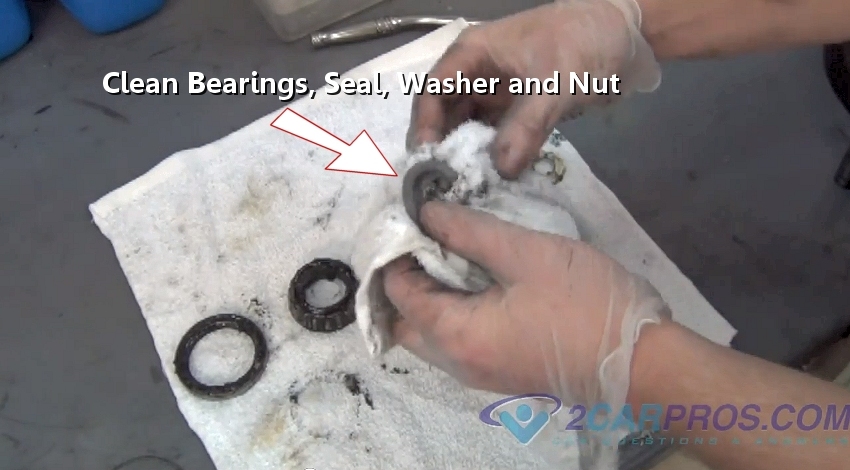
Step 34 - Once lined up clean each part using a shop towel. The old grease inside the bearing will be forced out in the next step.

Clean Axle Bearings Grease Seal Spindle Washer Retainer
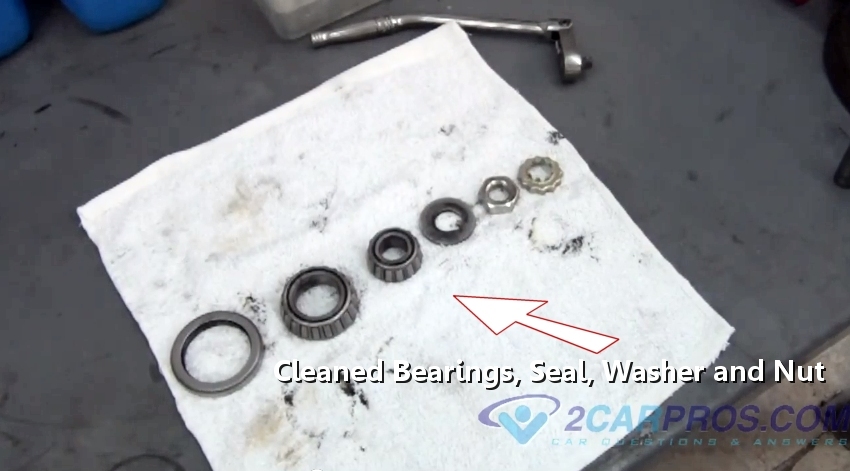
Step 35 - Re-align components to be installed, ready for assembly.

Cleaned Axle Bearings Grease Seal Spindle Washer Retainer
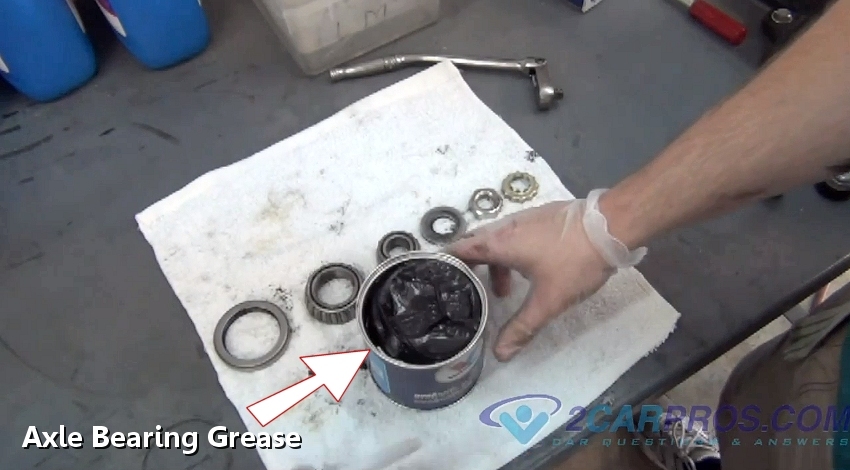
Step 36 - Axle bearing grease is used to lubricate the axle bearing while in use.

Axle Bearing Grease
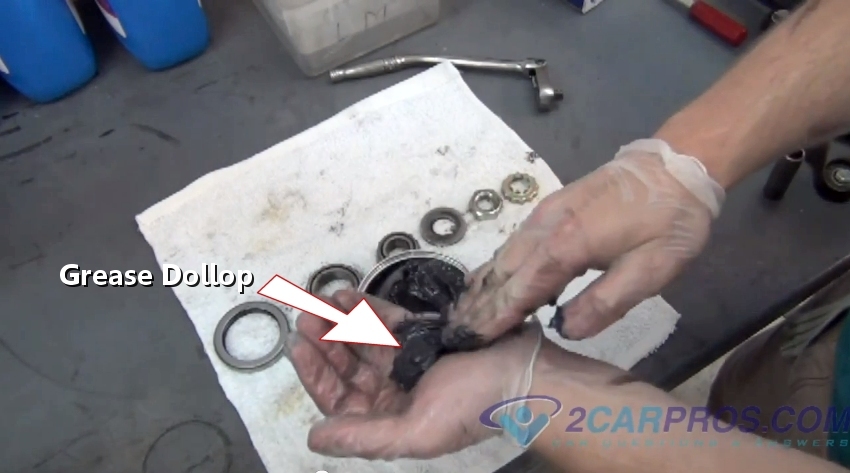
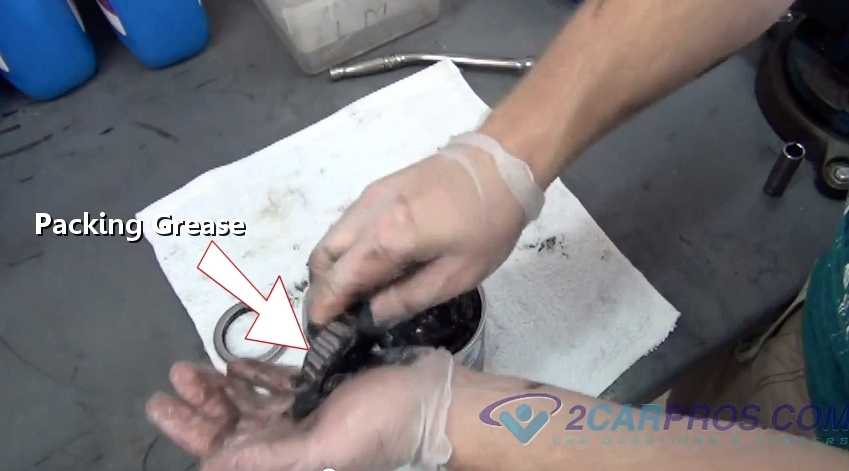
Step 37 - Scoop a hardy amount of grease out of the container and transfer it to the palm of the opposite hand. (This is where vinyl gloves come in handy.)

Grease Dollop
Step 38 - While grasping each bearing, thrust the grease into the bearing, while forcing the old grease out. Continue this action until both bearings are complete.

Packing Bearings
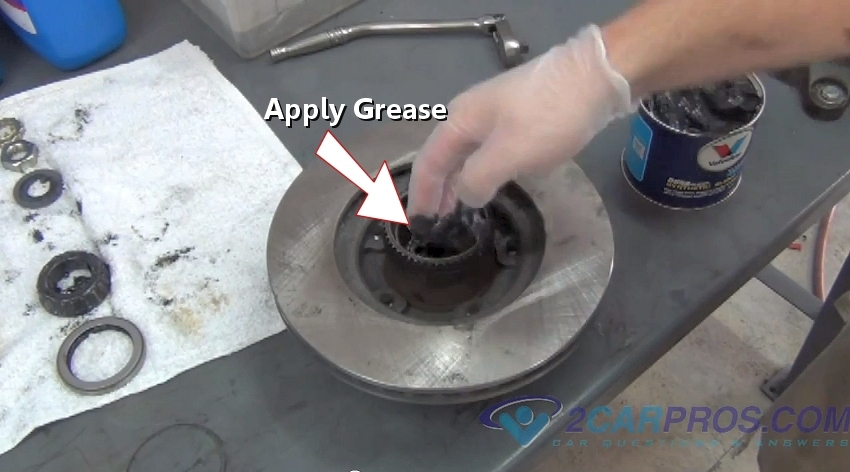
Step 39 - With an additional grease dollop, coat inner and outer bearing races.

Apply Grease
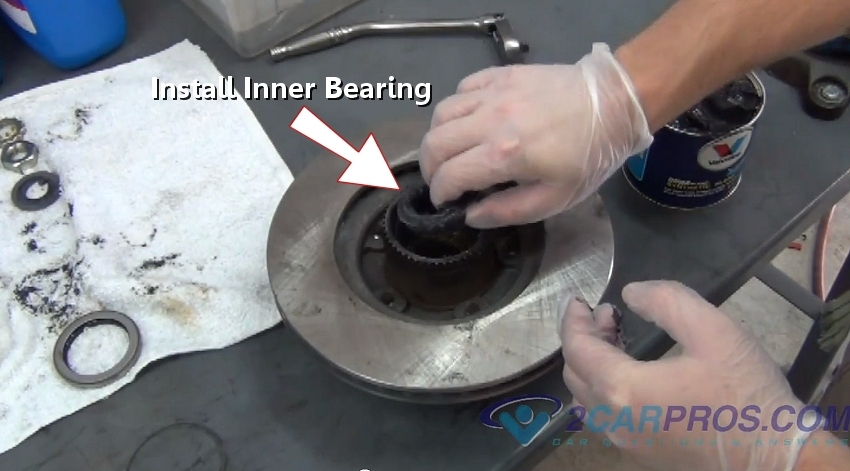
Step 40 - Once the grease has been applied, reinstall the inner bearing (cone down).

Install Inner Bearing
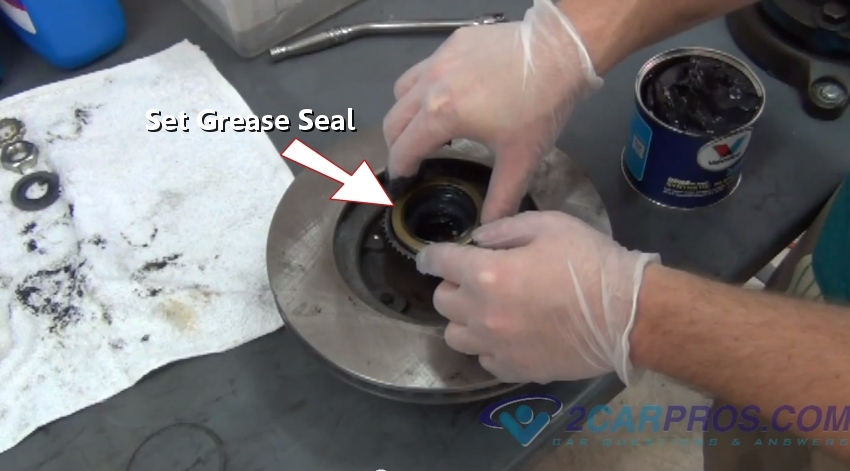
Step 41 - After the bearing has been installed, set the grease seal into place, (cone lip outward).

Set Grease Seal
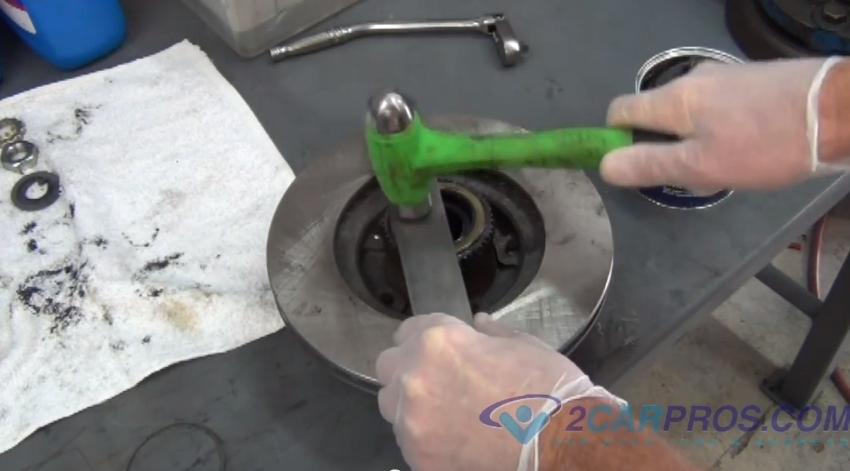
Step 42 - Using flat bar stock or equivalent, hammer the seal into the bearing hub, continue until flush.

Grease Seal Installation
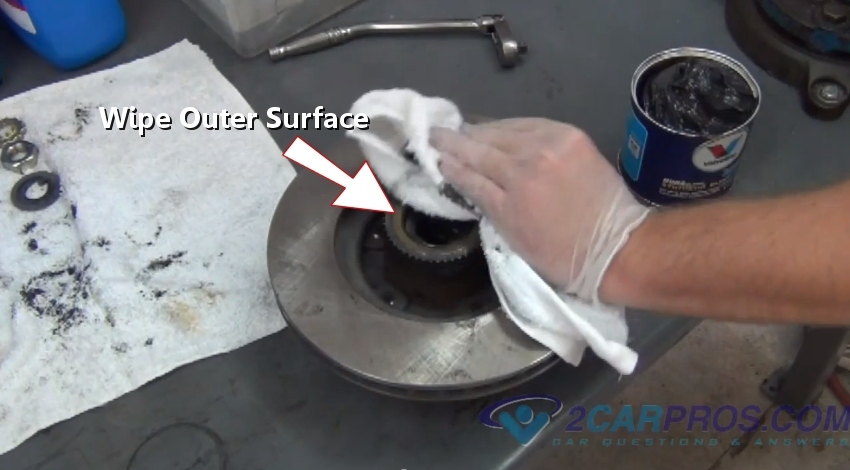
Step 43 - With a clean shop towel, wipe the outside surface of the bearing hub. (Note: Keep cleaner out from bearing area.)

Wipe Outer Surface
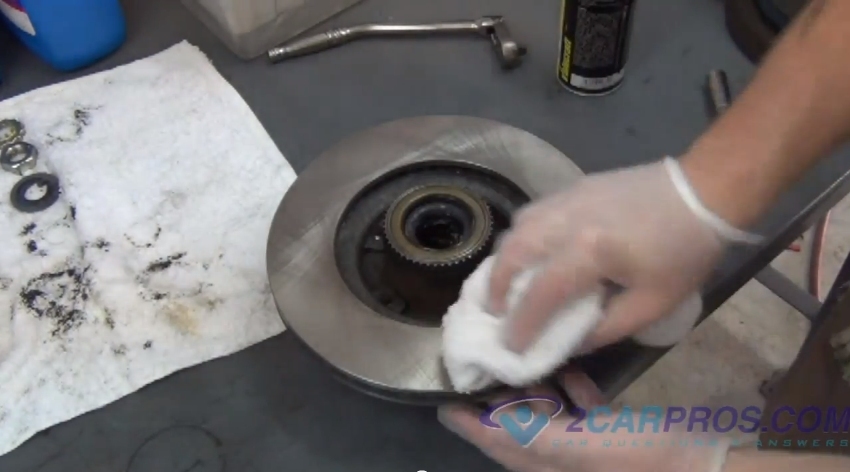
Step 44 - Then, using carburetor cleaner and a clean shop towel clean the rotor braking surface.

Cleaning Rotor Brake Surface
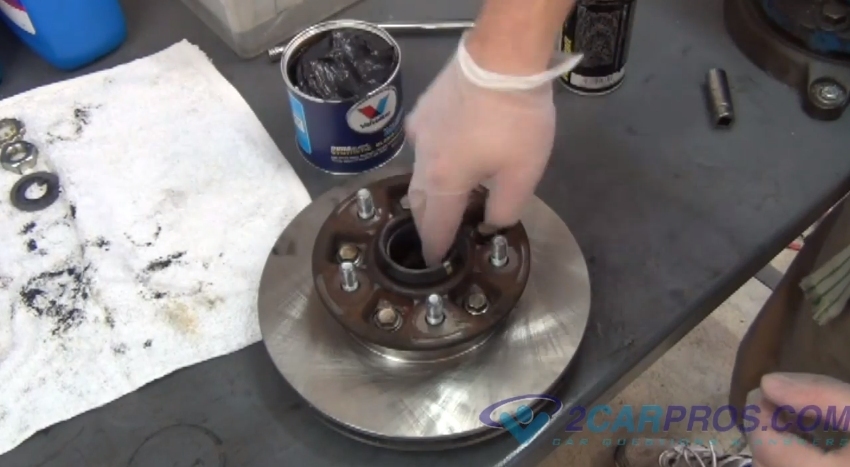
Step 45 - Next, gently turn the rotor assembly over and apply grease to the outer bearing race.

Grease Outer Bearing Race
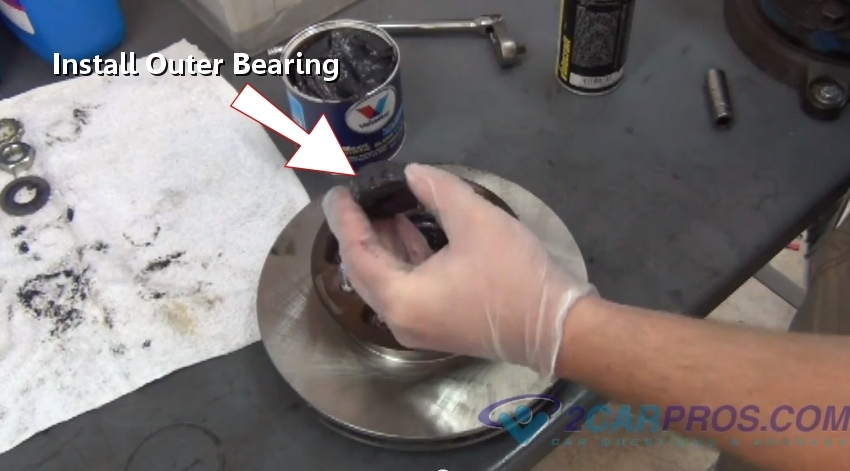
Step 46 - Install the outer axle bearing (cone down) and seal with a layer of grease.

Install Outer Axle Bearing
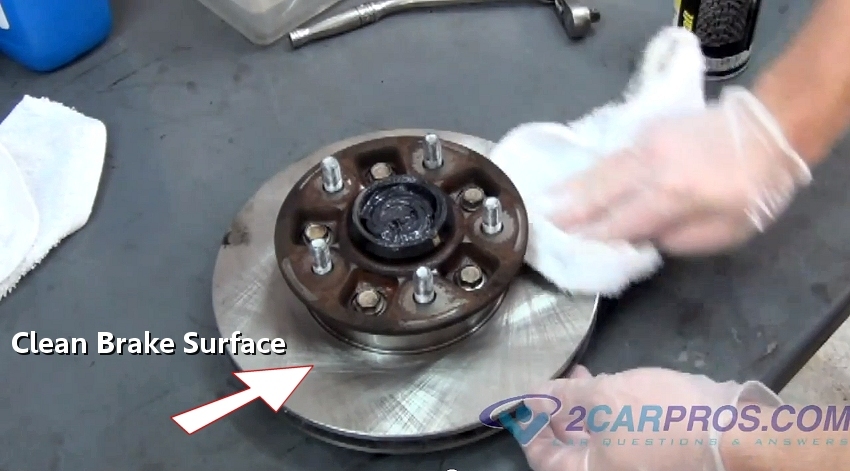
Step 47 - Once the outer bearing has been installed, use a clean shop towel and cleaner to free the surface from grease and dirt, the assembly is ready to install.

Clean Rotor Braking Surface
Flip Rotor and Hub
Reinstall Rotor Mounting Bolts
Tighten Rotor Mounting Bolts
Step 33 - Next, layout the axle bearings, grease seal, spindle retainer and washer for cleaning.
Axle Bearings Grease Seal Spindle Washer Retainer
Clean Axle Bearings Grease Seal Spindle Washer Retainer
Cleaned Axle Bearings Grease Seal Spindle Washer Retainer
Axle Bearing Grease
Grease Dollop
Packing Bearings
Apply Grease
Install Inner Bearing
Set Grease Seal
Grease Seal Installation
Wipe Outer Surface
Cleaning Rotor Brake Surface
Grease Outer Bearing Race
Install Outer Axle Bearing
Clean Rotor Braking Surface
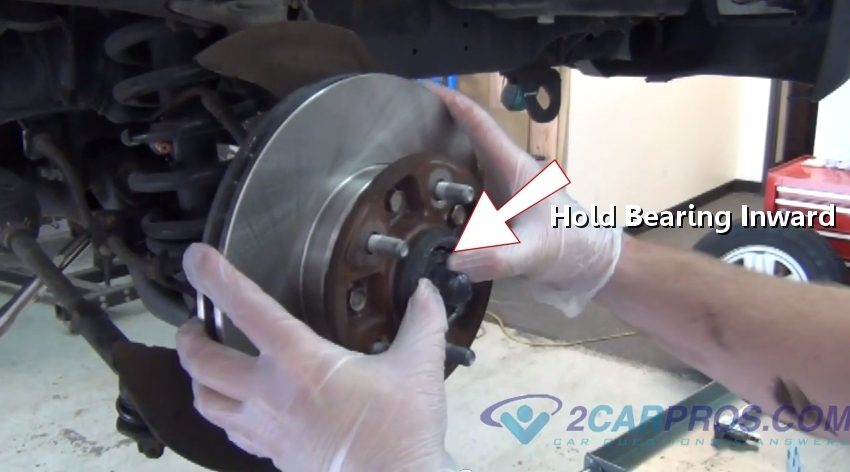
Step 48 - Lift the hub and rotor while using both thumbs to hold the outer bearing in place as it is slide back into position. Some resistance may be experienced, a slight jostling may be required.

Installing Brake Rotor and Bearing Hub
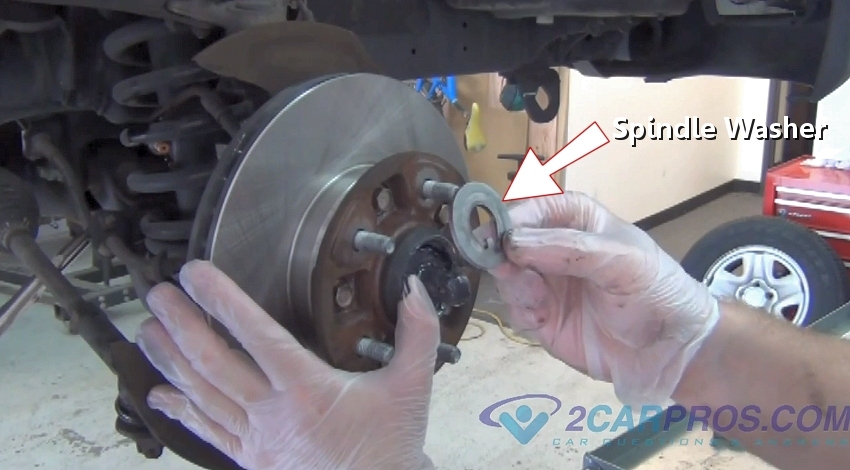
Step 49 - Once the bearing hub rotor assembly is back into place, install the spindle washer.

Spindle Washer
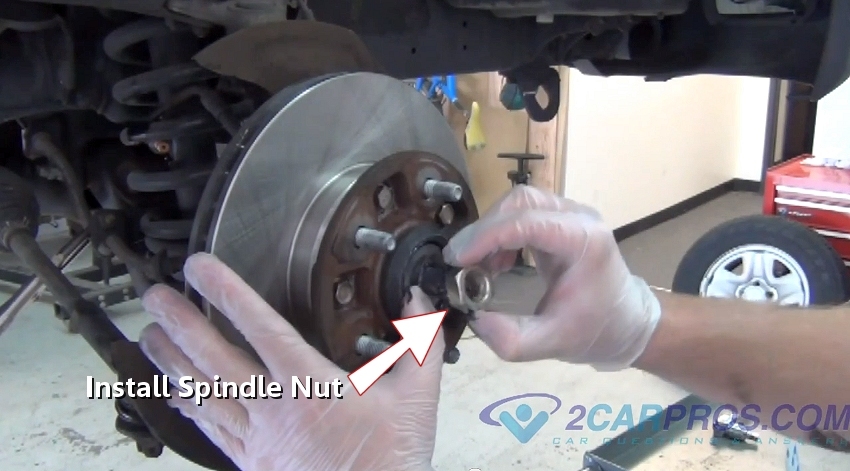
Step 50 - After installing the spindle washer, install the nut and tighten to bring up the slack but do not tighten.

Install Spindle Nut
Step 51 - This part is important, if not done correctly it can cause the bearings to fail. While turning the rotor tighten (light snug) and loosen several times.
Installing Brake Rotor and Bearing Hub
Spindle Washer
Install Spindle Nut
Step 51 - This part is important, if not done correctly it can cause the bearings to fail. While turning the rotor tighten (light snug) and loosen several times.


Comments
Post a Comment