How To Replace Rear Brake Pads And Rotors In Car
Brake Pad and Rotor Replacement - Rear
Helpful Information
A rear caliper reset tool is necessary for parking brake integrated systems. The reset tool screws the piston back into the caliper. These calipers cannot be compressed with a clamping tool, it can only be reset with the reset tool. A locator slot is used on the inboard piston, which is fitted into a peg located on the backing plate of the pad. Rear disc brake pads offer improved performance and are not affected by moisture like conventional brake shoes.
Common Problems
- Brake pads wear down making a grinding noise.
- Caliper slides lock up, not allowing the caliper move causing premature pad wear.
- Inferior parts squeak, grumble and prematurely wear.
- Bleed brake system after the job is complete.
- Check system brake fluid level.
Step by step instructions on how to replace automotive rear brake pads and rotors. This article pertains to all rear disc brake vehicles.
Difficulty Scale: 4 of 10
Tools and Supplies Needed
Begin with the vehicle on level ground, in park and the engine off and safely lifted in the air to perform a brake service.
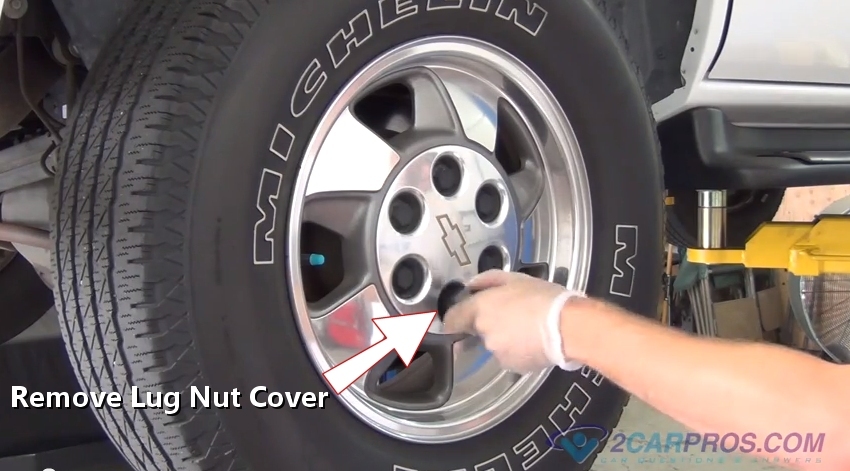
Step 1 - After the vehicle is safely lifted into the air, remove the lug nut covers. (Step does not pertain to every vehicle.)

Remove Lug Nut Cover
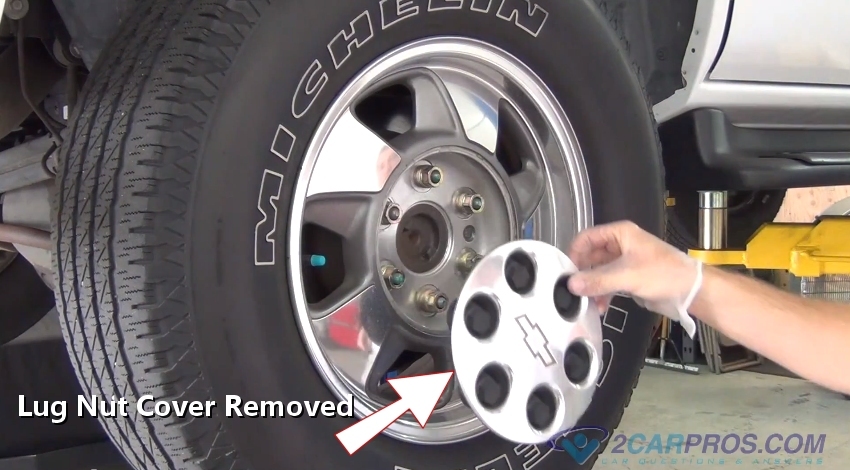
Step 2 - Once the lug nut cover is removed, a lug wrench or socket can be used can loosen the wheel lugs.

Lug Nut Cover Removed
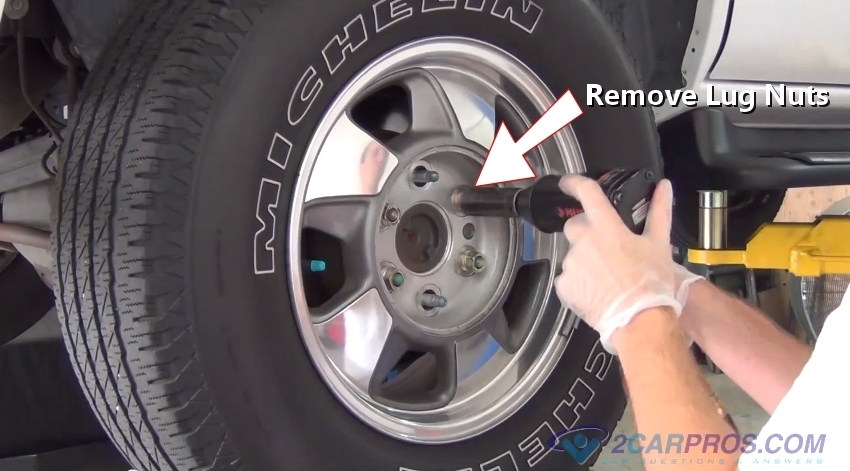
Step 3 - Next, loosen and remove the wheel lug nuts. (Note: If air impact wrench is not used, loosen the lug nuts one turn while the vehicle is still on the ground.)

Remove Lug Nuts
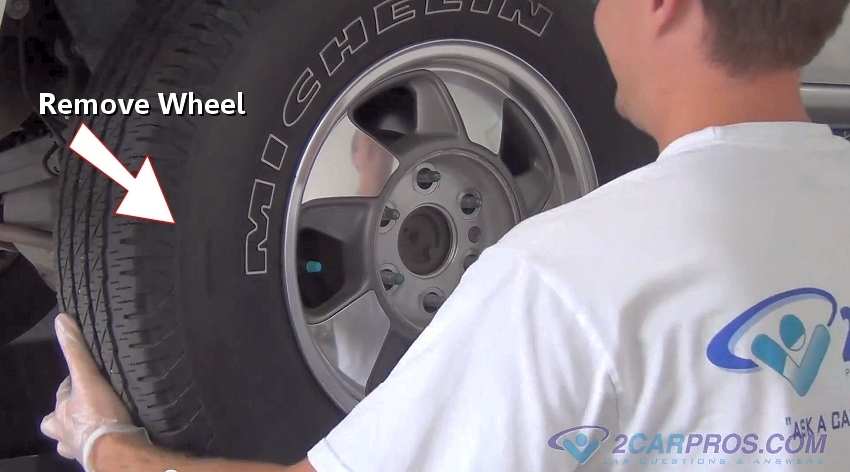
Step 4 - Then, grasp the tire and lift from wheel studs and axle flange.

Removing Tire
Step 5 - Using a pair of dikes remove the rotor retainer clip which is used in initial assembly and will not be reinstalled.

Remove Rotor Retainer Clip
- Socket set
- Wrench set
- Screw driver set
- Replacement pads and rotors
- Shop towels
- Brake grease
- Hammer
- Hydraulic jack
- Jack stands
- Protective gloves and eyewear
Begin with the vehicle on level ground, in park and the engine off and safely lifted in the air to perform a brake service.
Step 1 - After the vehicle is safely lifted into the air, remove the lug nut covers. (Step does not pertain to every vehicle.)
Remove Lug Nut Cover
Step 2 - Once the lug nut cover is removed, a lug wrench or socket can be used can loosen the wheel lugs.
Lug Nut Cover Removed
Remove Lug Nuts
Removing Tire

Remove Rotor Retainer Clip
Step 6 - Next, use a socket to remove both upper and lower caliper mounting bolts. Use a wrench if necessary to secure the slide.

Remove Caliper Mounting Bolts
Step 7 - Once both upper and lower bolts are removed, grasp the caliper and lift it from the brake pads, the fit can be a little tight. Secure the caliper away from work area, do not allow the caliper be supported from the brake line.

Remove Rear Brake Caliper
Step 8 - Next, use a small screwdriver to pry the brake pads from the caliper bracket.
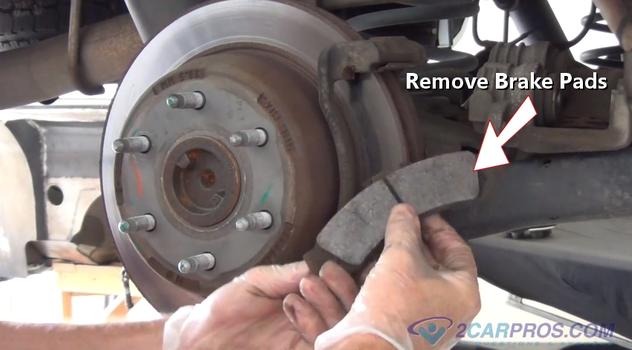
Remove Rear Brake Pads
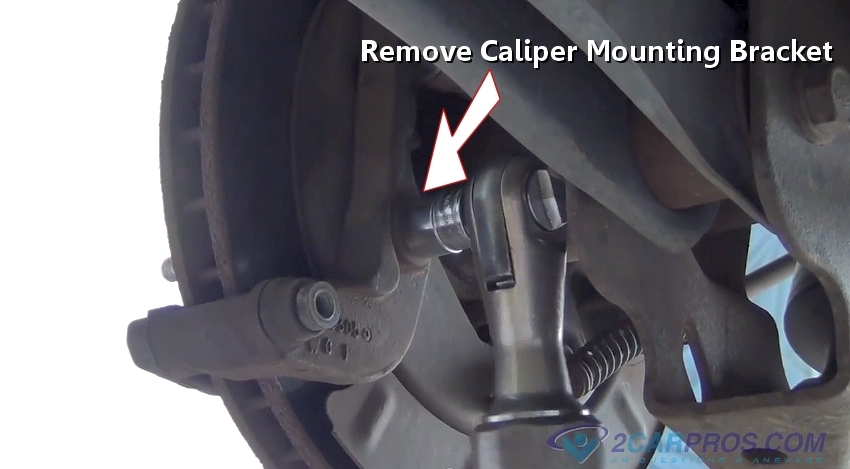
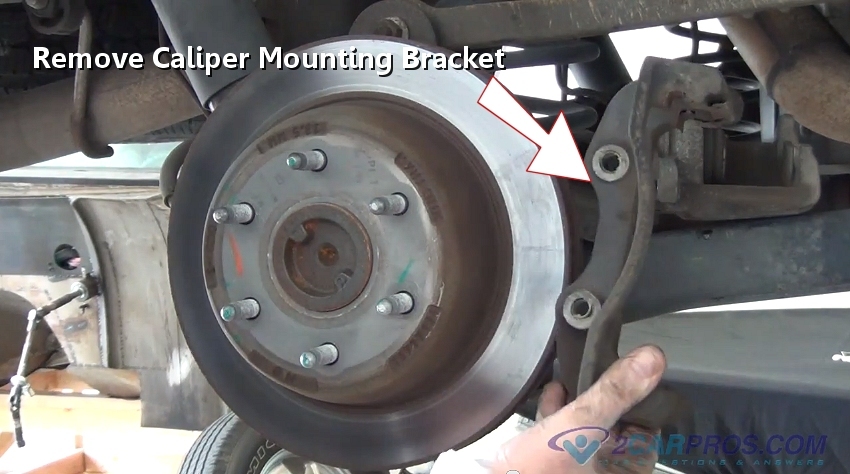
Step 9 - After the caliper is secure, loosen and remove both upper and lower caliper bracket bolts.

Remove Caliper Bracket Bolts
Step 10 - Once both caliper bracket bolts have been removed, grasp the caliper mounting bracket and lift it from the axle. Inspect the caliper slides on the bracket and add a small amount of brake grease to lubricate.

Remove Brake Caliper Mount Bracket
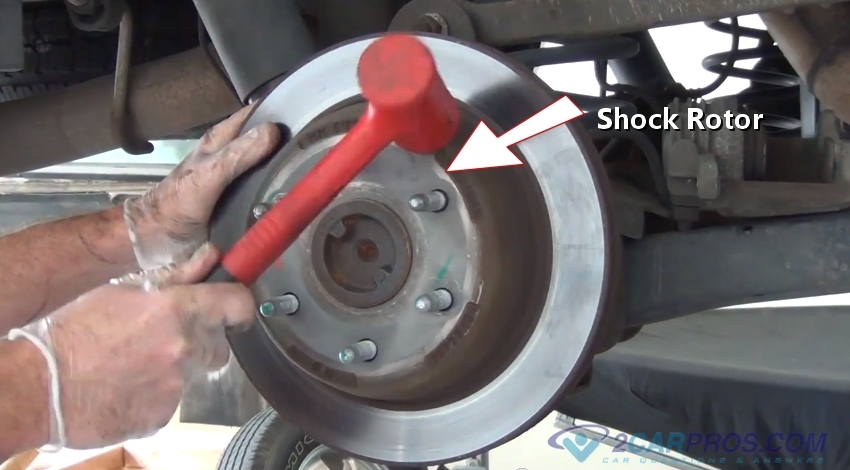
Step 11 - Next, use a hammer and strike the rotor near the edge of the axle flange, this will force the rotor free.

Shock Rotor
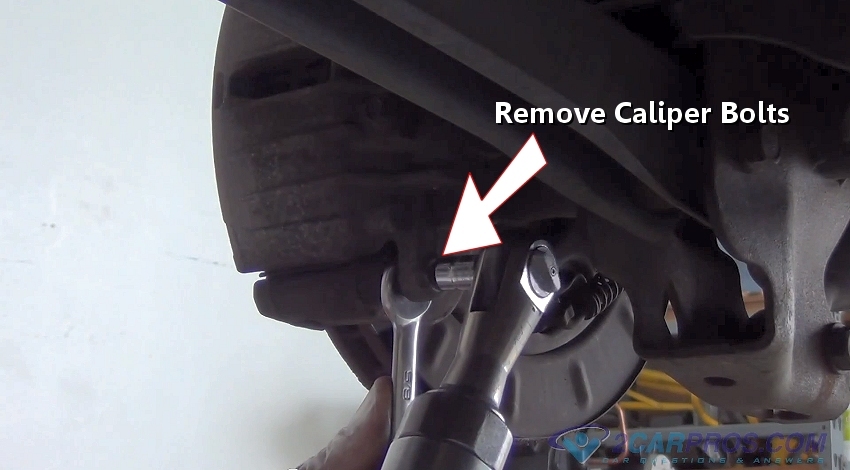
Remove Caliper Mounting Bolts
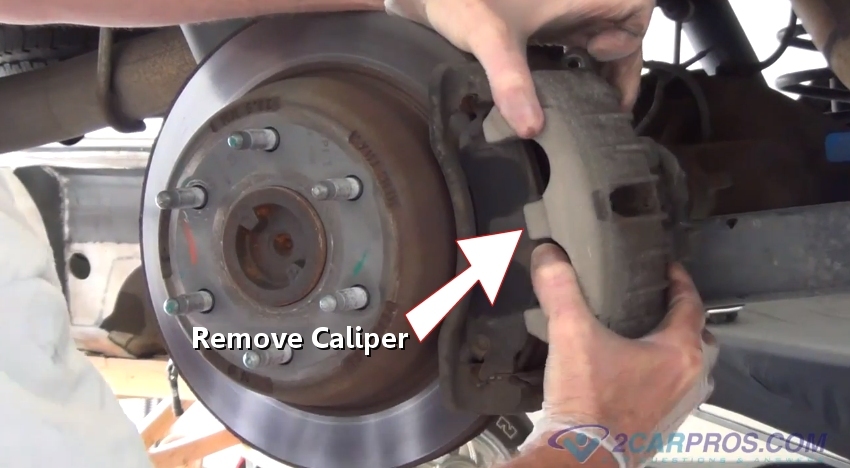
Remove Rear Brake Caliper

Remove Rear Brake Pads
Step 9 - After the caliper is secure, loosen and remove both upper and lower caliper bracket bolts.
Remove Caliper Bracket Bolts
Remove Brake Caliper Mount Bracket
Shock Rotor
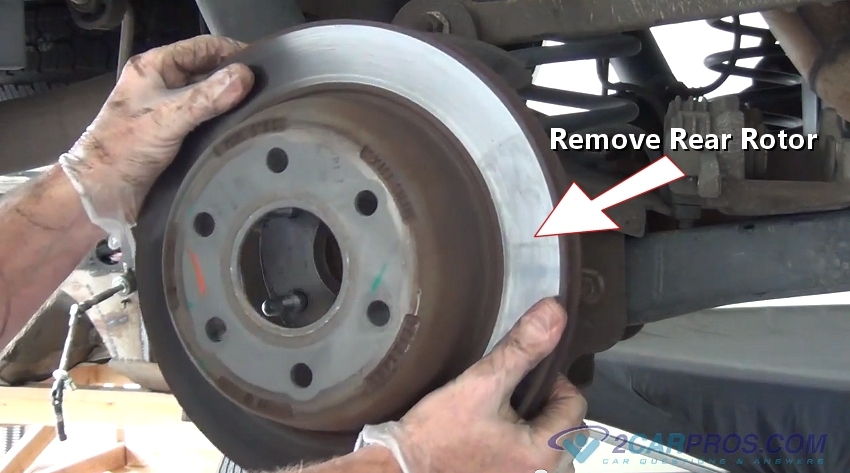
Step 12 - After the rotor has been loosened, grasp it using both hands to remove. (Note: brake rotors can be heavy.)

Remove Brake Rotor
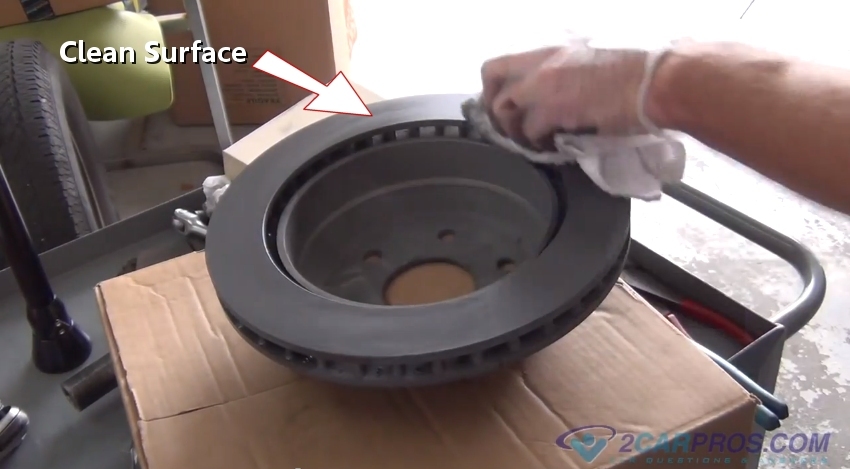
Step 13 - Match the old rotor to the new one, then clean the brake surfaces using brake cleaner.

Clean New Rotor
Step 14 - Then reinstall the rotor after cleaning the axle flange surface using a shop towel.
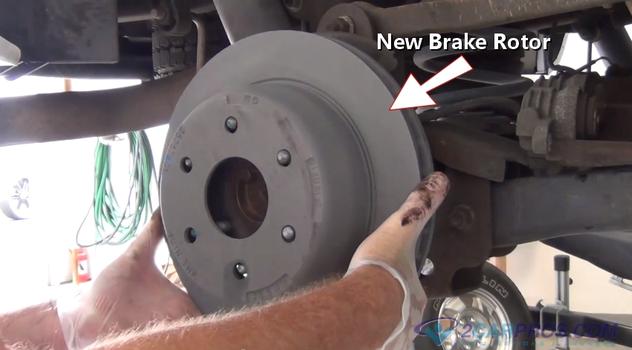
Installing New Brake Rotor
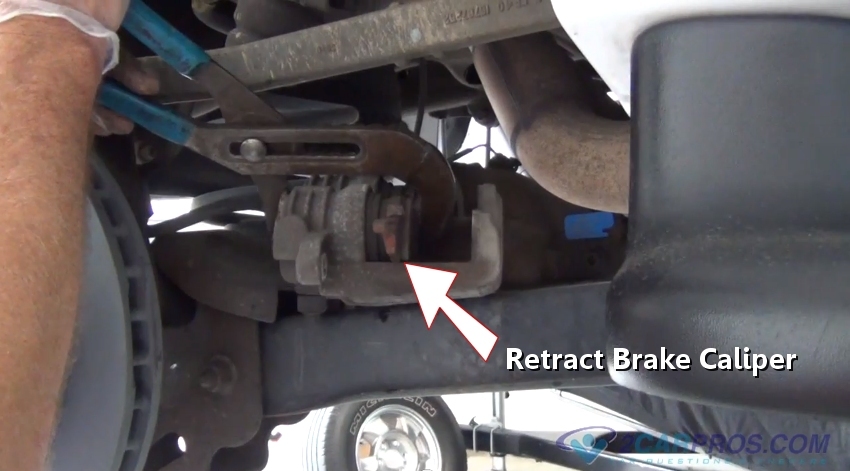
Step 15 - Install an old brake pad as a buffer between the tool and the caliper piston(s). Using a large "C" clamp or channel locks move the piston(s) inward until fully retracted. If a brake caliper utilizes a parking brake mechanism, a caliper reset tool is needed.

Retract Caliper
Remove Brake Rotor
Clean New Rotor

Installing New Brake Rotor
Step 15 - Install an old brake pad as a buffer between the tool and the caliper piston(s). Using a large "C" clamp or channel locks move the piston(s) inward until fully retracted. If a brake caliper utilizes a parking brake mechanism, a caliper reset tool is needed.
Retract Caliper


Comments
Post a Comment