Ignition System Testing Part 2
Ignition Coil Testing
Step 15 - After the mounting bolt has been removed, gently lift the coil from the plug well.

Removing Ignition Coil
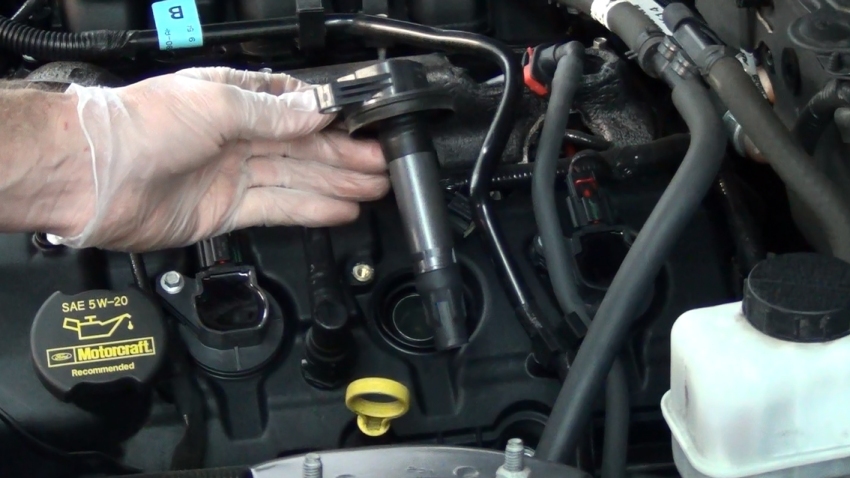
Ignition Coil Removed
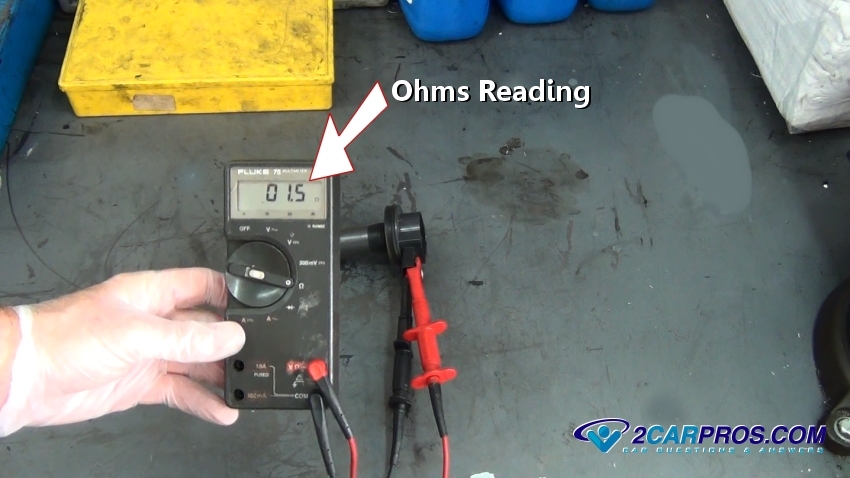
Step 17 - This next test will need a voltmeter set to ohms.
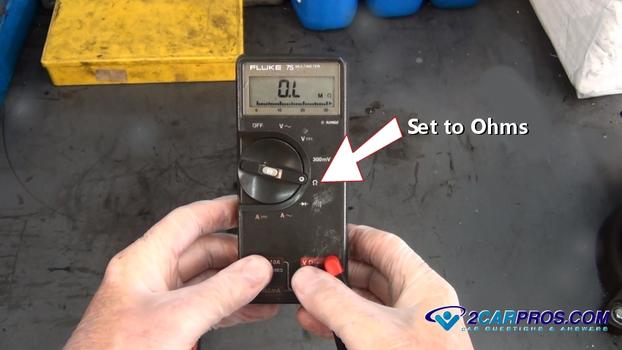
Voltmeter Set To Ohms
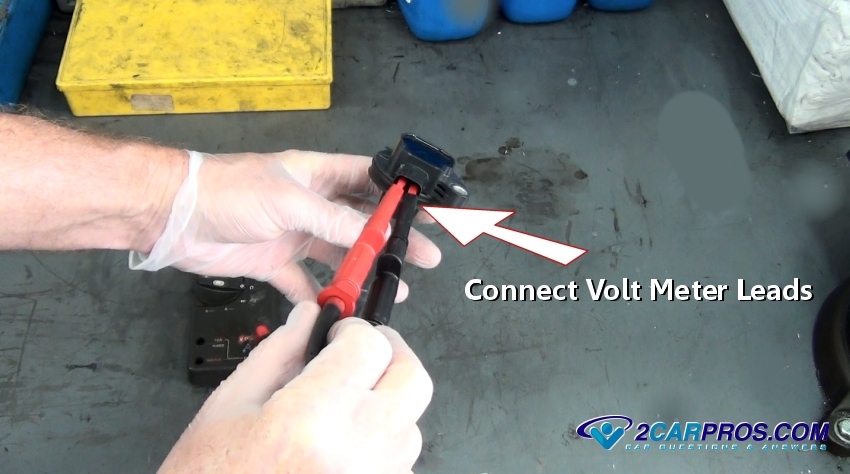
Step 18 - With the coil removed, attach the voltmeter leads to either coil terminal ( small wire connector.)

Connect Voltmeter Leads
Step 19 - Once the volt meter is connected obtain the reading provided, if this ignition coil was bad the reading would much higher.

Coil Ohms Reading
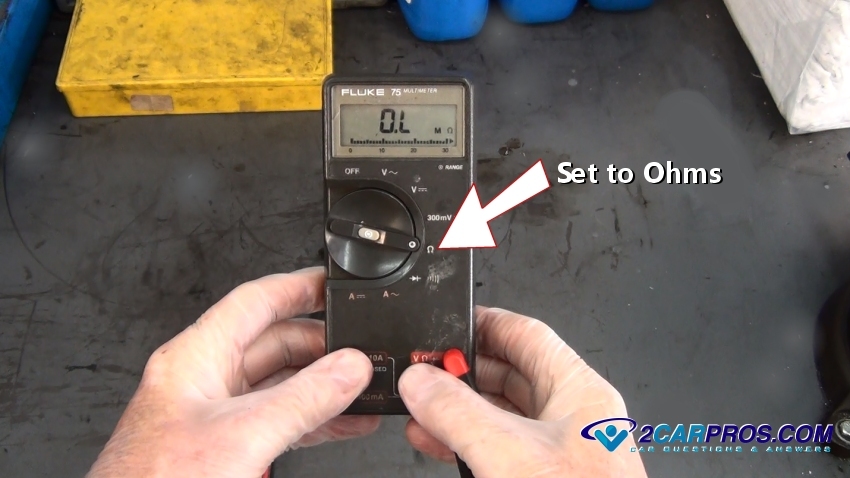
Voltmeter Set To Ohms
Connect Voltmeter Leads
Coil Ohms Reading
Step 20 - After reconnecting the ignition coil to the wiring harness, observe the electrical contact which contacts the spark plug.
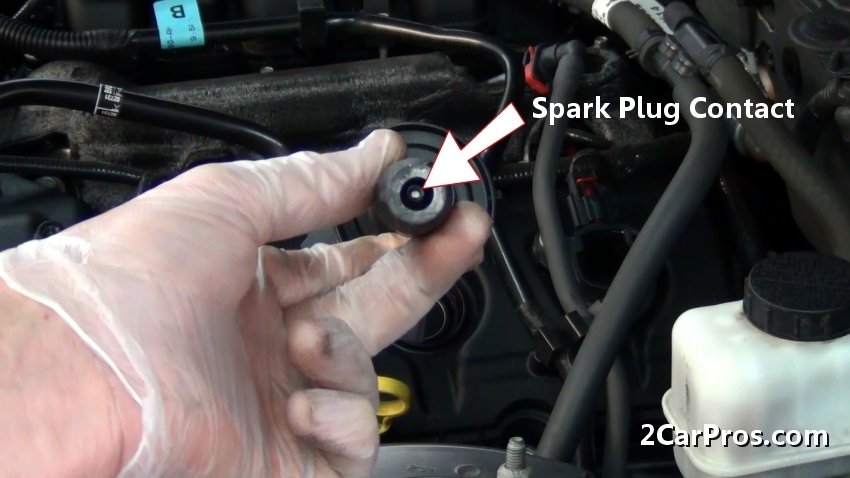
Spark Plug Contact
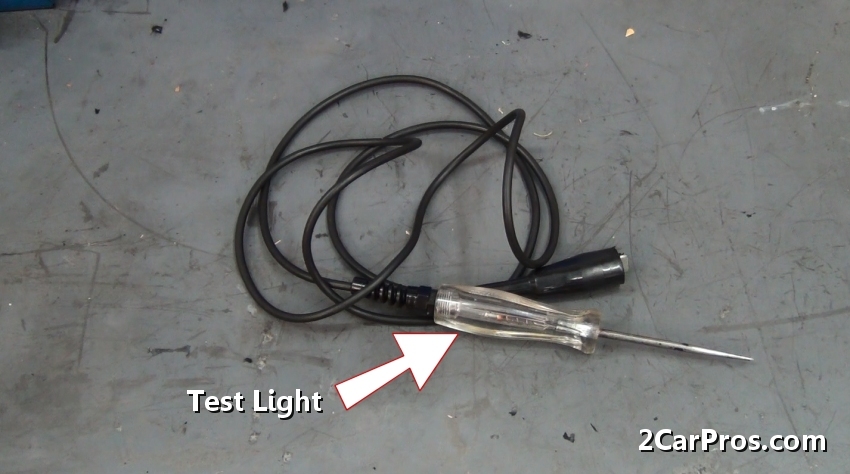
Test Light
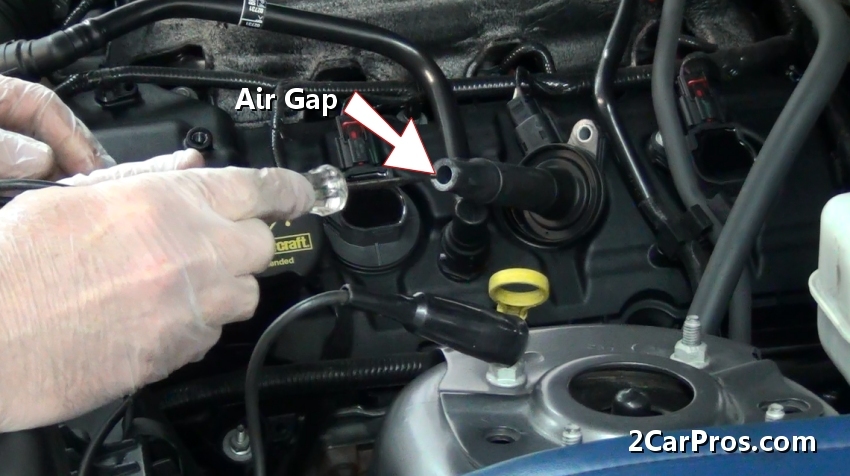
Step 22 - While the grounded test light is creating an air gap between the spark plug contact or terminal, and the tip of the test light.

Coil Air Gap
Step 23 - While keeping hands clear of the test area, have a helper crank the engine over, an electrical spark should be observed if the coil is functioning correctly. If no spark is observed the coil has failed and replacement is required.

Electrical Spark
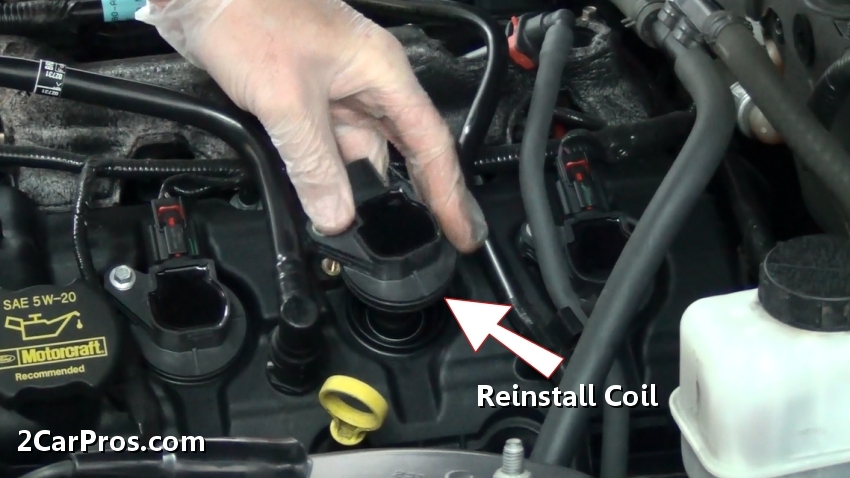
Step 24 - After replacement or testing is complete, gently reinstall the coil into the spark plug well.

Reinstall Ignition Coil
Step 25 - Once the coil is in position, install the coil mounting bolt and tighten.
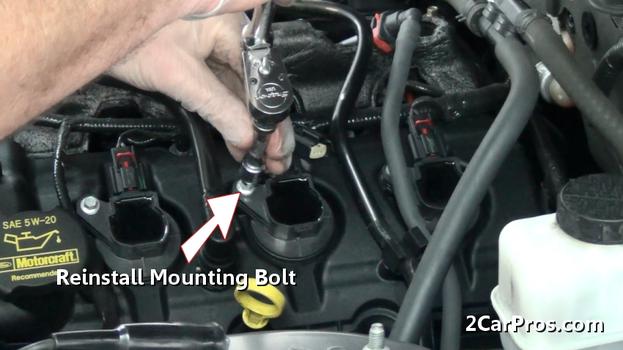
Reinstall Coil Mounting Bolt
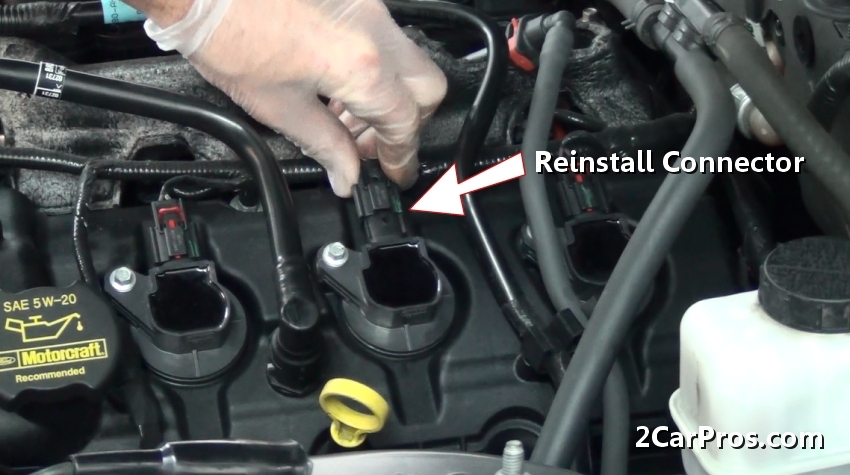
Step 26 - After tightening the coil mounting bolt, reconnect the electrical connector onto the ignition coil.

Reinstall Electrical Connector
Once the job is complete, start the engine to check coil operation. If the check engine or service engine soon light is illuminated use a code reader to check for codes and reset the system.
Coil Air Gap

Electrical Spark
Reinstall Ignition Coil
Step 25 - Once the coil is in position, install the coil mounting bolt and tighten.

Reinstall Coil Mounting Bolt
Reinstall Electrical Connector


Comments
Post a Comment