How To Inspect And Replace Belt Tensioner
Serpentine Belt Tensioner Replacement
Belt Tensioner Operation:
This device functions as an idler pulley and is located on either the inside or outside of the accessory drive belt. Its provides the correct tension for initial belt adjustment and maintains this critical tension adjustment during vehicle operation. It can be found on conventional V-belts and the newer serpentine ribbed belts.
Inspect the belt tensioner for the following conditions:
Noise- If the belt squeals, the tensioner force may be insufficient. Check the belt length gauge, if the length is correct, replace the tensioner.
- If the tensioner clatters or rattles during engine operation, there may be internal interference or wear. Replace the tensioner.
- If the belt chirps, you may have a worn pulley or tensioner or cracks in the tensioner bas or arm. Check the mounting bolts, if they are okay, replace the tensioner.
- If the tensioner does not operate smoothly or doesn't move, you may have: internal thrust surface damage/wear, internal damage/wear, or a broken spring, replace the tensioner.
- Inspect the tensioner arm for cracks or other damage. If the tensioner is broken, it should be replaced.
- Look for excessive tensioner movement at idle, which can indicate internal wear, an out-of-round pulley or loose mounting bolts. Check the mounting bolts, it they are in good condition, replace the tensioner.
- Make sure the tensioner is not tilted or misaligned. Also make sure a gap exists between the tensioner arm and base. If you notice a problem, check the mounting surface, it the surface is okay, replace the tensioner.
- If the belt does not track properly on the pulley tracking surface, you'll need to troubleshoot the problem. Check the mounting bolts and the system alignment. Then, make sure the correct belt is being used for the vehicle. If all of these things are intact, replace the tensioner.
- A belt length indicator is built into each tensioner.
- The gauge identifies the effective operating range of the tensioner.
- It consists of a pointer and either two or three length marks.
- On a three-mark gauge minimum belt length, maximum belt length and ideal belt length are indicated.
- On a two-mark gauge only minimum belt length and maximum belt length are indicated.
- Ideal belt length on a two-mark gauge is generally half way between the minimum and the maximum.
- When a belt wears and stretches with age the tensioner will move towards the maximum belt length to maintain proper tension.
- As the pointer nears the maximum length mark, replace the belt.
Tools and Supplies Needed
Large pry bar
Flashlight
Infrared laser temperature reader
Protective eyewear and gloves
Begin with the vehicle on level ground, in park with he emergency brake set.
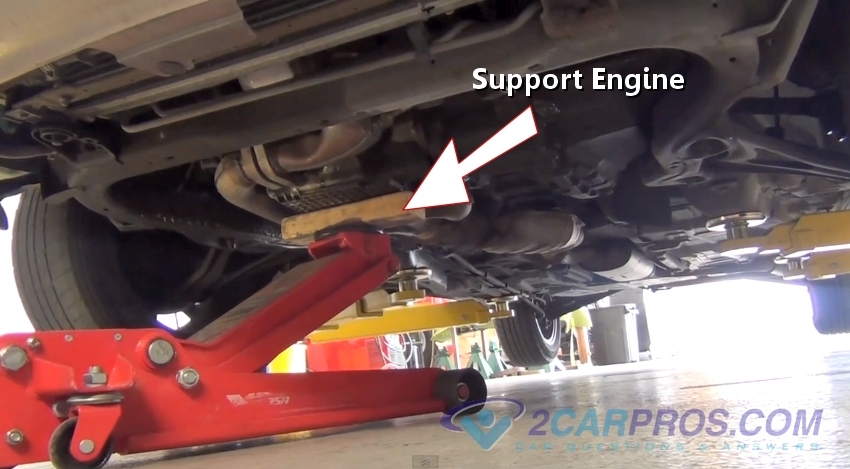
Engine Support
Step 2 - Once the engine is safely supported, remove engine mount retainer nuts.
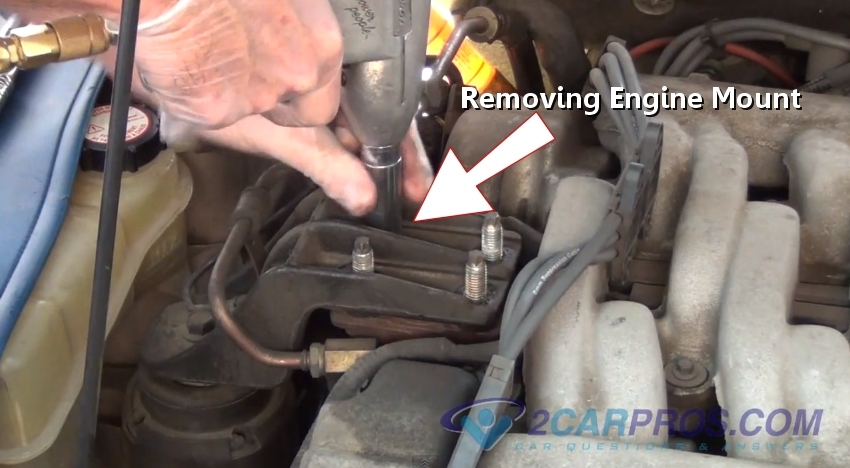
Removing Engine Mount Nuts
Step 3 - Next, removing the main engine mount bolt, the engine will become lose during this step.
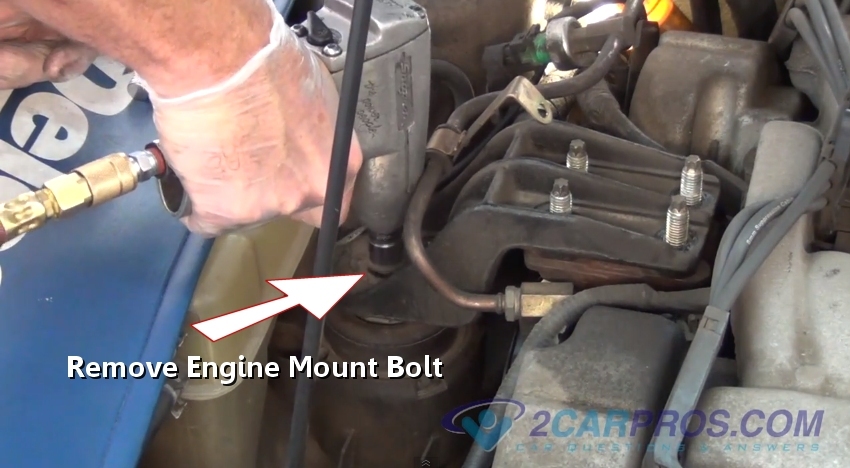
Removing Engine Mount Bolt
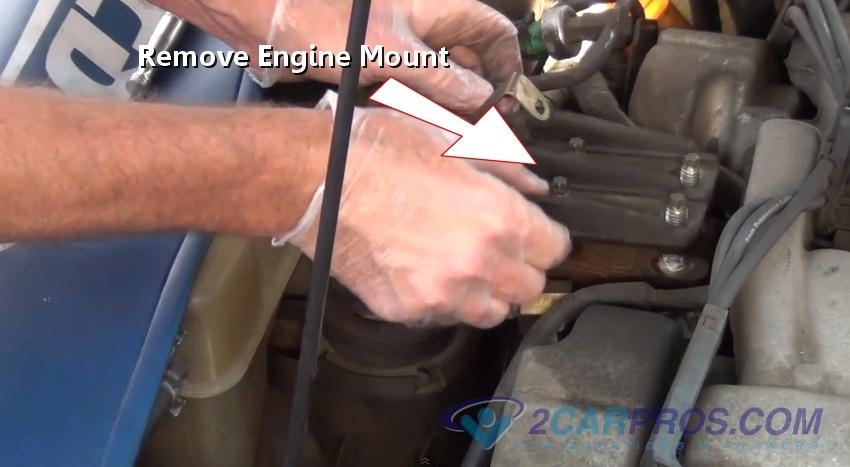
Step 4 - Once all mounting bolts and nuts have been removed the engine mount will can be removed.

Removing Engine Mount
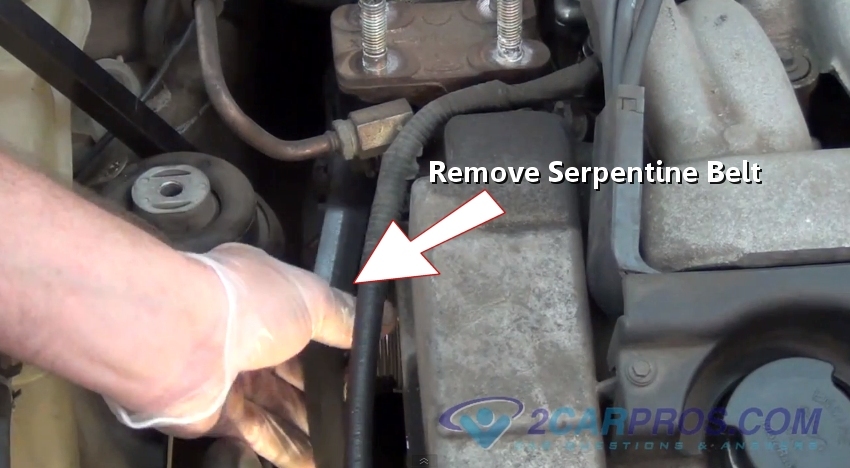
Step 5 - While releasing the belt tensioner with a ratchet or breaker bar, remove the serpentine belt.

Removing Serpentine Belt
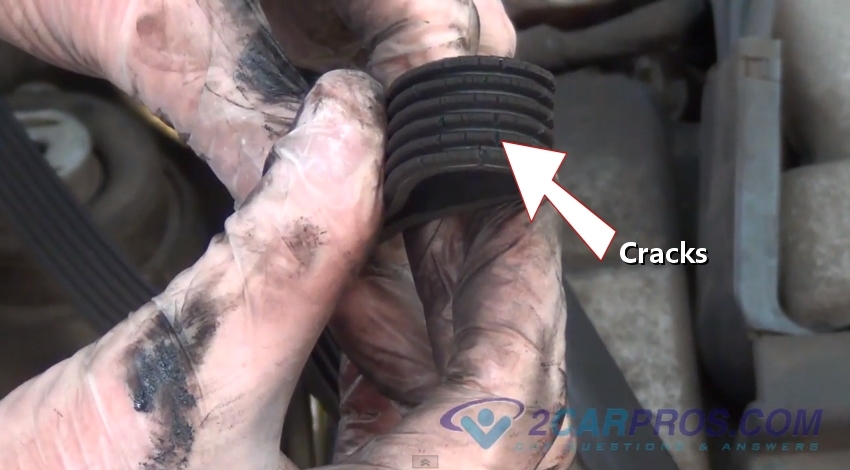
Step 6 - After the belt has been removed inspect the belt for cracks which indicates the belt should be replaced.

Cracked Serpentine Belt
Step 7 - Next, loosen the tensioner pivot bolt using a ratchet.
Removing Engine Mount
Step 5 - While releasing the belt tensioner with a ratchet or breaker bar, remove the serpentine belt.
Removing Serpentine Belt
Step 6 - After the belt has been removed inspect the belt for cracks which indicates the belt should be replaced.
Cracked Serpentine Belt
Step 7 - Next, loosen the tensioner pivot bolt using a ratchet.
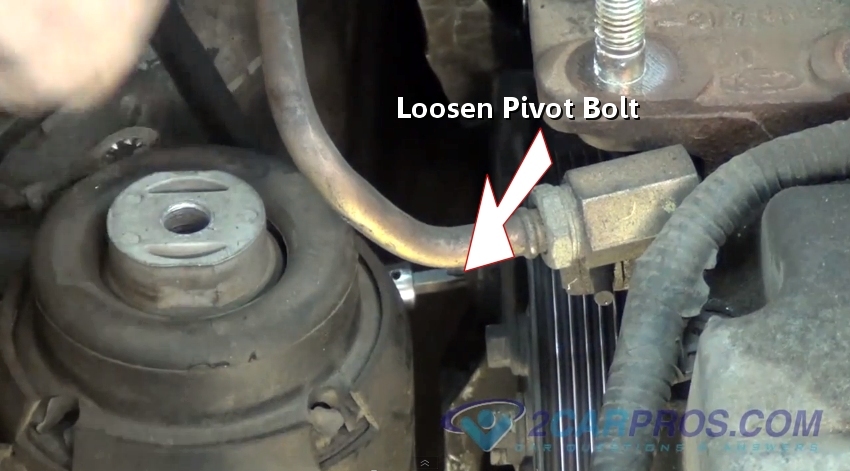
Loosening Pivot Bolt
Step 8 - Once the pivot bolt has been removed, lift the tensioner from the engine compartment.
Removing Belt Tensioner
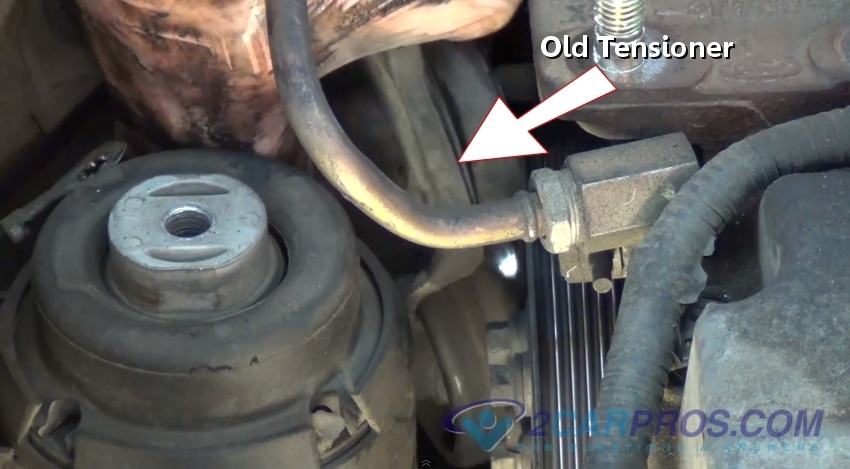
Step 9 - After the tensioner has been removed inspect worn areas.

Worn Serpentine Belt Tensioner
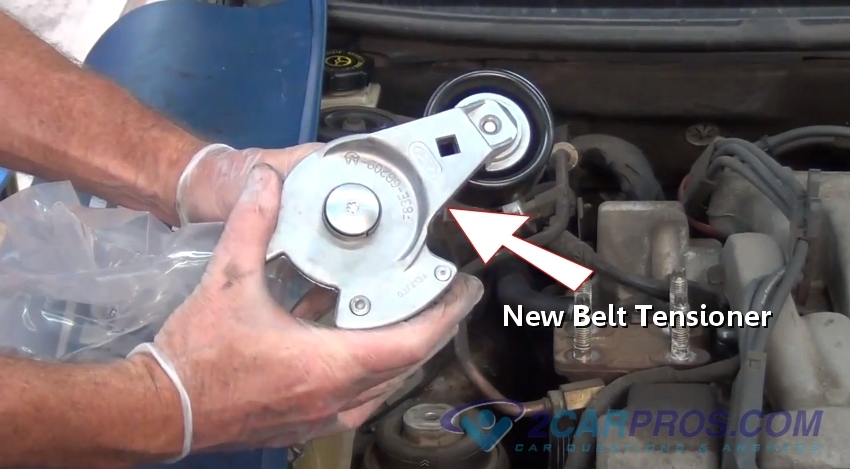
Step 10 - Compare the old serpentine belt tensioner to the new unit.

New Serpentine Belt Tensioner
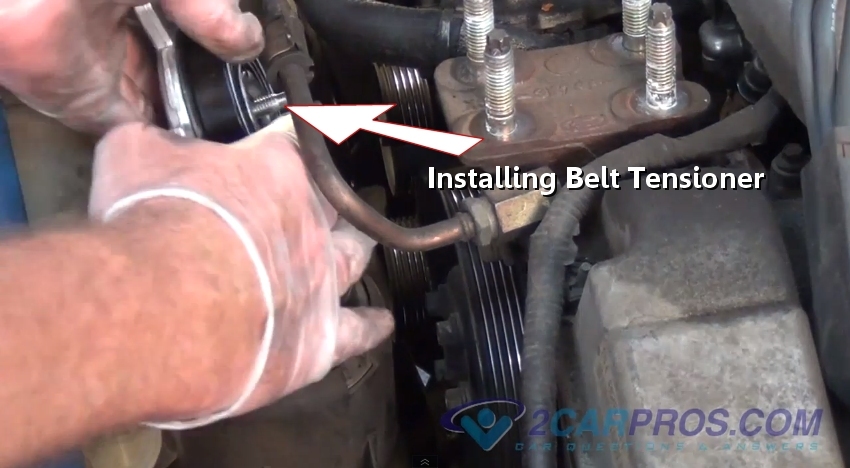
Step 11 - Next, install the new belt tensioner onto the engine.

Installing New Serpentine Belt Tensioner
Step 12 - After the bolt has been installed, use a ratchet to tighten the mounting bolt.

Worn Serpentine Belt Tensioner
Step 10 - Compare the old serpentine belt tensioner to the new unit.
New Serpentine Belt Tensioner
Step 11 - Next, install the new belt tensioner onto the engine.
Installing New Serpentine Belt Tensioner
Step 12 - After the bolt has been installed, use a ratchet to tighten the mounting bolt.
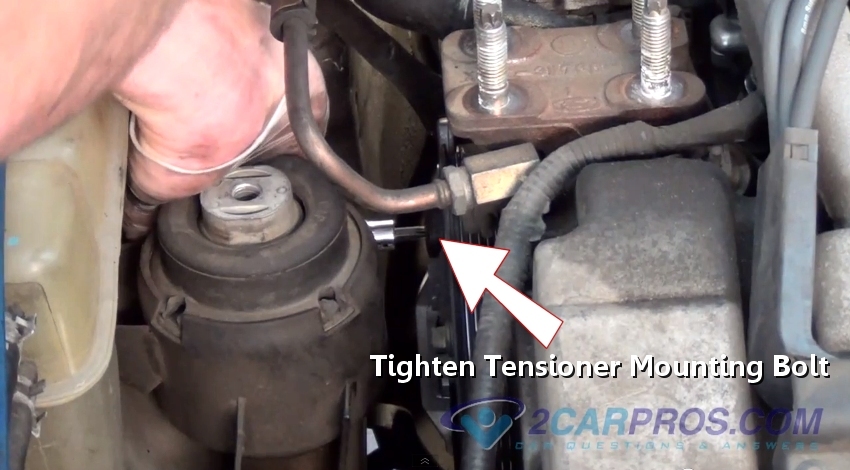
Tightening Belt Tensioner
Step 13 - Its a good idea to replace the old serpentine belt with a new unit. Compare the old belt to the new belt before installation.
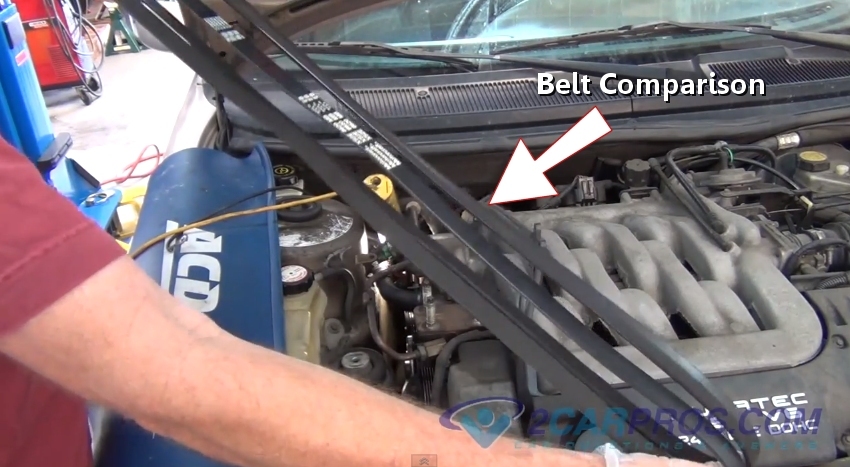
Belt Comparison
Step 14 - Once the comparison is complete, install the new serpentine belt.
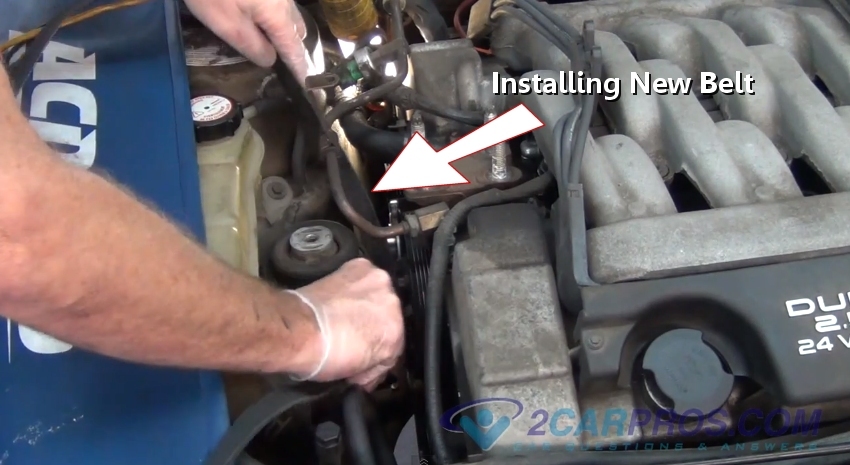
Installing New Serpentine Belt
After the belt is installed, reattach the engine mounts by reversing the order in which it was removed. Inspect the belt after installation is complete to ensure all routing on pulleys are correct.
WARNING
Never open a tensioner assembly to repair internal parts. The spring is powerful and preloaded and may cause serious injury. Worn tensioner assemblies should be replaced with a new assembly, since there are no serviceable internal parts. Only pulleys can be replaced.Because tensioners are vehicle-specific, there is no universal replacement procedures. On some vehicles, tensioner replacement is a simple as removing one bolt, while other vehicles may require removal of several parts to get to the tensioner base. Refer to your vehicle's service manual for replacement procedures and bolt torque recommendations.
NOTE
When replacing a tensioner, belt and fixed idler pulley replacement is also recommended (if one is used). A used belt will function properly with a new tensioner, but belts and pulleys have generally reached their useful life expectancy when the tensioner requires replacement.
Helpful Information
Belt tensioners keep a constant pressure on the belt, when they wear they will allow the belt to roll off the tensioner causing belt failure. When the spring tension is lost in a failed tensioner it will cause squeaking especially under acceleration. A belt tensioner is a normal wear item and should be inspected regularly.
Best Practices
Replace serpentine belt when replacing a tensioner.
Once the belt is removed check the rotation of free wheeling pulleys such as the alternator to detect failed bearings.
9;;


Comments
Post a Comment