How To Check Car Fuse
Fuse Testing
Car Fuse Blows
Helpful Information:
Electrical fuses protect vulnerable electrical circuits and components from burnt wiring and fire. Fuse panels or owner manuals are labelled with specific amperage ratings and circuit information.
- Replace failed fuses with proper amp rating; not doing so can result in electrical system damage.
- Wrong amperage fuse causing wiring or component damage.
- Fuses can cause intermittent open circuits by becoming loose or corroded in the fuse holder, make sure fuse is held securely, and free of dirt and corrosion.
Step by step guide on how to test and repair an automotive fuse problem, this information pertains to all cars.
Difficulty Scale: 4 of 10
Start with the car on level ground, engine off with the emergency brake set.
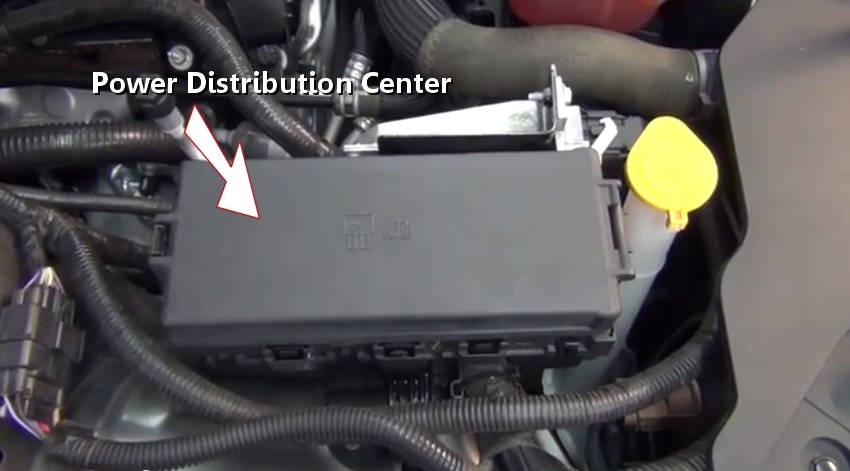
Step 1 - Most fuses are located in a power distribution center (pdc) located under the hood or under the dash.

Power Distribution Center
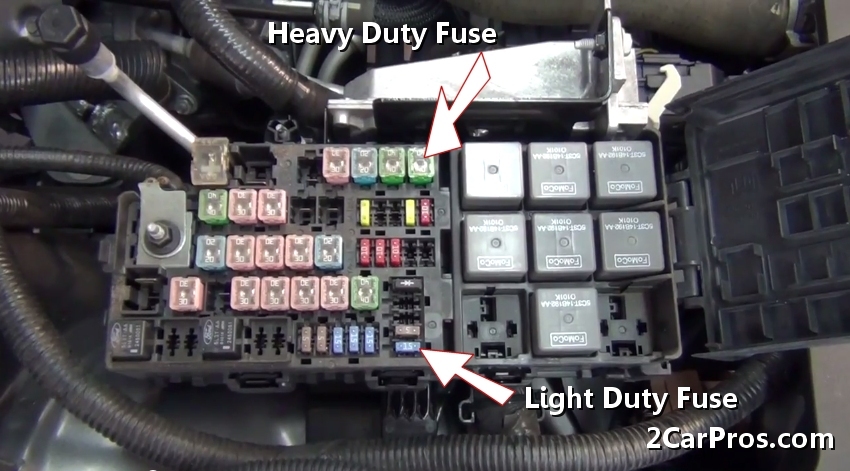
Step 2 - Identify the accessory fuse location by consulting identification information found in the fuse panel lid, owners manual or repair manual. Most electrical components are supplied with voltage and are protected though the pdc. The control relay and micro relay are used as a high amperage switch for devices that require high amounts of amperage for an extended amount of time. The fuse or fusible link supply voltage to sub electrical systems.

Fuse Identification - Power Distribution Center
Step 3 - There are two ways to check the operation of a fuse, first, simply remove the fuse and check for breakage of the internal fuse circuit, though this can be time consuming.

Blown Fuse
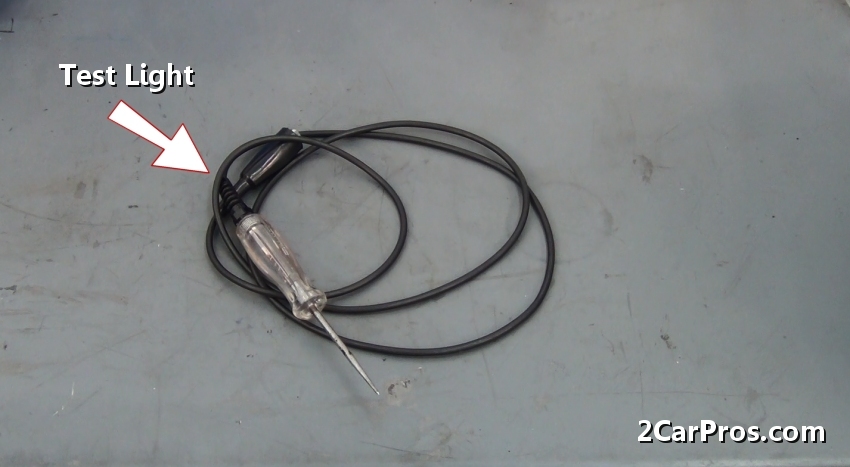
Step 4 - An easier process is to use a test light or voltmeter to test fuses while still installed and in use, this test will confirm connection and power through and at the fuse.

Test Light
Step 5 - After properly grounding the test light or voltmeter lead, turn the ignition key to the "ON" position without starting the engine, gently touch the probe to the two terminals of the fuse, if working properly the fuse will illuminate the light at either terminal.

Testing Fuse
Power Distribution Center
Fuse Identification - Power Distribution Center
Step 3 - There are two ways to check the operation of a fuse, first, simply remove the fuse and check for breakage of the internal fuse circuit, though this can be time consuming.

Blown Fuse
Test Light

Testing Fuse
Step 6 - If a failed fuse is suspect, remove the fuse for visual confirmation of the failure.
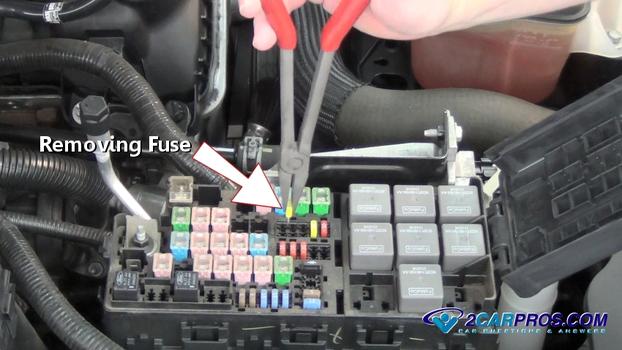
Removing Fuse
Step 7 - If a new fuse blows as soon as its replaced it means that a wire or connection in that circuit is shorted to ground, this condition could be internal as well, such as a burned out window motor. To repair such issues investigation and troubleshooting using a wiring diagram and component locator is necessary, first, remove or unplug each accessory in that fuse circuit. A wiring diagram is necessary and obtainable at Google images.

Wiring Diagram
Step 8 - If no power is detected at the fuse or panel (either side of the fuse) use a wiring schematic to trace the power source, usually a main power relay, maxi-fuse or fusible link has failed.

Removing Fuse

Wiring Diagram


Comments
Post a Comment