Fuel injector Replacement
How To Replace A Fuel Injector
Helpful Information
A fuel injector is used to supply fuel to one or more cylinders. A multi-port fuel injection system or TBI (throttle body injection) uses two fuel injectors to feed six or eight cylinders and one injector to feed four cylinders. Direct port injection or DPI uses one fuel injector for each cylinder. Each of these fuel injector styles depend on a uniform spray pattern which requires on a constant fuel pressure supply. Common injector failures include: leakage, short circuit and fully or partially plugged pintel nozzle.
Tools and Supplies Needed
A fuel injector is used to supply fuel to one or more cylinders. A multi-port fuel injection system or TBI (throttle body injection) uses two fuel injectors to feed six or eight cylinders and one injector to feed four cylinders. Direct port injection or DPI uses one fuel injector for each cylinder. Each of these fuel injector styles depend on a uniform spray pattern which requires on a constant fuel pressure supply. Common injector failures include: leakage, short circuit and fully or partially plugged pintel nozzle.
- Replacement fuel injector and O rings and gaskets
- Shop towels
- Socket and ratchet set.
- Wrench set.
- Screw driver set
- Replace the fuel filter when servicing a fuel injector
- Clean throttle bore
- Use new sealing O rings on the fuel rail
Step by step guide on how to replace an automotive engine fuel injector, the application will vary, but will still be relevant to most fuel injected vehicles.
Difficulty Scale: 4 of 10
Begin by parking the vehicle on level ground, engine off, with the parking brake set. Also, gas will be present, please wear protective gloves, clothing and eye wear for safety.
Step 1 - Identify the fuel injector to be replaced, injectors are subject to leakage and operational failures. If there is uncertainty on which fuel injector has failed, a fuel injector test must be performed.

Fuel Injector
Step 2 - Begin by removing the electrical connector from the fuel injector, some connectors have a safety clip that needs to be released as well.

Remove Electrical Connector
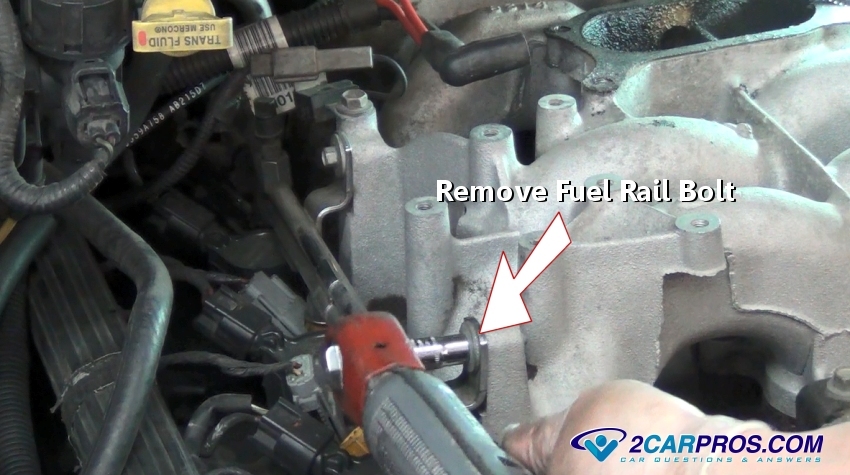
Step 3 - Then, remove the mounting bolts located on each comer of the fuel rail, these locations can vary. This will enable the fuel rail to be loosened and allow the fuel injector to be removed.

Remove Fuel Rail Hold Down Bolts
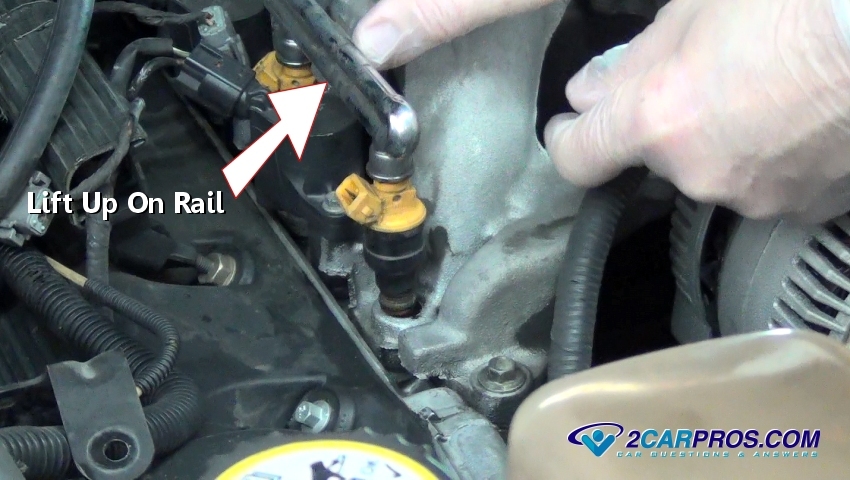
Step 4 - Once the bolts have been removed, proceed in gently lifting the fuel rail from the intake manifold, this will pop the rail loose allowing the fuel injector to be removed from the intake manifold. (Note: Occasionally it will be necessary to remove the fuel supply and return lines from the fuel rail, its best to leave these connected to avoid fuel contamination when possible.)

Lift Up On Fuel Rail
Step 5 - After the fuel rail has been loosened, apply pressure downward to the fuel injector from the rail, this will pop the injector from the O ring seal located on either end of the injector. (Note: Some injectors are held in by a retainer clip that must be removed.)

Remove Fuel Injector

Fuel Injector
Step 2 - Begin by removing the electrical connector from the fuel injector, some connectors have a safety clip that needs to be released as well.

Remove Electrical Connector
Remove Fuel Rail Hold Down Bolts
Lift Up On Fuel Rail

Remove Fuel Injector
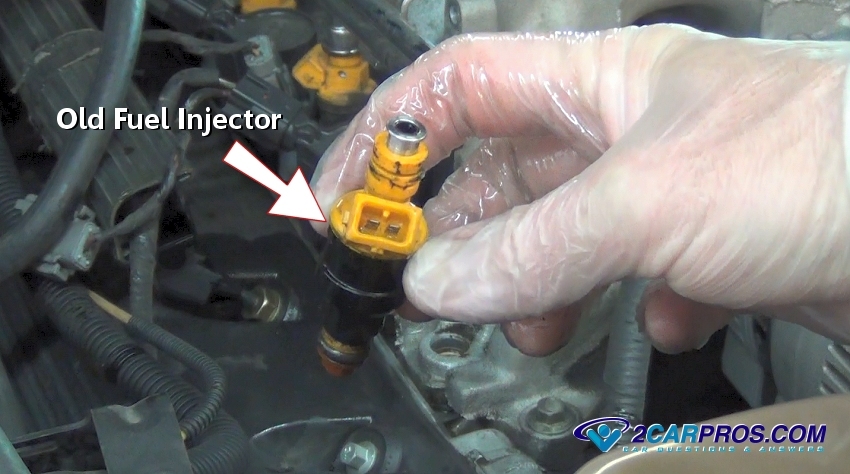
Step 6 - Inspect the old fuel injector and account for both sealing O rings as they can get stuck in the rail or down in the intake manifold.

Old Fuel Injector
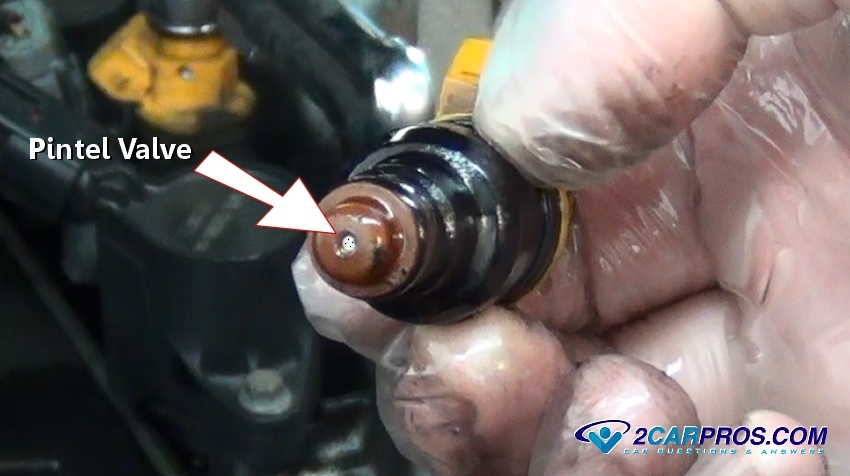
Step 7 - The pintel valve located at the end of the injector is where the fuel exits the injector and enters the engine, its common for these valves to plug and stop working (small holes.)

Injector Pintel Valve
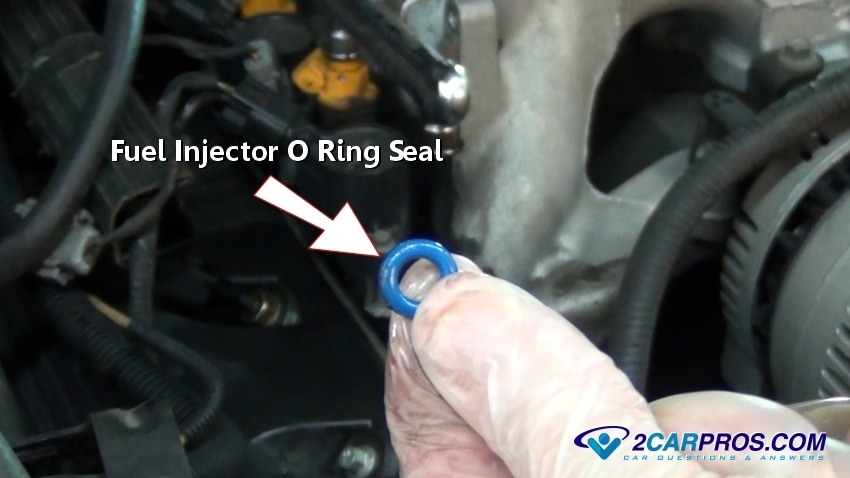
Step 8 - The O ring seal is used at either end of the injector and should be replaced when installing a new injector.

Fuel Injector O Ring Seal
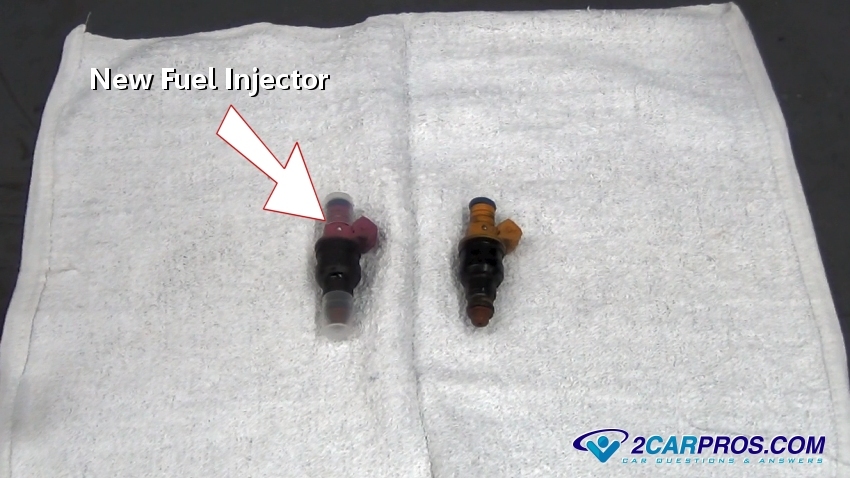
Step 9 - Match the old fuel injector to the new unit, they should match identically, remove the dust caps from either end and ensure new O ring seals are installed.

New Fuel Injector
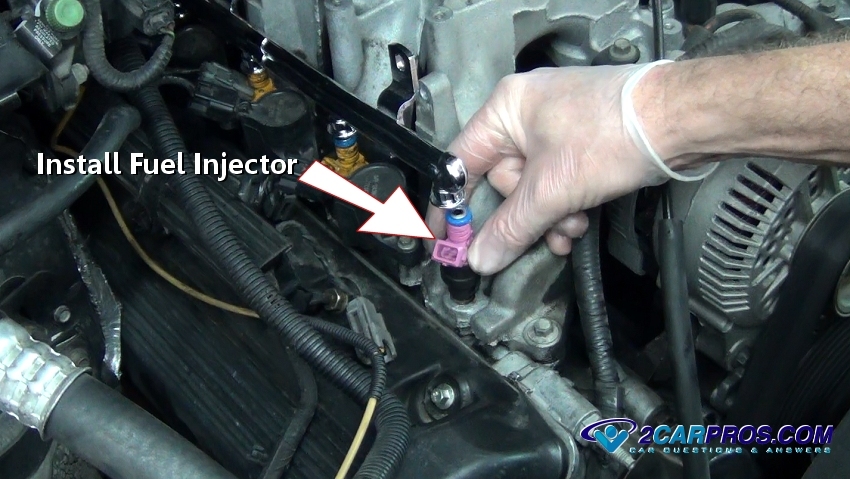
Step 10 - Gently install the new injector being mindful of the O ring seals. (Note: Use lubricant on O ring seals when installing injector.)

Installing New Fuel Injector
Old Fuel Injector
Injector Pintel Valve
Fuel Injector O Ring Seal
Step 9 - Match the old fuel injector to the new unit, they should match identically, remove the dust caps from either end and ensure new O ring seals are installed.
New Fuel Injector
Installing New Fuel Injector
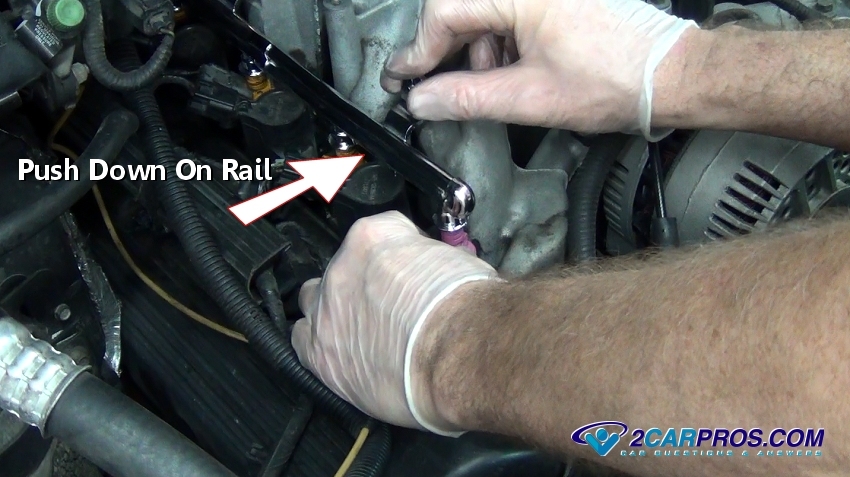
Step 11 - Once the new injector has been installed back into the fuel rail, gently push down on the rail while aligning the remaining injectors.

Push Down On Fuel Rail
Step 12 - Next, install rail mounting bolts and tighten.

Reinstall Fuel Rail Mounting Bolts
Step 13 - After the mounting bolts have been tightened, reconnect the electrical connector to the fuel injector. Once the job is complete inspect the fuel rail for leaks after the engine has been started and ran.

Reinstall Fuel Injector Electrical Connector
Push Down On Fuel Rail
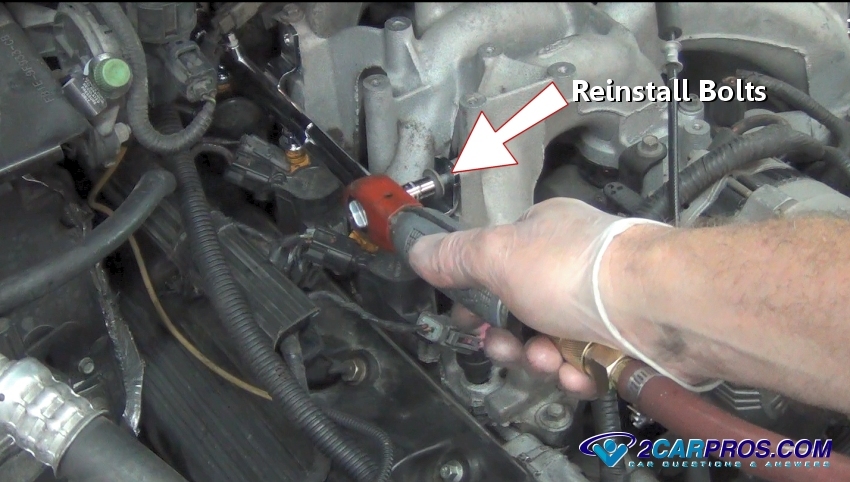
Reinstall Fuel Rail Mounting Bolts
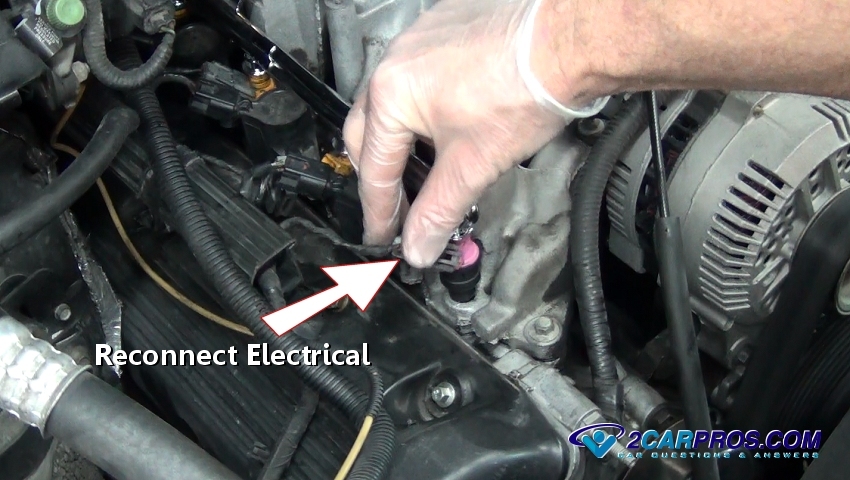
Reinstall Fuel Injector Electrical Connector


Comments
Post a Comment