Harmonic Balancer Replacement
Harmonic Balancer
How Harmonic Balancer Works
Helpful Information
A harmonic balancer or vibration damper is connected to the front of the engine crankshaft and is designed to help reduce vibration. The harmonic balancer is comprised of two separate pieces, the first is a mass which is bolted to the crankshaft and the second is the energy dissipating element which are separated by a rubber insulator. The rotating mass is designed to absorb vibration created from the crankshaft while the engine is in operation. Almost all engines are equipped with a harmonic balancer. Due to the stress and strain that is placed upon the harmonic balancer the unit can sometimes crack or separate. If the front main seal fails it will cause an oil leak which can only be replaced by removing the balancer.

Failed Harmonic Balancer
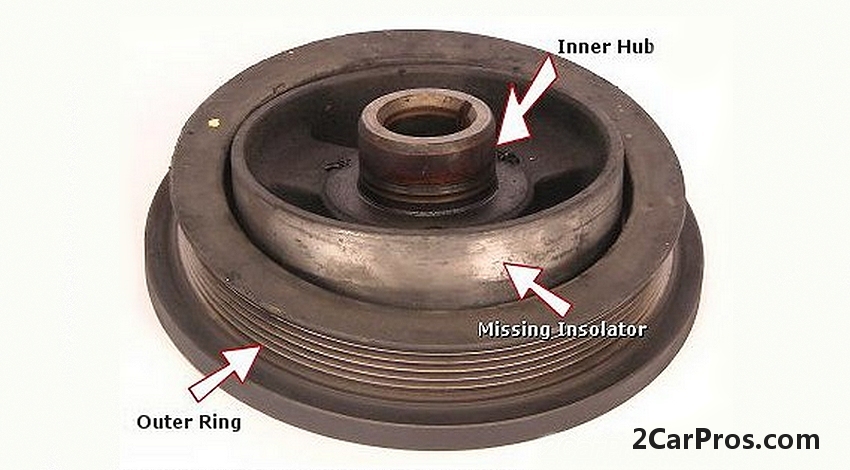
Failed Harmonic Balancer
Easy step by step guide on how to remove an automotive engine harmonic balancer, though application may vary, the procedure follows the same process, this information pertains to most vehicles.
Difficulty Level - 5
Begin with vehicle on level ground, lifted safely in the air, if needed, engine "OFF" and the parking brake set, using a basic set of tools including a balancer puller and installation tool kit.
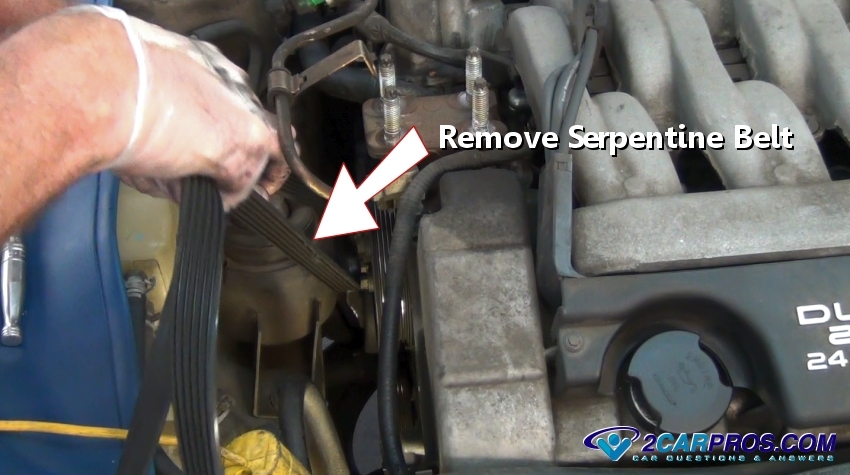
Step 1 - Gain access to the harmonic balancer by removing the serpentine belt.Learn more

Removing Serpentine Belt
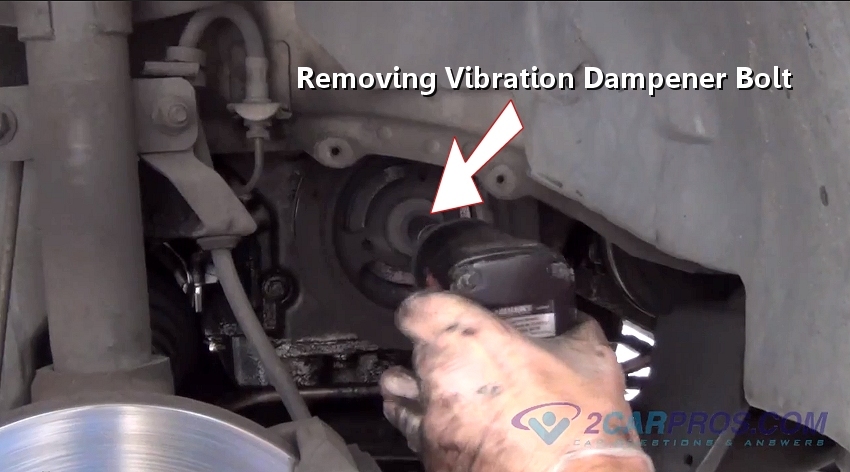
Step 2 - Remove the center bolt which helps hold the balancer to the front of the crankshaft, this bolt will be very tight. (Note: A pulley must be removed from the balancer if equipped.)

Remove Bolt
Step 3 - Evenly install a balancer puller, wind in the bolts far enough as not to be pulled out by the puller action.

Install Balancer Puller
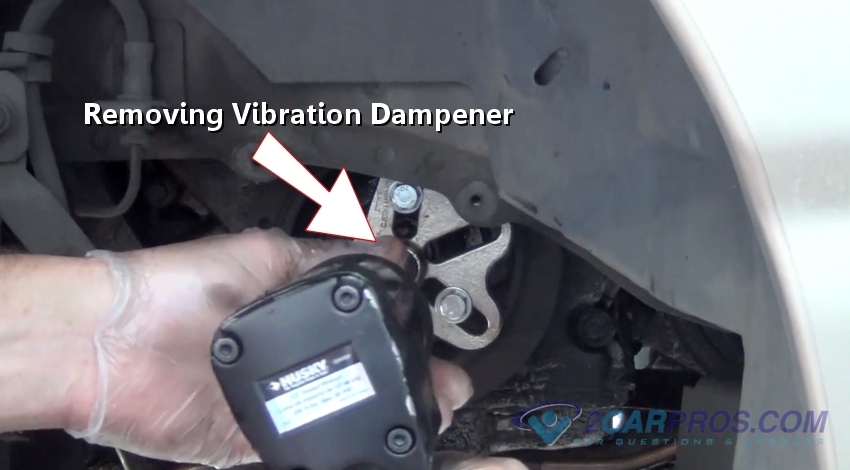
Step 4 - Using an air impact wrench, tighten the puller, you may hear a small pop as the dampener starts to move off of the crankshaft. (Note: Dampener has a press fit and cannot be removed without a puller.)

Removing Harmonic Balancer
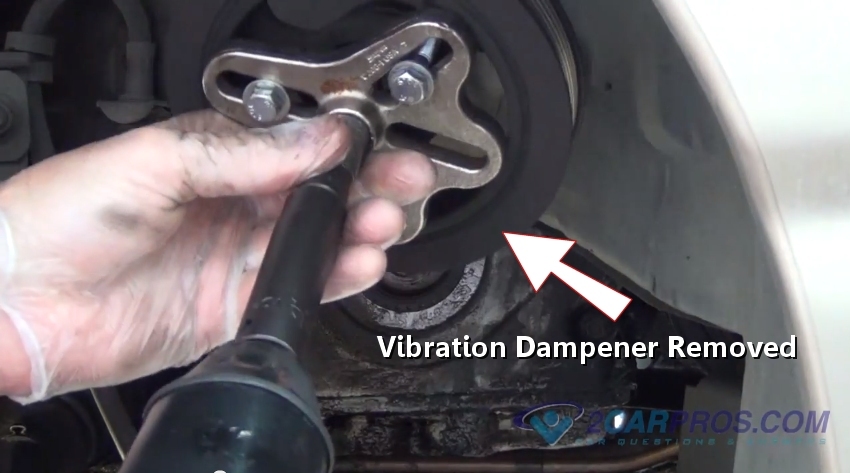
Step 5 - The puller push bolt will become easier as the balancer comes off the end of the crankshaft.

Balancer Removed
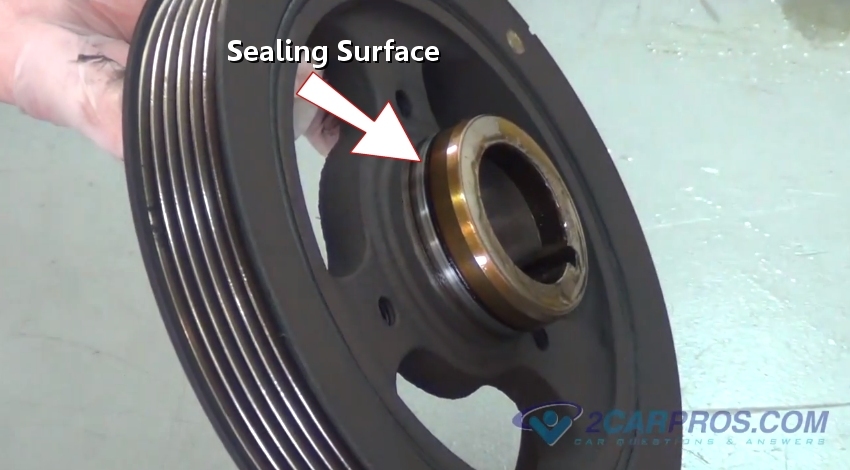
Step 6 - Once the dampener is removed, there may be some oil varnish which will need to be removed with carburetor cleaner or fine sandpaper before re-installation.

Oil Varnish Build-Up
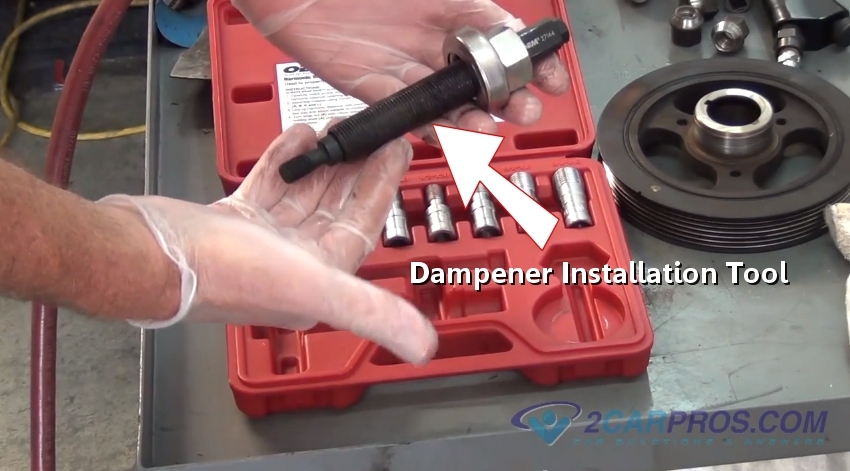
Step 7 - A harmonic balancer installation tool is used to reinstall the balancer. (Note: Never hammer the balancer back onto the engine, internal damage will result.)

Dampener Installation Tool
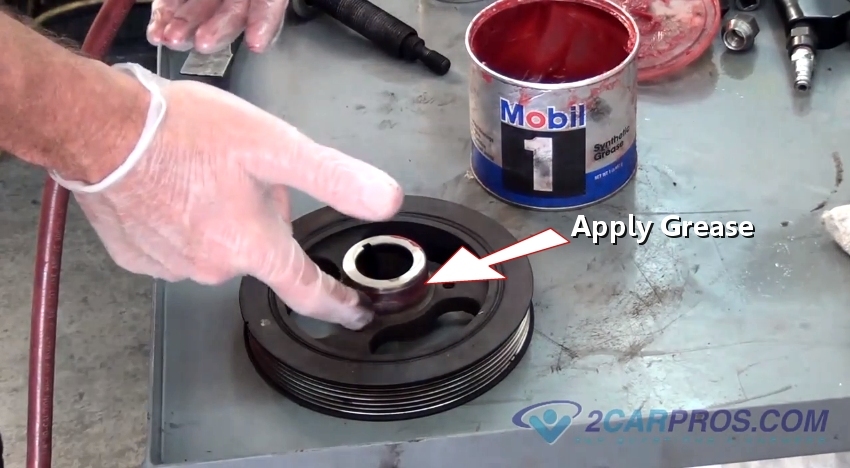
Step 8 - Warm the balancer in the oven to 150 degrees F to help expand the dampener to ease installation, then install a small amount of grease to the sealing surface.

Apply Lubricant
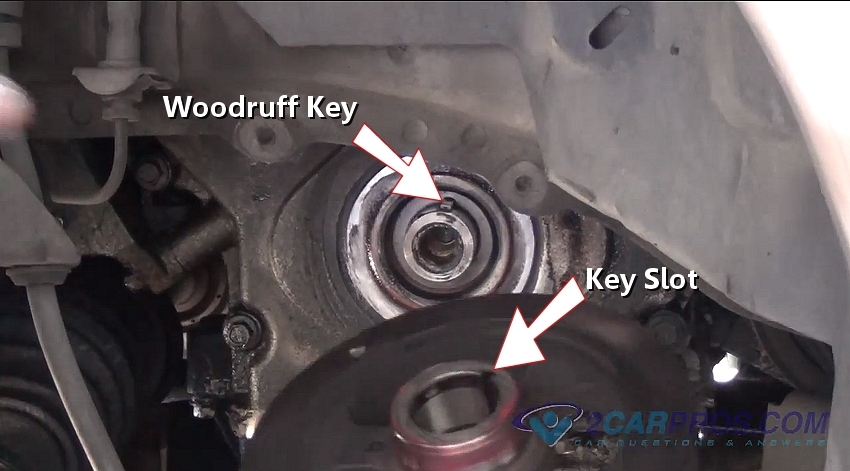
Step 9 - Align the balancer woodruff key slot with the keyway on the crankshaft and set into place.

Aligning Woodruff Key
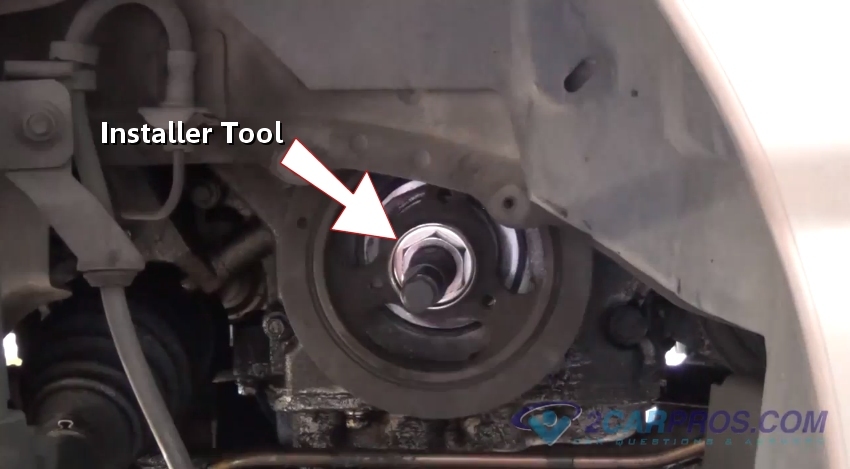
Step 10 - Once the balancer is set into place with the woodruff key aligned, wind the installation tool into place.

Installation Tool Installed
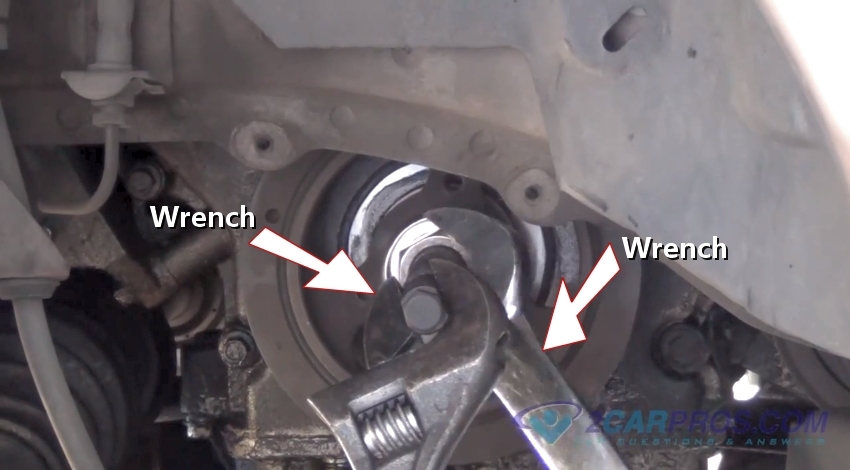
Step 11 - Use two wrenches to tighten the balancer installation tool until tight.

Installing Balancer
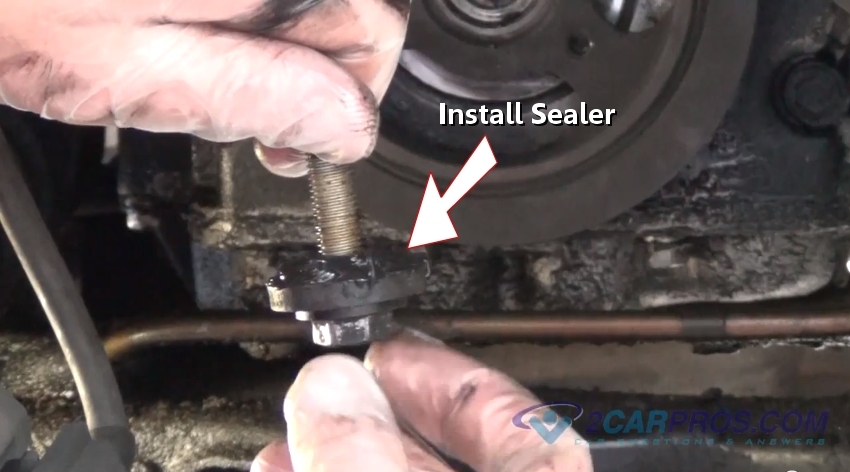
Step 12 - Once the installation tool has been removed, apply sealer to the center bolt and install.

Applying Sealer
Step 13 - Tighten bolt to manufacturer's recommended torque specification, (150 to 200 pounds usually, tight)

Tighten Balancer Bolt
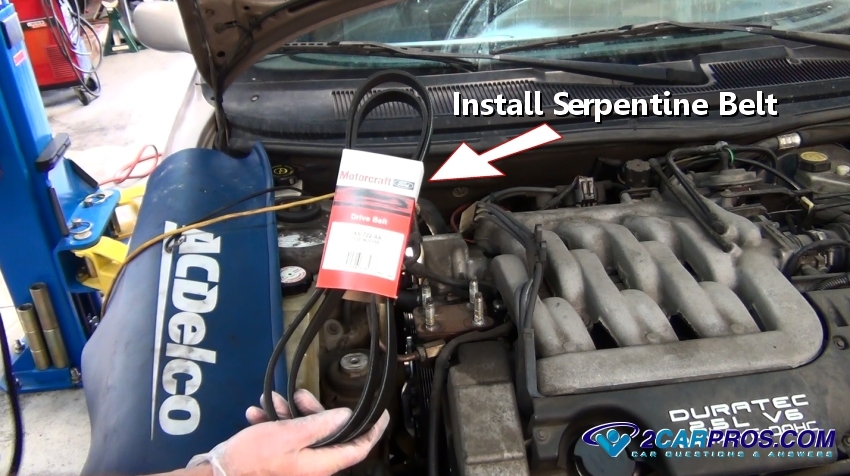
Step 14 - Once the harmonic balancer is installed, re install the serpentine belt.

Install Serpentine Belt
Removing Serpentine Belt
Remove Bolt
Step 3 - Evenly install a balancer puller, wind in the bolts far enough as not to be pulled out by the puller action.

Install Balancer Puller
Removing Harmonic Balancer
Balancer Removed
Oil Varnish Build-Up
Dampener Installation Tool
Apply Lubricant
Aligning Woodruff Key
Installation Tool Installed
Installing Balancer
Applying Sealer

Tighten Balancer Bolt
Install Serpentine Belt


Comments
Post a Comment