Window Motor Regulator Replacement
How To Replace Car Window Motor
Helpful Information
An electric power window is controlled by three main parts; motor, regulator and a control switch and can fail in many ways, some of the more popular failures include non operation (stuck), window loose in its track sitting down while the motor turns. In some cases there are minor adjustments for the window rails to re-position the window if needed, check vertical operation for hard spots or clicking noises.
All power window system are protected by a fuse which should be checked if the window is non-operational.
Common Problems
Motor shorts out and stops working, or works very slowly.
The control switch short circuits, due to excessive amperage draw from a worn out motor.
Easy step by step guide on how to replace an automotive window motor and regulator, though the configuration may vary, the process is the same, this information pertains to most vehicles.
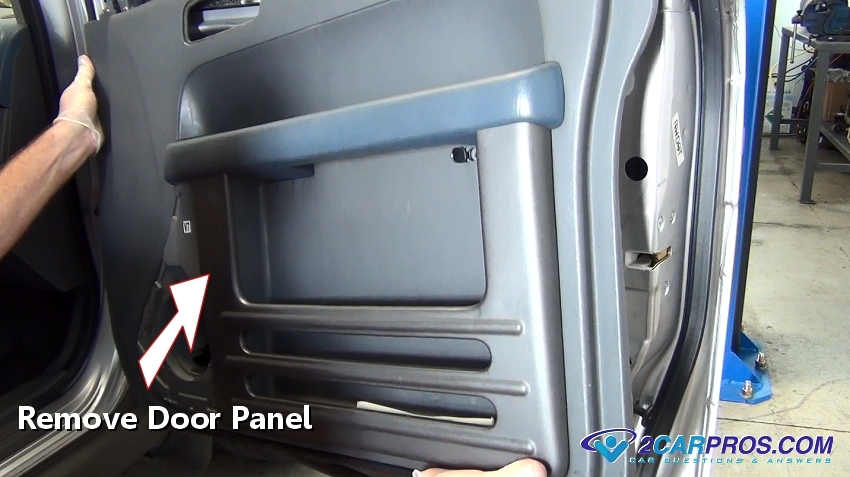
Remove Door Panel
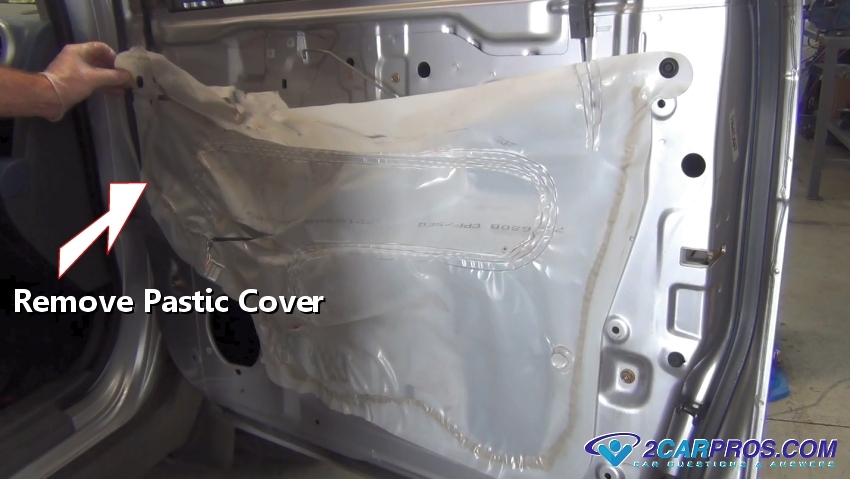
Remove Plastic Door Cover.
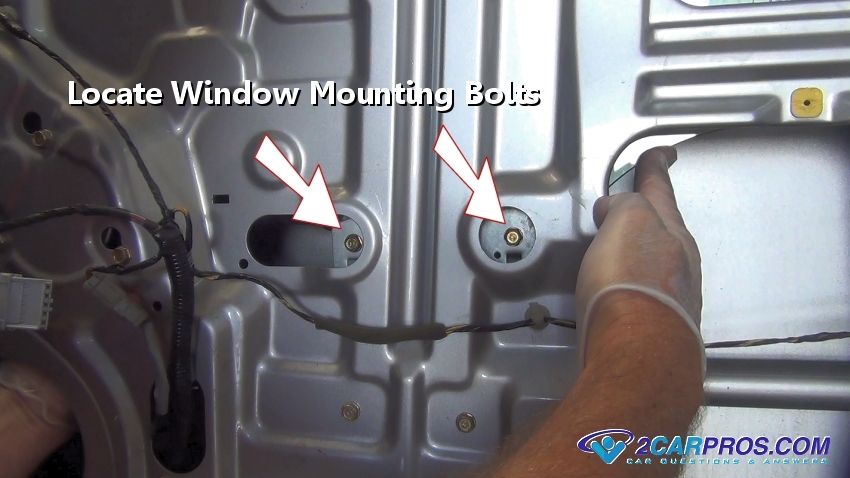 Step 3 - Locate the window mounting bolts, the window may need to be raised or lowered to access the bolts.
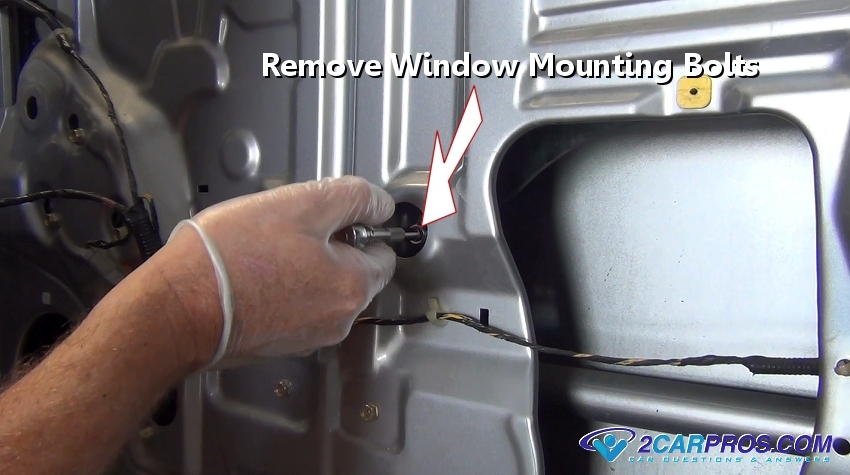
Remove Window Mounting Bolts
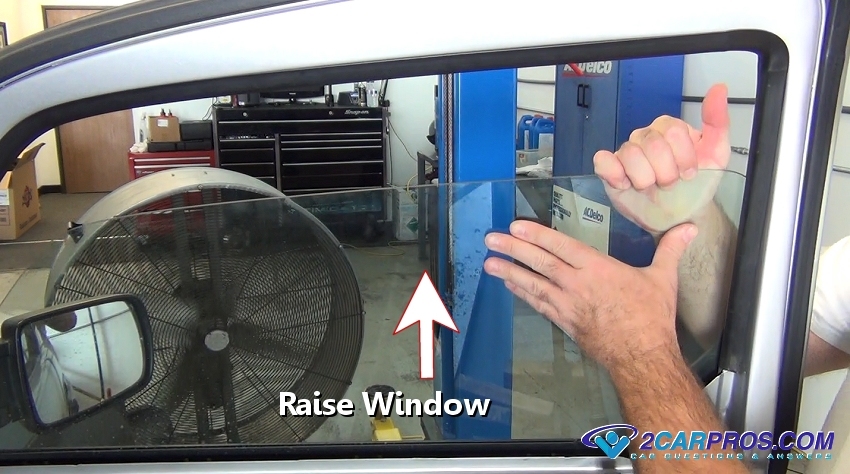
Raise Window
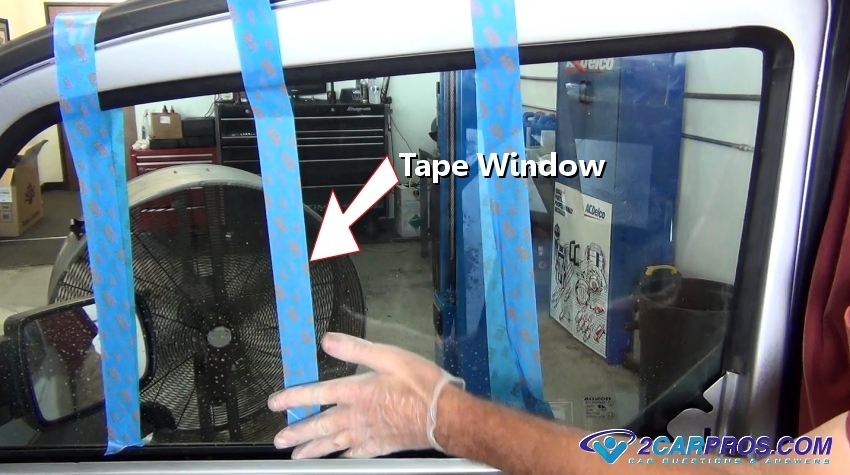
Masking Tape Window
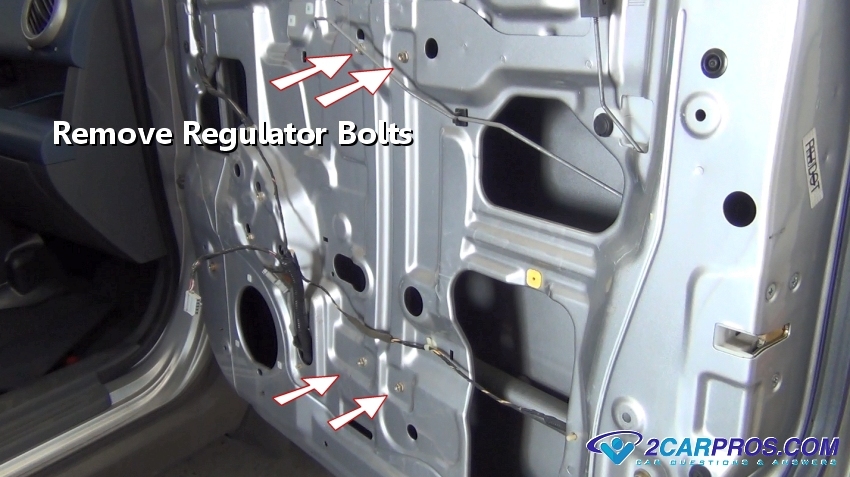
Removing Regulator Bolts
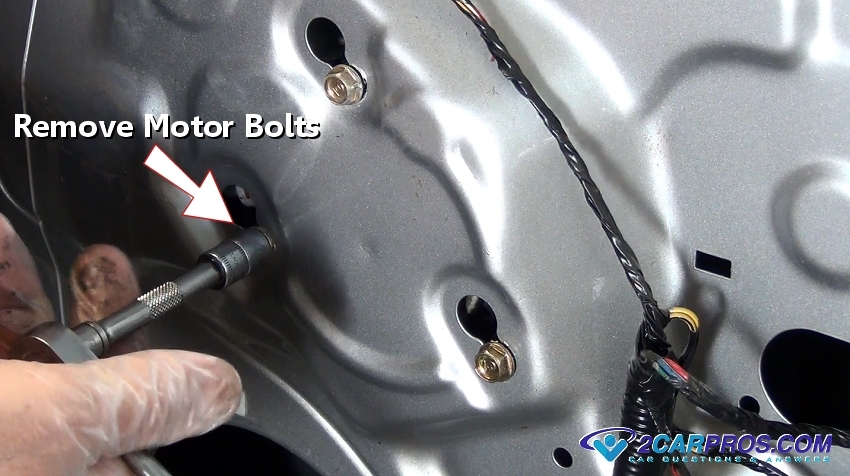
Remove Motor Bolts
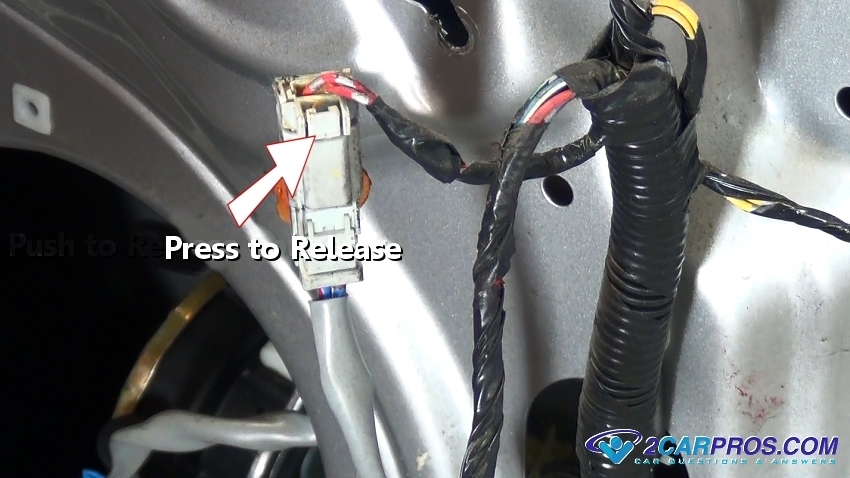
Press to Release Connector
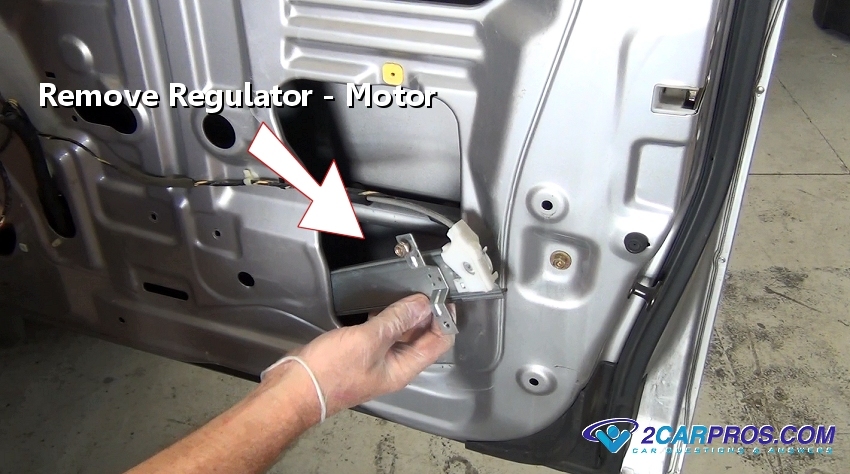
Removing Motor and Regulator
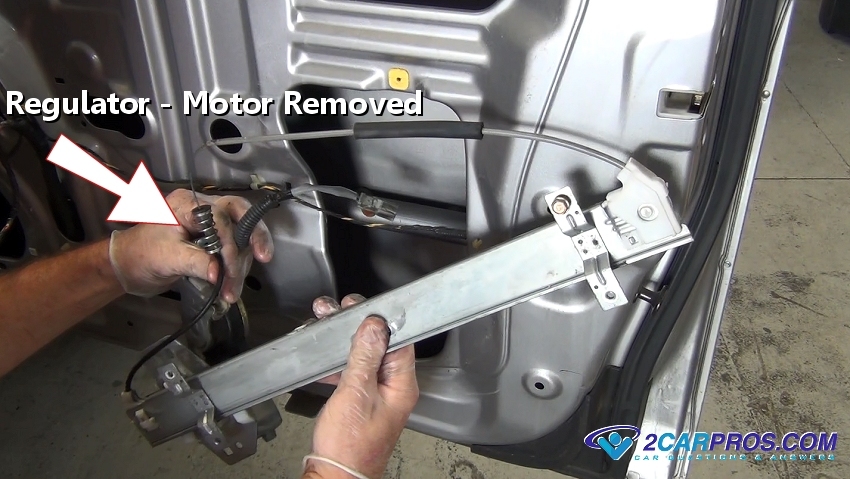
Window Motor and Regulator Removed
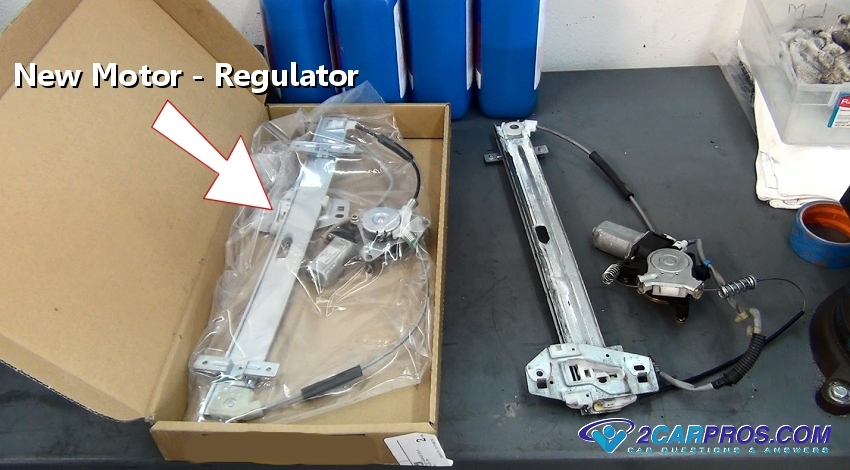
New Window Motor and Regulator
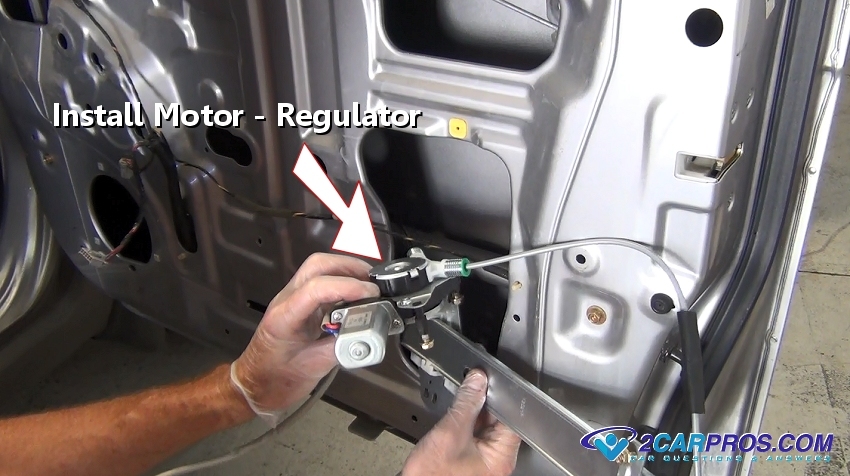
Install New Window Motor and Regulator
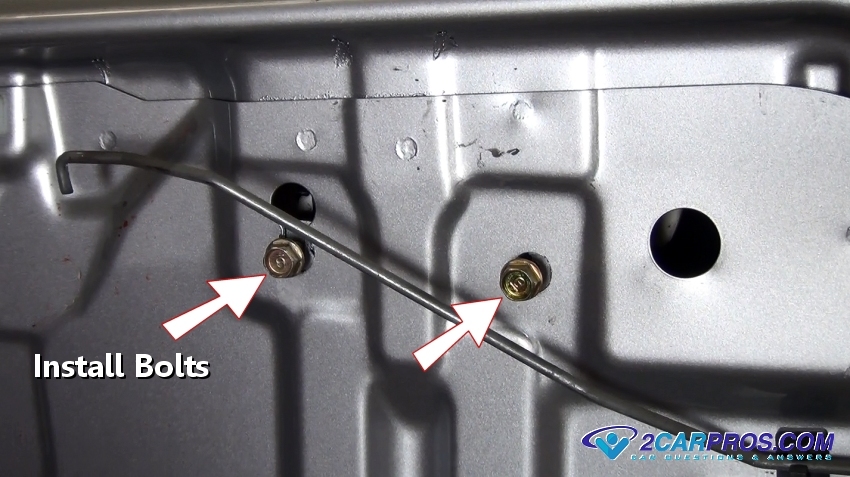
Install Regulator and Motor Bolts
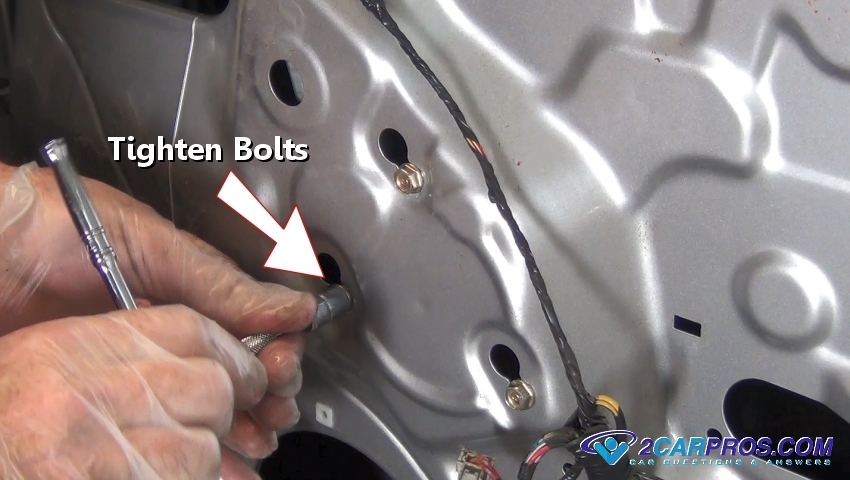
Tighten Window Motor Bolts
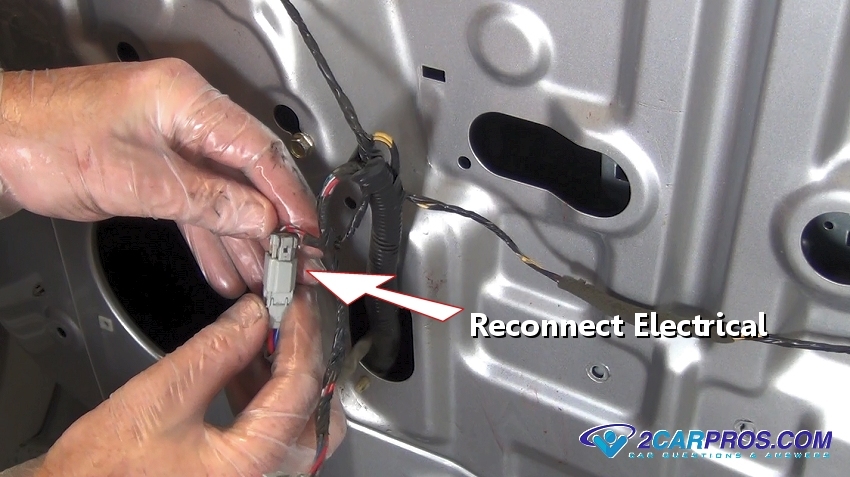
Reconnect Motor Electrical Connector
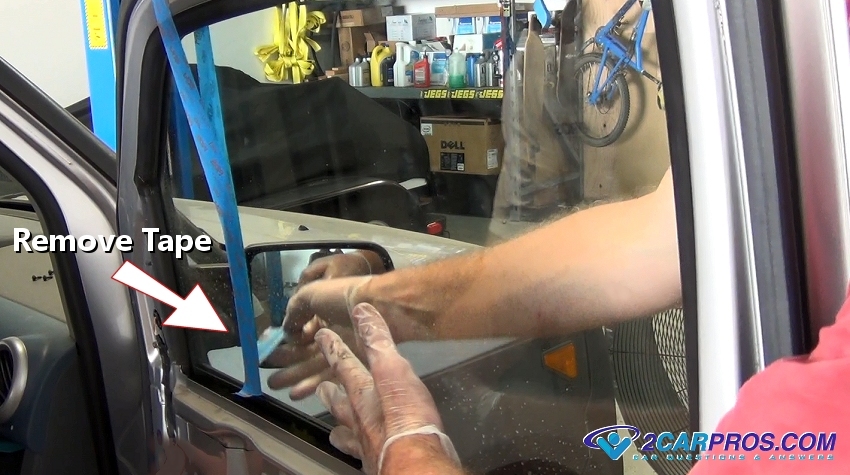
Un-Taping Window
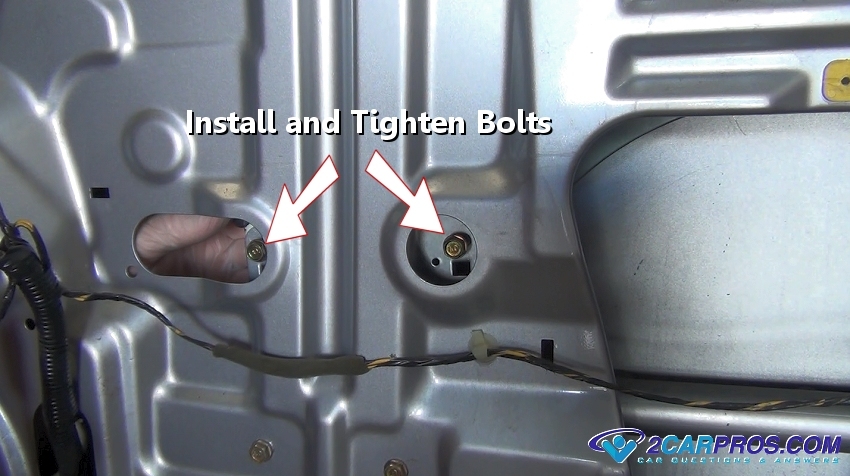
Install Window Mounting Bolts
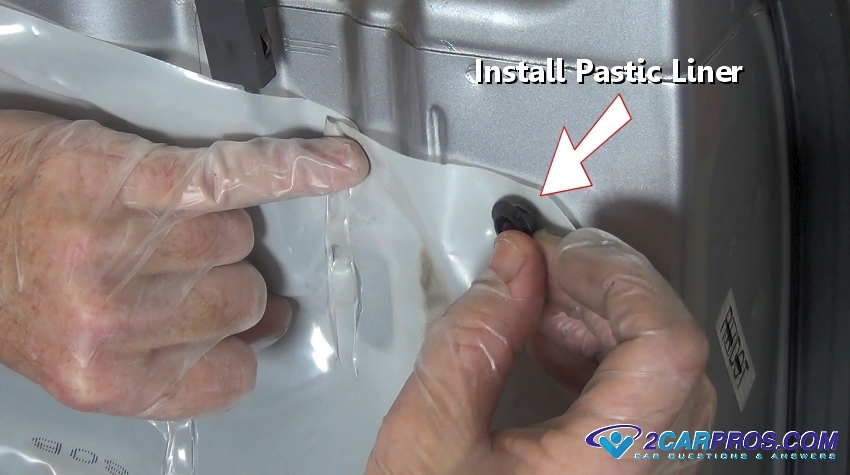
Re-install Plastic Liner

Test Window Motor Operation


Comments
Post a Comment