Window Switch Test and Replacement
How To Test Car Window Switch
How To Replace Car Window Switch
Tools and Supplies NeededTest light
Metal scribe or equivalent
Test wire leads w/clips
Screwdriver set
Protective gloves and eyewear
Torx driver set.
Helpful Information:
Electric window systems are common technology which is universal throughout the automotive industry. These systems work from a simple polarity change to activate an electric motor which will turn it one direction or the other. This change is controlled by the switch which utilizes power and ground circuits. These switches can be bypassed by the BCM on some vehicles which are designed with control relays that activate the motor remotely.
Best Practices:
Keep switches clean and free from debris.
Plastic door panel pieces can be brittle.
Lubricate window mechanisms
Re-install plastic liners

Remove Door Bezel
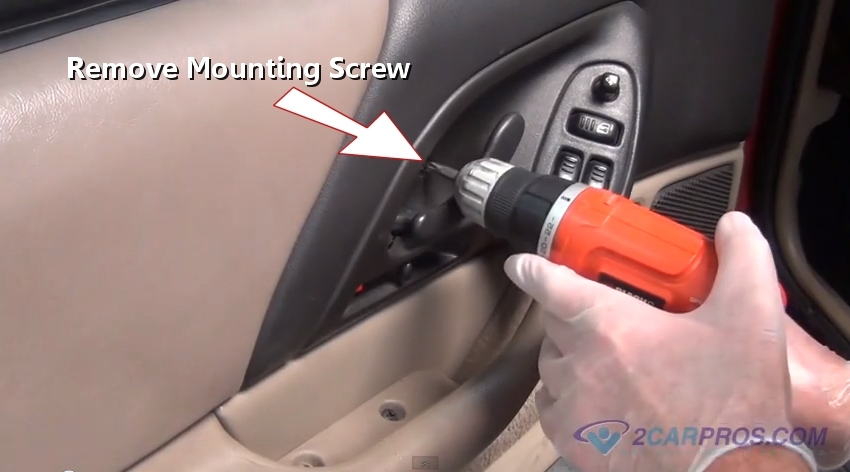
Step 2 - After plastic covers have been removed, locate and remove all panel mounting screws or clips.

Remove Door Panel Mounting Screws
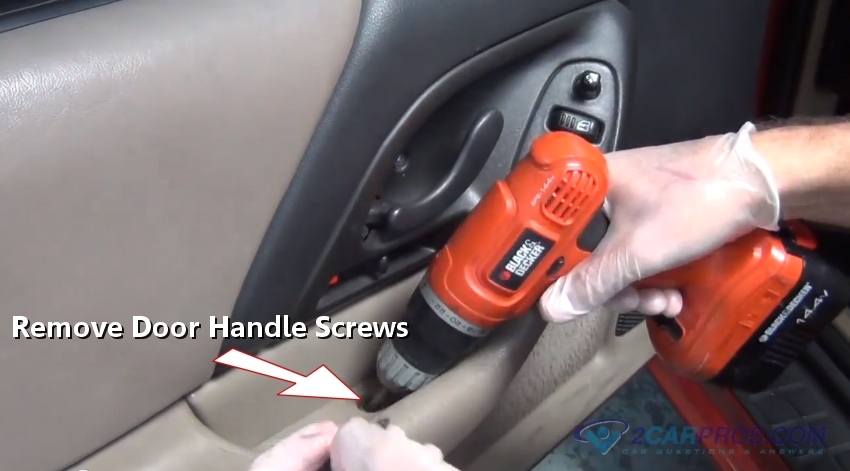
Step 3 - Once all panel mounting screws are removed, locate and remove door handle mounting screws.

Remove Door Handle Mounting Screws
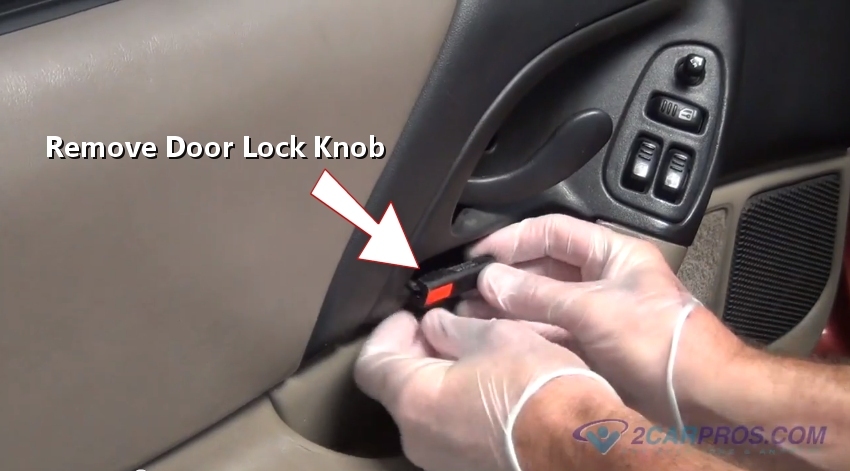
Step 4 - Undo and disconnect lock knobs or slides to allow removal.

Removing Door Lock Knob
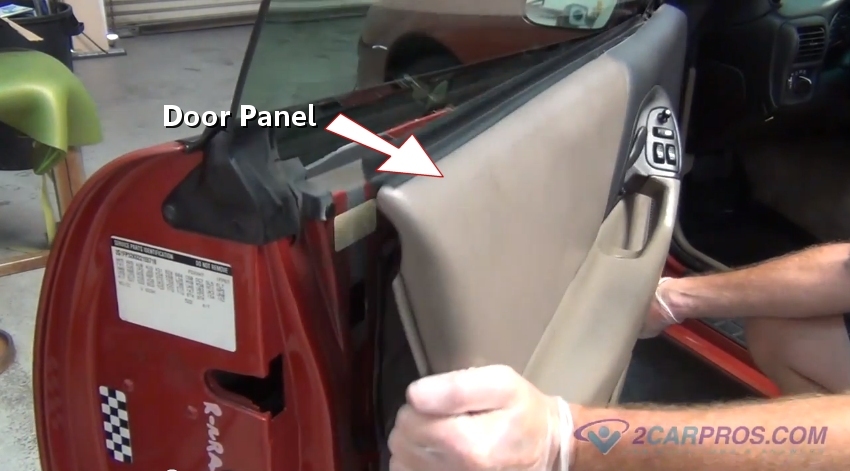
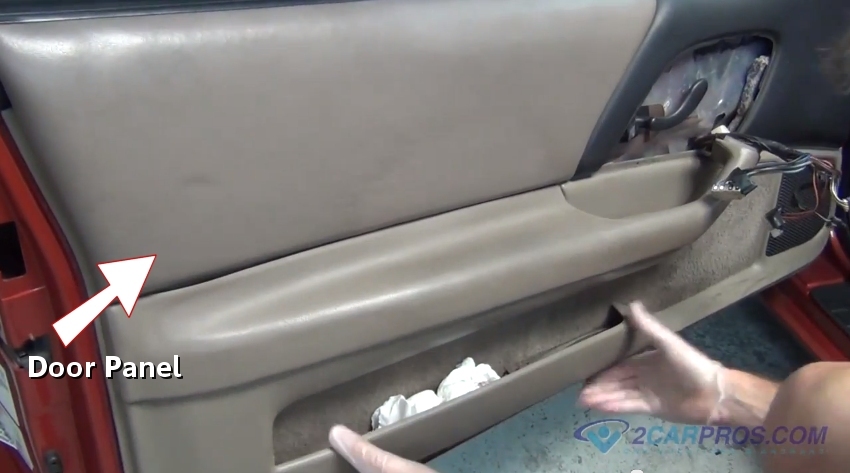
Step 5 - Inspect the outer perimeter of the panel for push clips and use a wedge tool or screw driver to remove, then lift the panel from the door fame.

Removing Door Panel
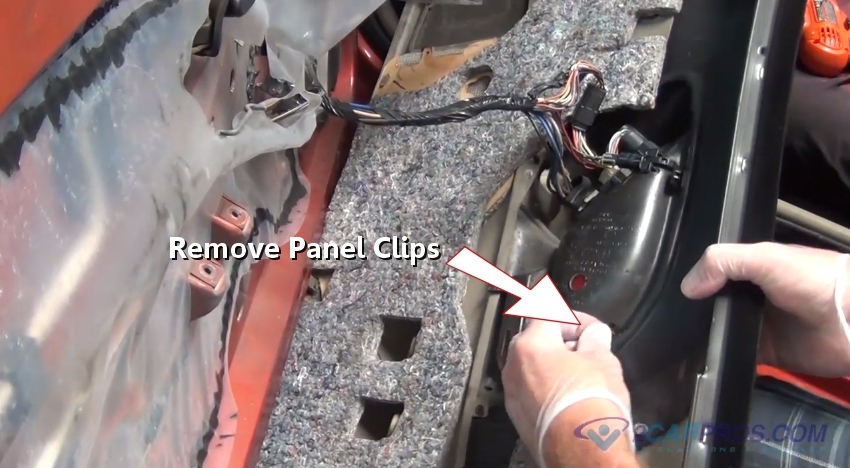
Step 6 - After the panel is removed, release the panel mounting clips which will cause the switch panel to come free.

Release Switch Panel Clips
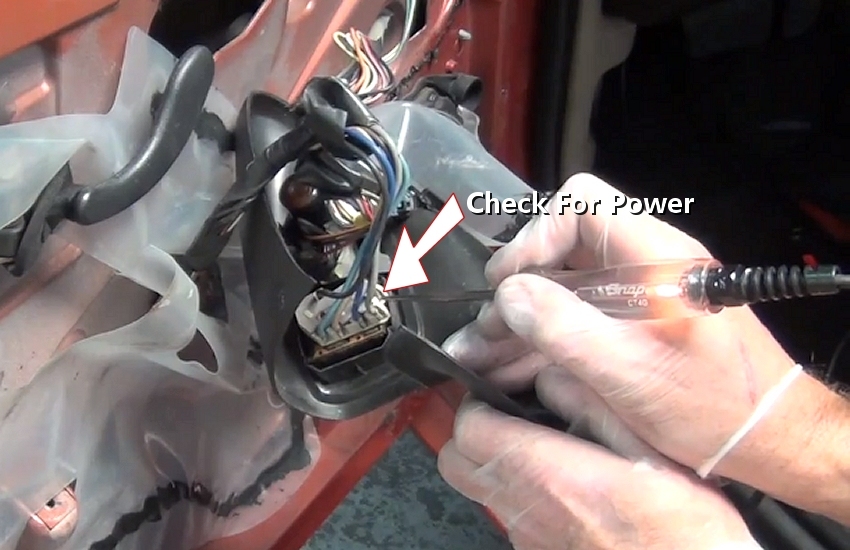
Step 7 - With the ignition key on and using a grounded test light, probe the switch terminals for power. This test shows the system is powered up and a fuse or relay is not the problem (test light on). If power is not found, check the fuses and relays in the PDC (power distribution center.)

Check for Power
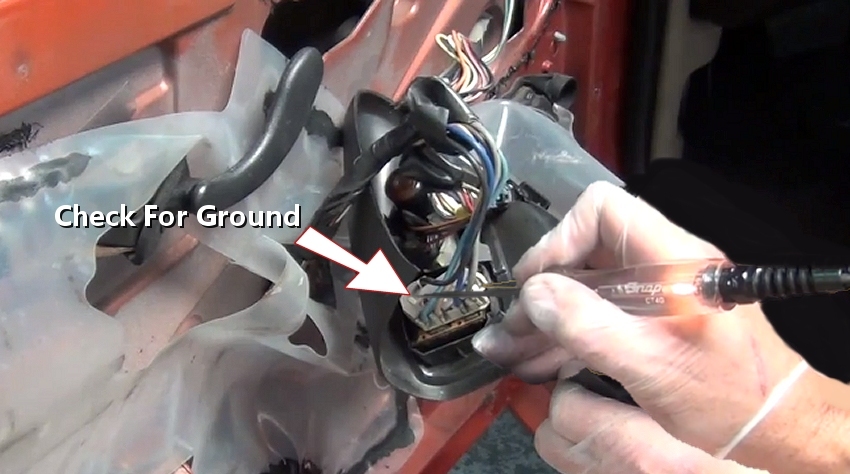
Step 8 - Then, connect the test light lead to power (positive battery) and test the remaining terminals for ground, this wire is usually black or brown. One should light up, if not inspect the wiring and harness for damage. Using a wiring schematic, trace the ground circuit and repair.

Test For Ground
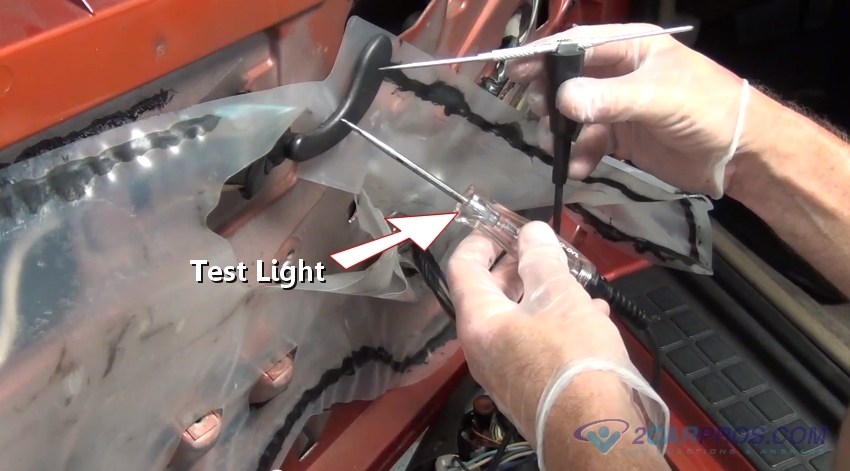
Step 9 - Next, insert a sharp metal object such as this scribe into the ground clip of the test light, this will be used to test switch circuitry.

Test Light Circuit Probe
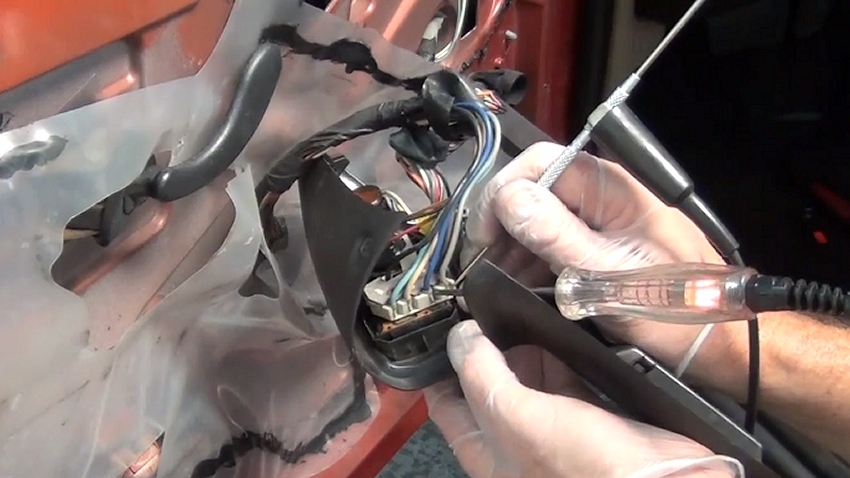
Step 10 - Using the circuit tester, insert both probe ends into the switch activation terminals. Working the switch back and forth the test light should illuminate in both directions, which determines if the internal switch connections are working. (Note: Do not allow the probes to touch together during test.) If no illumination is detected in one or both directions the switch has failed.

Test Window Switch
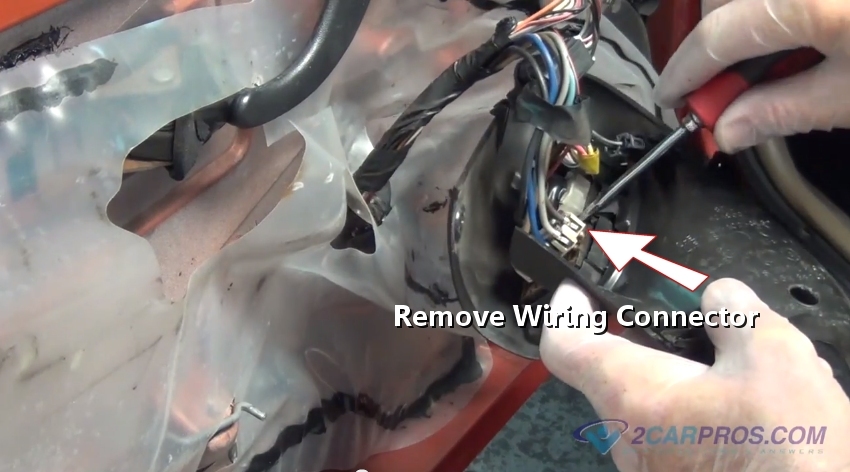
Step 11 - Once the switch has been tested turn the ignition key off and remove the wiring connector from the switch. (Note: Some vehicles utilize an wiring harness connector.)

Remove Wiring Connector
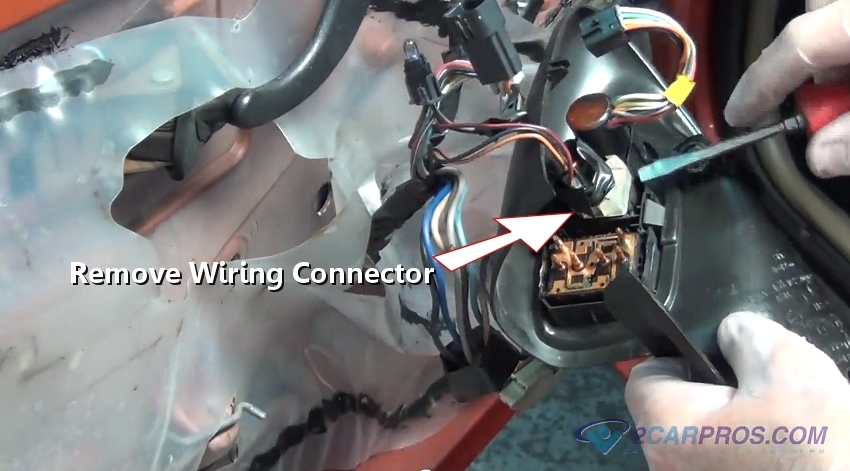
Step 12 - Remove any additional wiring connectors attached to the window switch panel.

Remove Wiring Connector
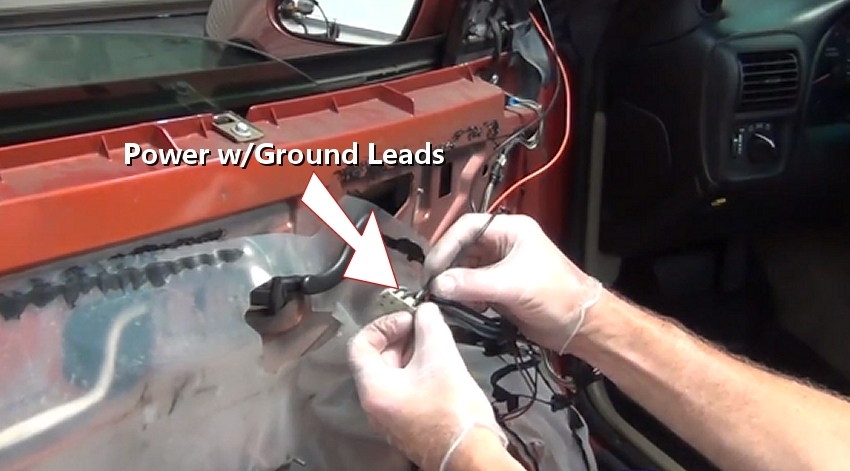
Step 13 - To test the window motor, run power and ground wire leads from a power source and ground. Then attached them to the connector terminals in each polarity, this will operate the motor in each direction, (up and down.) If the motor fails to respond it has failed.

Power w/Ground Leads
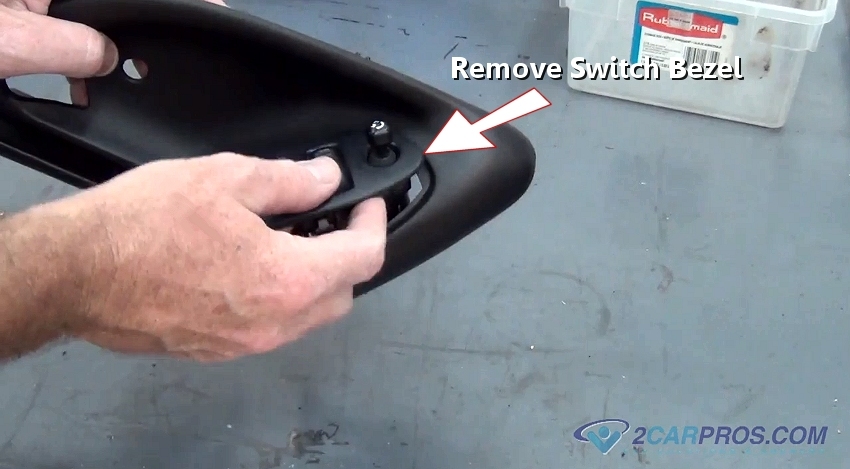
Step 14 - Remove the window switch bezel by releasing the mounting clips which hold the bezel in place.

Remove Switch Bezel
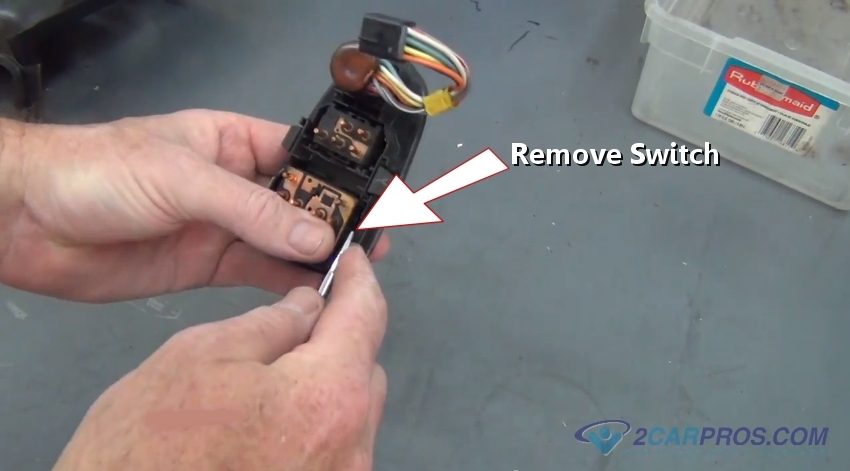
Step 15 - Once the bezel has been removed, use a small screw driver to release the mounting clips allowing the switch to be separated from the bezel.

Removing Window Switch
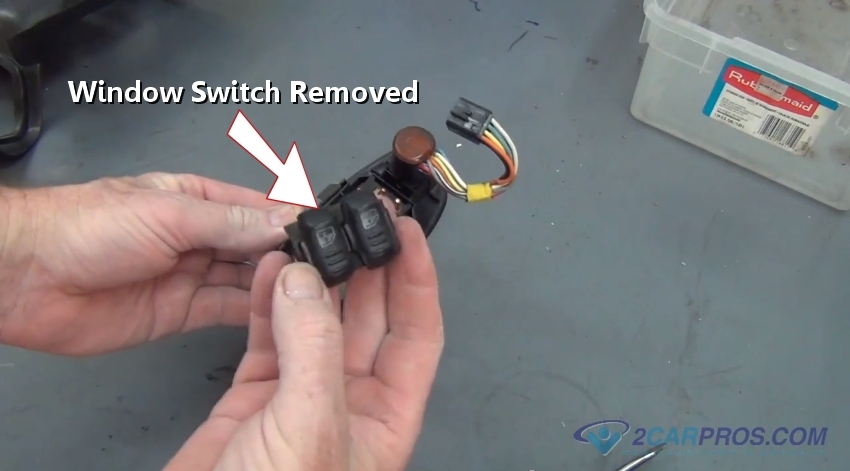
Step 16 - After the mounting clips have been removed the switch will become free from the bezel.

Window Switch Removed
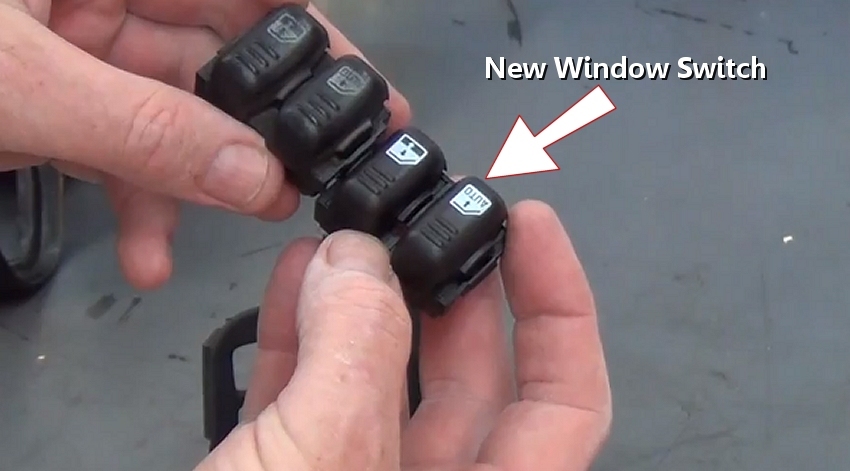
Step 17 - Remove the replacement switch from the packaging and compare it to the failed switch.

New Window Switch
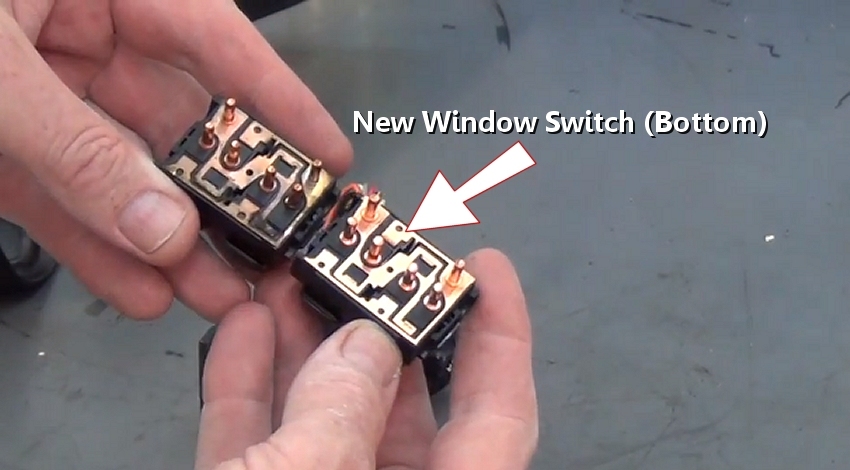
Step 18 - Also, compare switch terminals.

New Window Switch (Bottom)
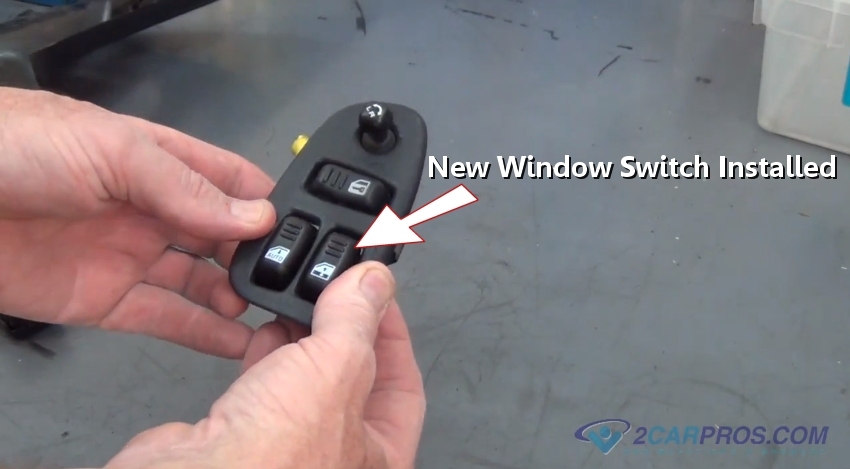
Step 19 - Press the replacement switch into the bezel which will accompanied by a click. (Note: Some switches are held in place by mounting screws.)

Installing New Window Switch
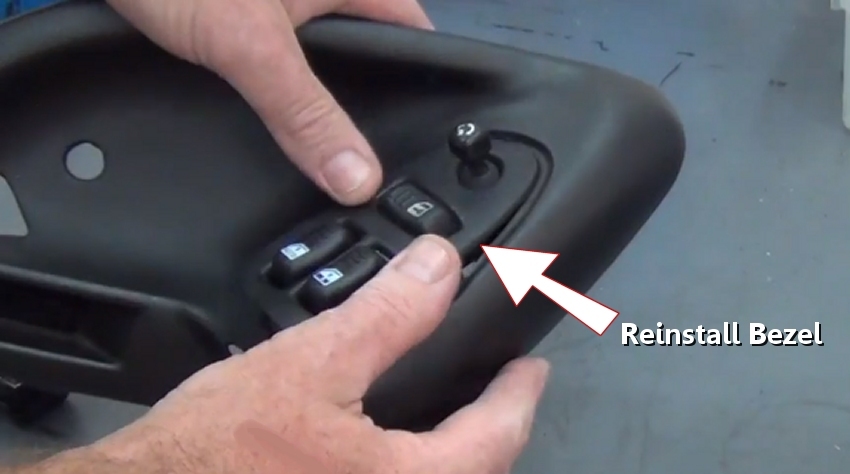
Step 20 - After the new switch has been installed, reinsert the bezel plate into the plastic cover plate.

Reinstall Switch Bezel
Step 21 - While feeding the window wiring though the access hole in the door panel, reinstall the door panel by fitting the top into place while pulling downward. Then gently tap the panel into place while engaging mounting fasteners.

Door Panel Installation
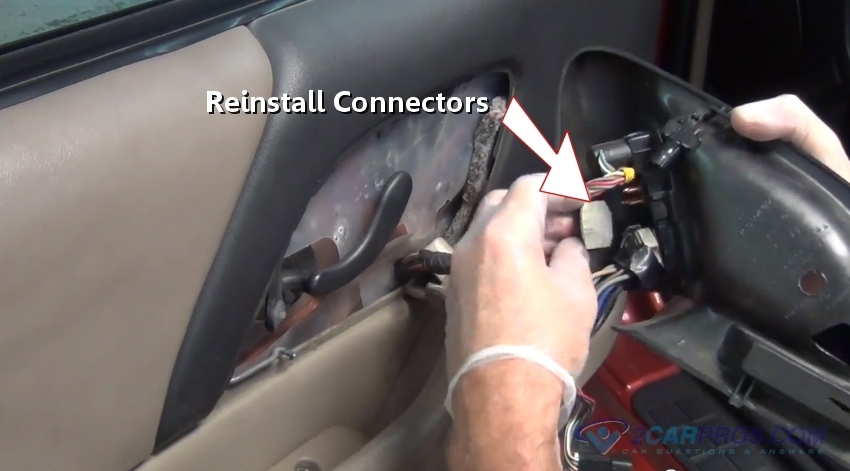
Step 22 - After the door panel has been installed, refasten the electrical connectors to the back of the switches.

Reinstalling Electrical Connectors
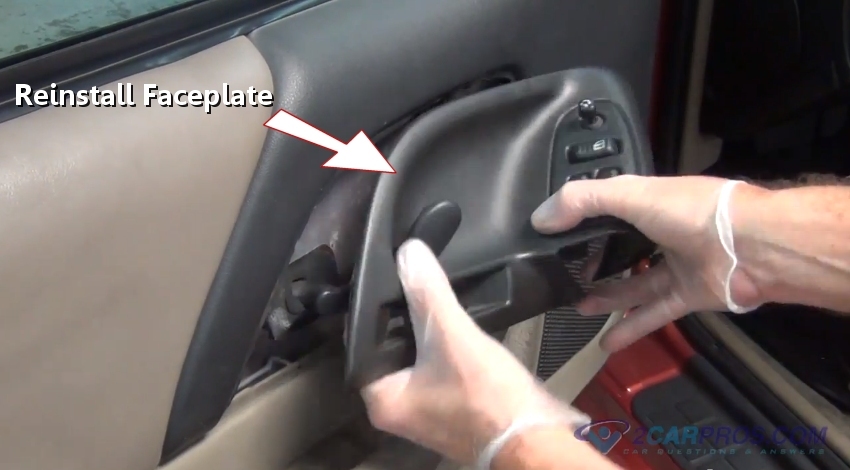
Step 23 - Once all wiring connectors are in place, re-install the face plate into position.

Reinstall Face Plate
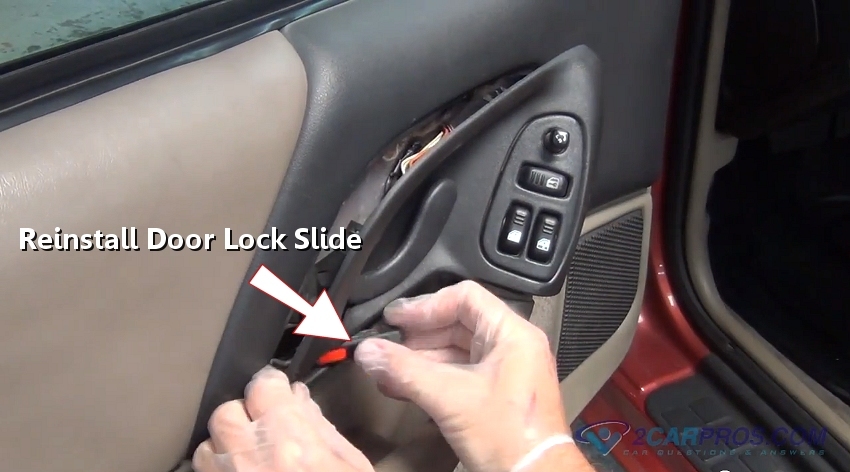
Step 24 - Return all locking hardware including knobs and slides.

Reinstall Door Lock Slide
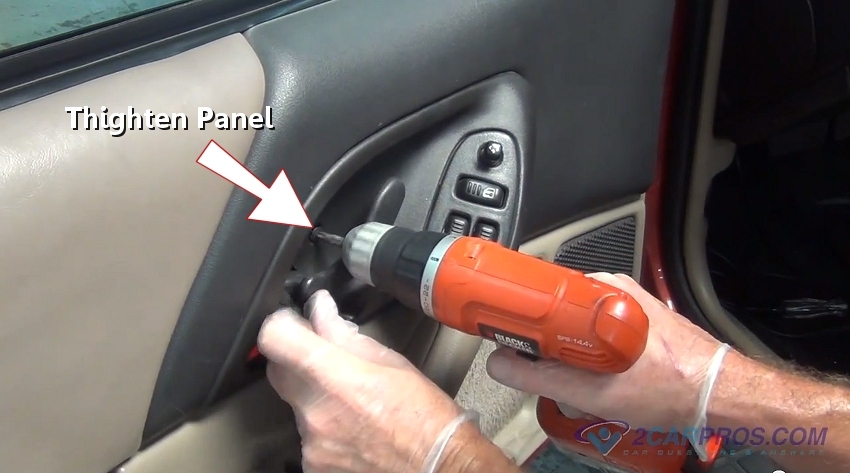
Step 25 - Reinstall the switch mounting plate, reinstall mounting screws and tighten, also re-install door handle mounting screws.

Tighten Door Panel Screw
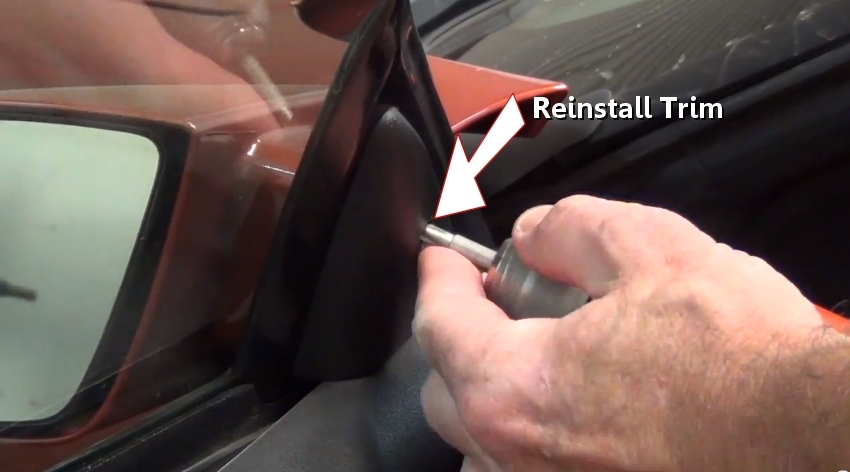
Step 26 - After all door panel mounting clips and screws are in place, reinstall trim pieces.

Reinstall Trim
After the repair is complete, test the job by activating the window and checking the operation of the window.
Keep switches clean and free from debris.
Plastic door panel pieces can be brittle.
Lubricate window mechanisms
Re-install plastic liners
Easy step by step repair guide on how to test and replace an automotive window switch, this article pertains to most vehicles.
Difficulty Scale: 4 of 10
Begin with the vehicle on level ground, in park, with the engine off.
Step 1 - Using a screwdriver remove any plastic covers or bezels.
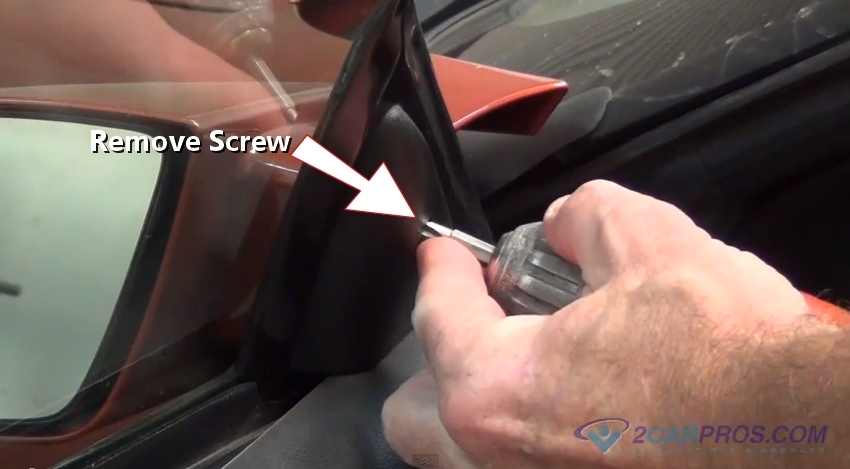
Remove Door Bezel
Remove Door Panel Mounting Screws
Step 3 - Once all panel mounting screws are removed, locate and remove door handle mounting screws.
Remove Door Handle Mounting Screws
Removing Door Lock Knob
Removing Door Panel
Release Switch Panel Clips
Check for Power
Test For Ground
Test Light Circuit Probe
Test Window Switch
Remove Wiring Connector
Remove Wiring Connector
Power w/Ground Leads
Remove Switch Bezel
Removing Window Switch
Window Switch Removed
New Window Switch
New Window Switch (Bottom)
Installing New Window Switch
Reinstall Switch Bezel
Door Panel Installation
Reinstalling Electrical Connectors
Reinstall Face Plate
Reinstall Door Lock Slide
Tighten Door Panel Screw
Reinstall Trim


Comments
Post a Comment