PART 2: Brake Shoe - Wheel Cylinder - Drum Replacement
Brake Shoe - Wheel Cylinder - Drum Replacement
For part 1 follow this link below:
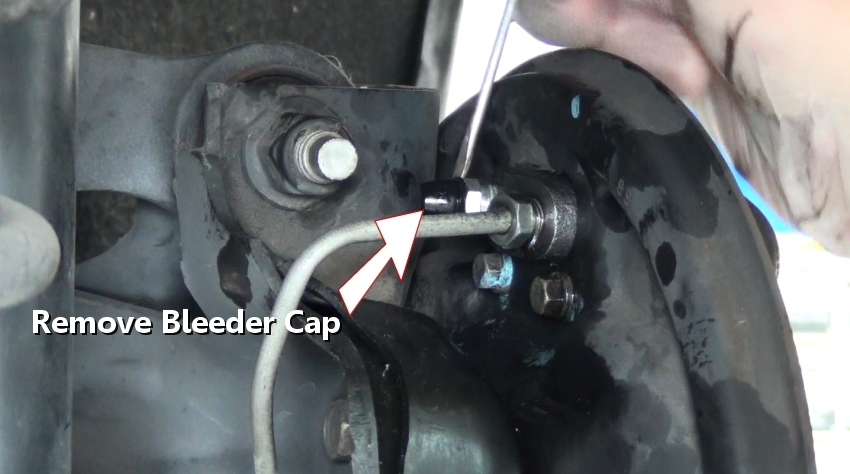
Step 29 - Then, use a small screwdriver to remove the wheel cylinder bleeder cap, this will allow the brake fluid to be bled in later steps.

Remove Bleeder Cap
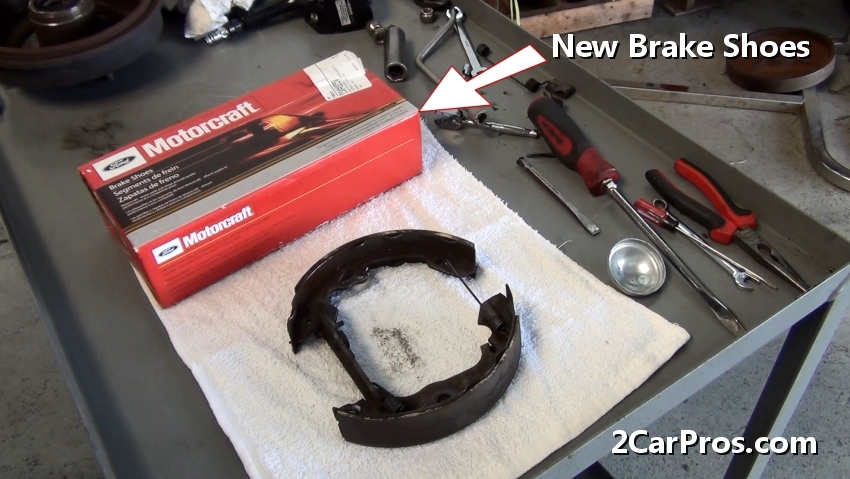
Step 30 - After installing the wheel cylinder (if needed), use a flat surface to initiate spring and e-brake lever swap onto the new shoes.

New Brake Shoes
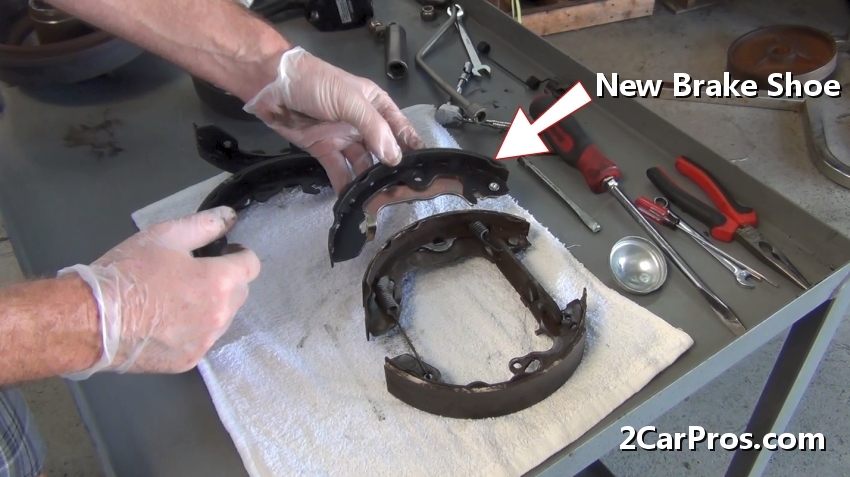
Step 31 - Once the new brake shoes have been unboxed, match the warn brake shoes to the new brake set.

Matching Brake Shoes
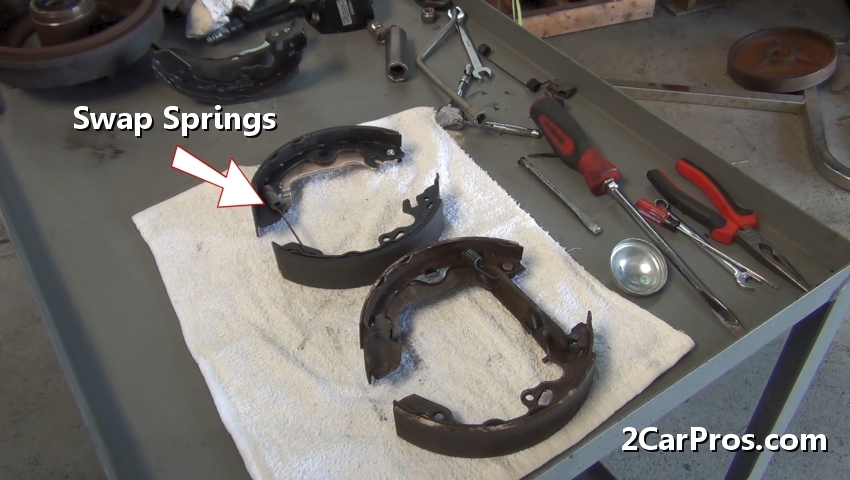
Step 32 - After matching the brake shoe set, align the shoes and start removing brake springs and swapping them to the new shoe set.

Swap Brake Springs
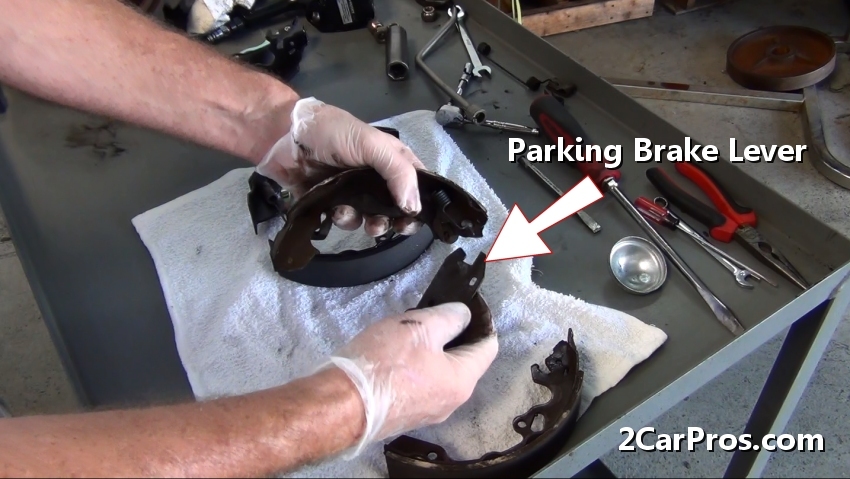
Step 33 - Then, remove the parking brake lever/self adjuster from the old shoe.

Parking Brake Lever - Self Adjuster Removal
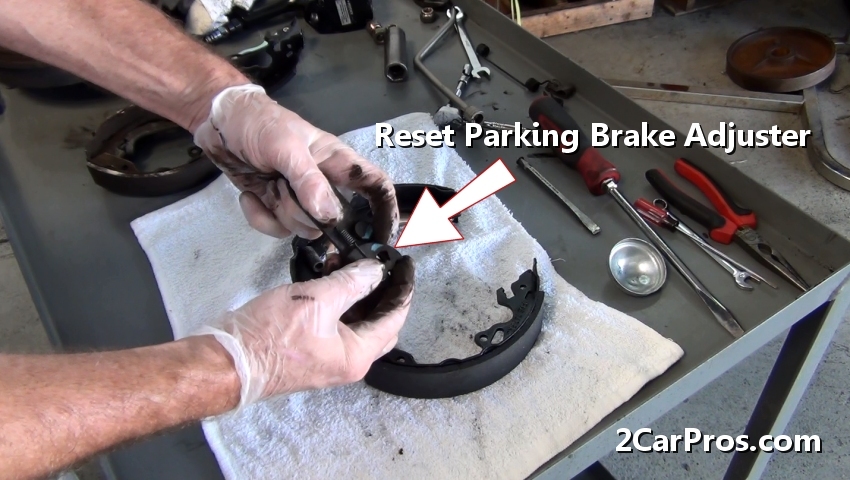
Step 34 - After the self adjuster has been removed, reset the adjuster by pushing the adjuster wheel away from the pin and install it onto the new shoe along with the mounting spring. (Note: Other systems require a screwing action to reset.)

Re-Set Self Adjuster
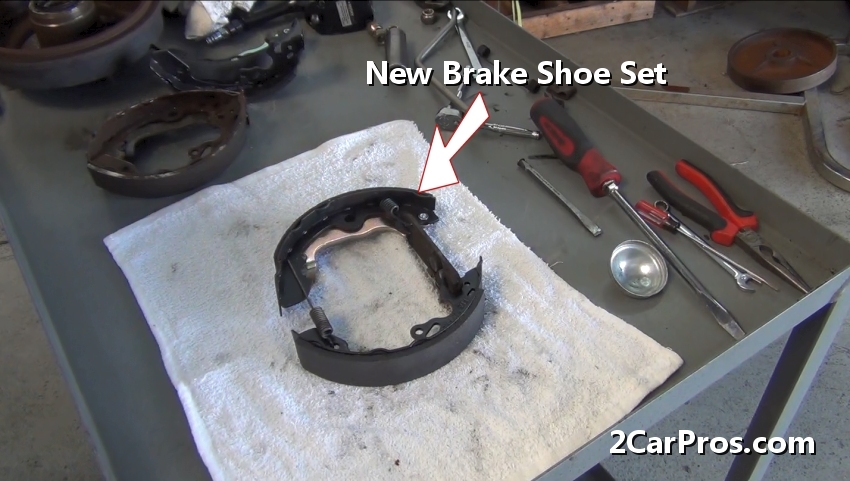
Step 35 - Once all necessary brake components have been swapped over to the new set, they are ready for installation.

New Brake Shoe Set
Step 36 - Before installing the new brake shoe set, use a pair of side cutters (dikes) to grip the parking brake spring holding it in place away from the cable end.

Grip Parking Brake Spring
Step 37 - After reconnecting the parking brake cable to the lever mounted on the brake shoe, reposition the shoe set onto the backing plate.

Installing New Brake Shoe Set
Step 38 - Next, while holding brake shoes in place, position and install the brake shoe retainer clips.
Remove Bleeder Cap
New Brake Shoes
Matching Brake Shoes
Swap Brake Springs
Parking Brake Lever - Self Adjuster Removal
Re-Set Self Adjuster
New Brake Shoe Set

Grip Parking Brake Spring

Installing New Brake Shoe Set
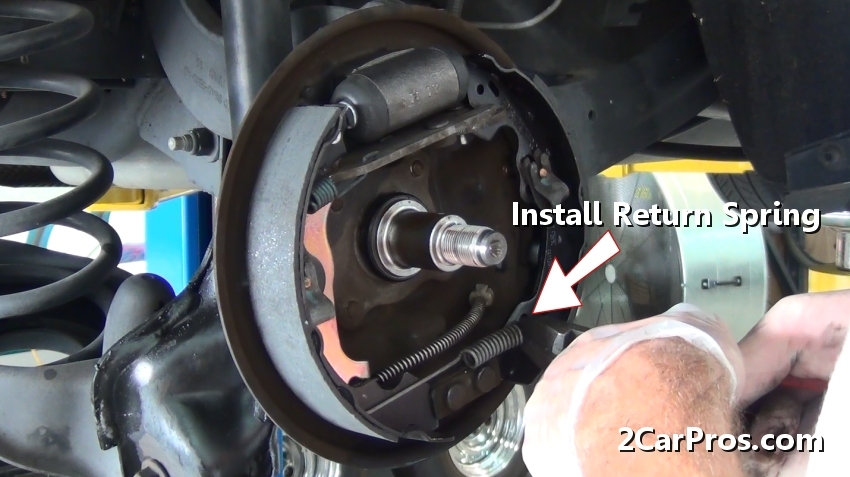
Step 39 - Once the retainer clips have been installed, reposition and attach the lower brake spring.

Install Brake Shoe Return Spring
Step 40 - To complete the shoe set reassembly, connect one side of the spring to the brake shoe.

Install Brake Shoe Return Spring
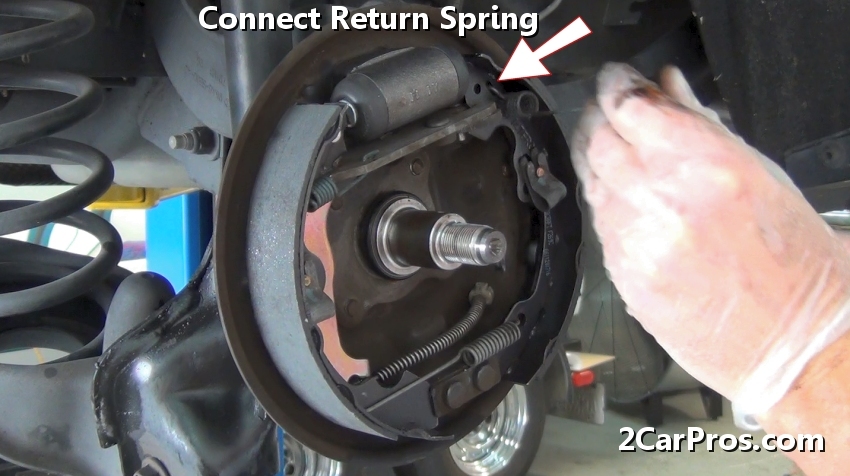
Step 41 - Then, using a pair of side cutters, grip the spring and pull in toward the secondary shoe while connecting it, this completes the shoe assembly phase of the repair.

Attach Main Return Spring
Step 42 - All brake shoes require a self a adjuster of some kind which must be reset and then re-adjusted when replacing brake shoes.

Reset Self Adjuster
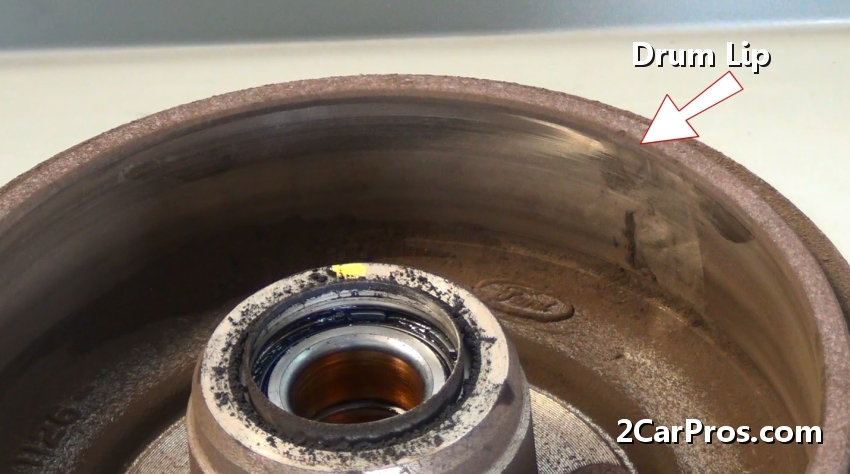
Step 43 - Before the drum can be reinstalled it must be replaced or re-machined to ensure a square surface for the new shoe to connect when braking.

Brake Drum Lip
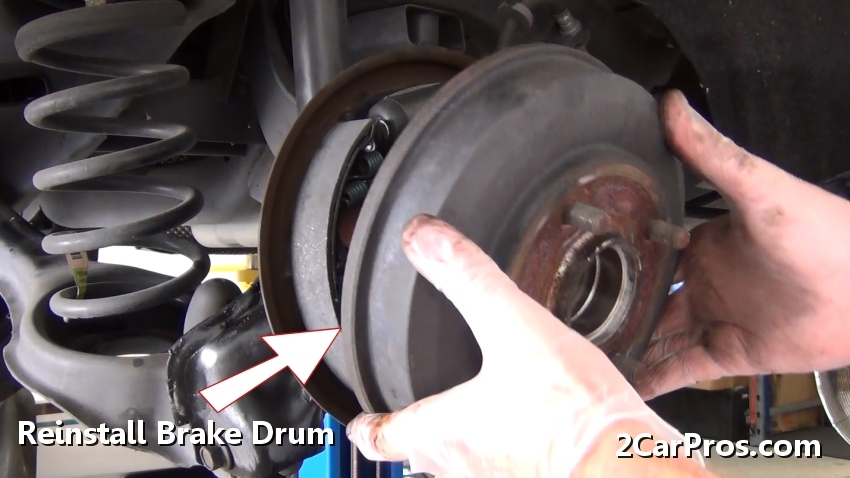
Step 44 - After the adjuster has been set, reinstall the brake drum, this process may need to be performed a number of times to fine tune the self adjuster. (Note: The drum should spin freely, with slight contact with the brake shoes.)

Reinstall Brake Brake
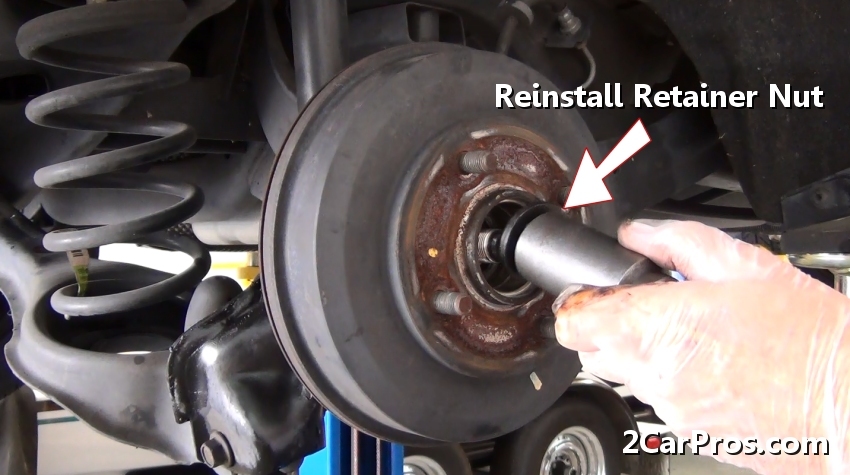
Step 45 - Once the drum has been installed, insert the drum-bearing retainer nut.

Reinstall Brake Drum Retainer Nut
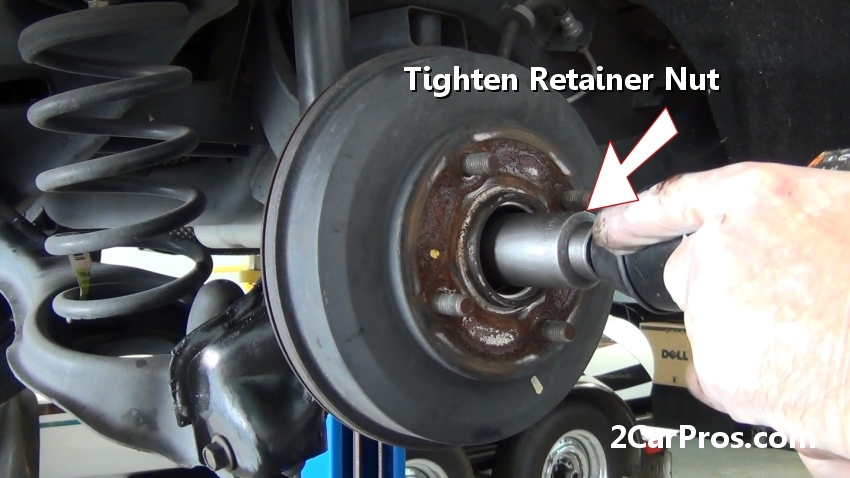
Step 46 - After threading the retainer nut onto the axle, tighten the nut securely, the brake drum should still spin freely with minimal contact to the brake shoes.

Tighten Retainer Nut
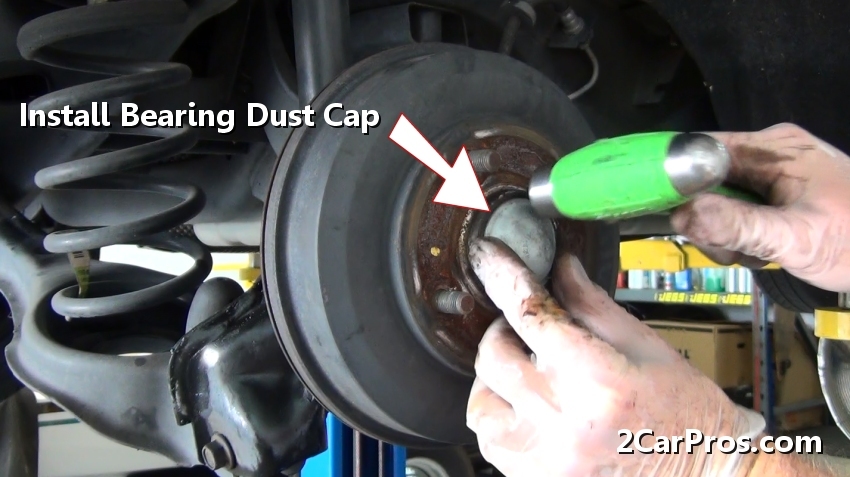
Step 47 - Then, insert the bearing dust cap and tap into place using a hammer.

Install Bearing Dust Cap
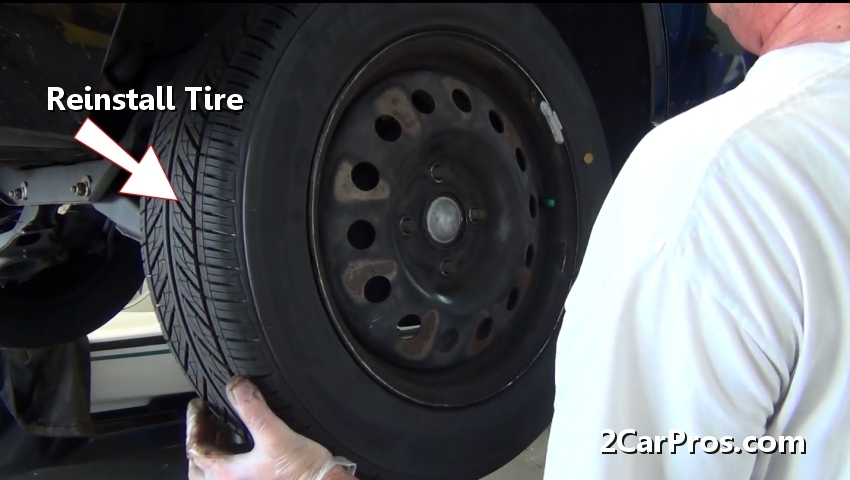
Step 48 - Once the dust cap has been installed, lift the tire and install it onto the wheel studs.

Reinstall Tire
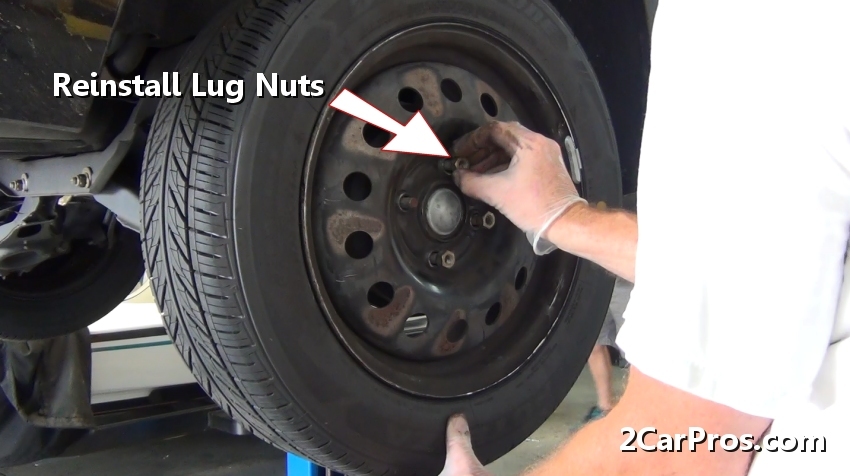
Step 49 - After the wheel has been installed, gather the lug nuts and thread them onto the wheel studs by hand to avoid cross threading.

Installing Wheel Lug Nuts
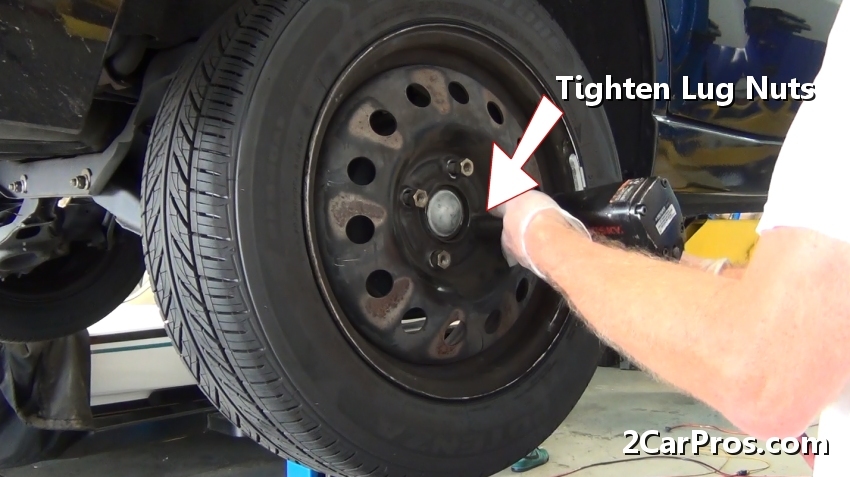
Step 50 - Next, tighten the lug nuts in a cross pattern, if an air impact wrench is not used, recheck lug tightness once the vehicle has been lowered onto the ground.

Tighten Lug Nuts
Install Brake Shoe Return Spring
Install Brake Shoe Return Spring

Attach Main Return Spring
Step 42 - All brake shoes require a self a adjuster of some kind which must be reset and then re-adjusted when replacing brake shoes.

Reset Self Adjuster
Brake Drum Lip
Reinstall Brake Brake
Reinstall Brake Drum Retainer Nut
Tighten Retainer Nut
Install Bearing Dust Cap
Reinstall Tire
Installing Wheel Lug Nuts
Tighten Lug Nuts
Step 51 - Once the wheel nuts have been tightened, align the wheel cover with the rim valve stem and gently press into place.

Reinstall Wheel Cover
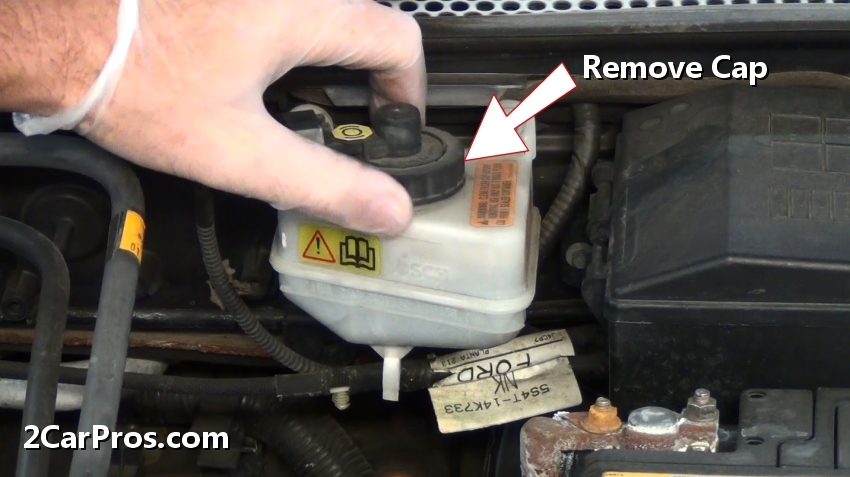
Step 52 - After the wheel has been installed and lug nuts tightened, clean the top of the brake master cylinder using a shop towel, then loosen and remove the lid.

Remove Brake Master Cylinder Cap
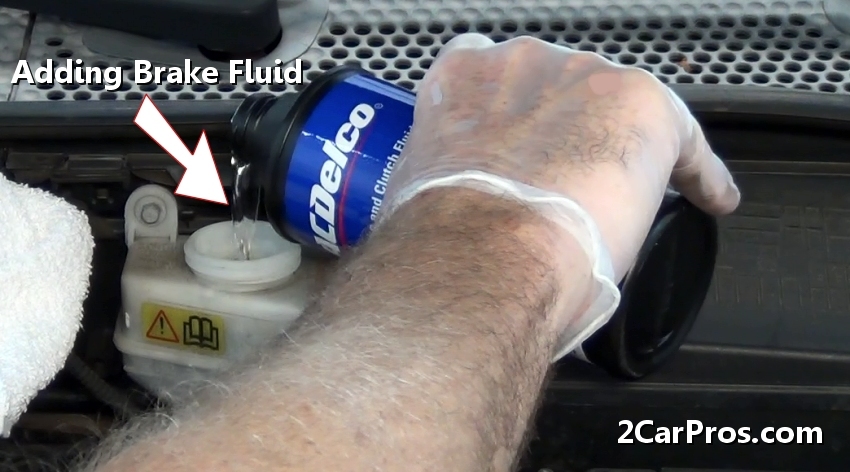
Step 53 - Using a sealed container of brake fluid, top off the brake master cylinder with fluid.

Adding Brake Fluid
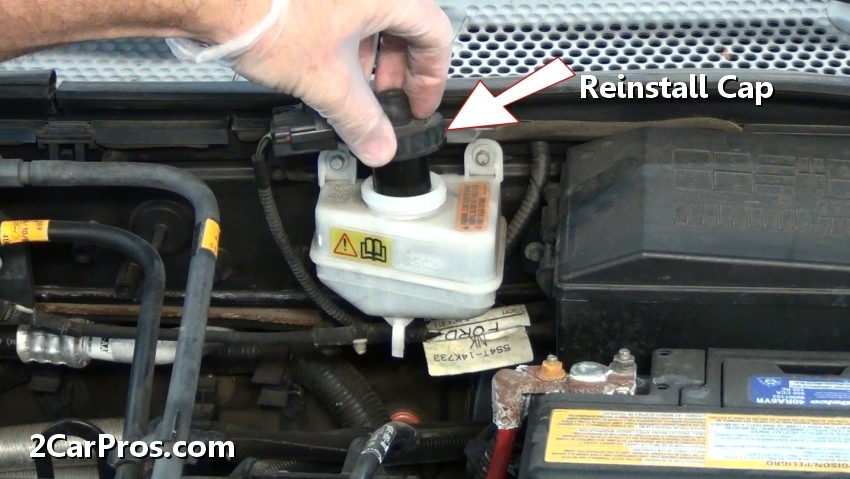
Step 54 - Once the fluid level has be added to, reinstall and tighten the reservoir cap.

Reinstall Brake Master Cylinder Cap
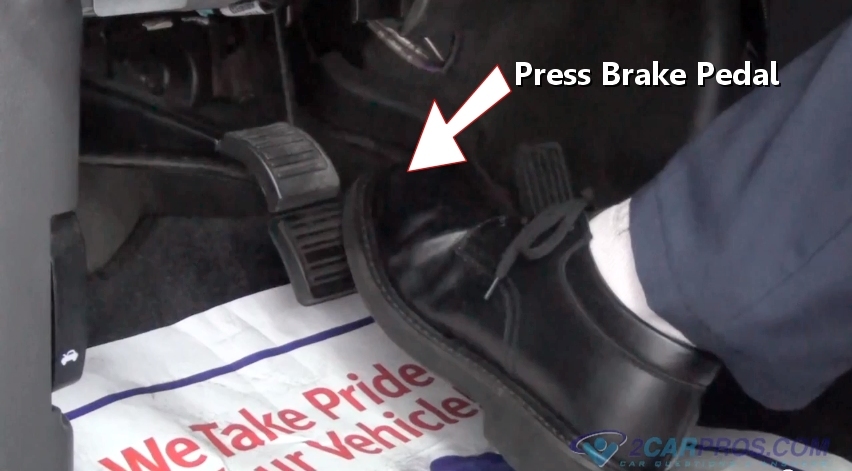
Step 55 - After the brake cylinder has been topped off with fluid, have a helper press the brake pedal down and hold. (Note: Do not pump brake pedal.)

Press Brake Pedal
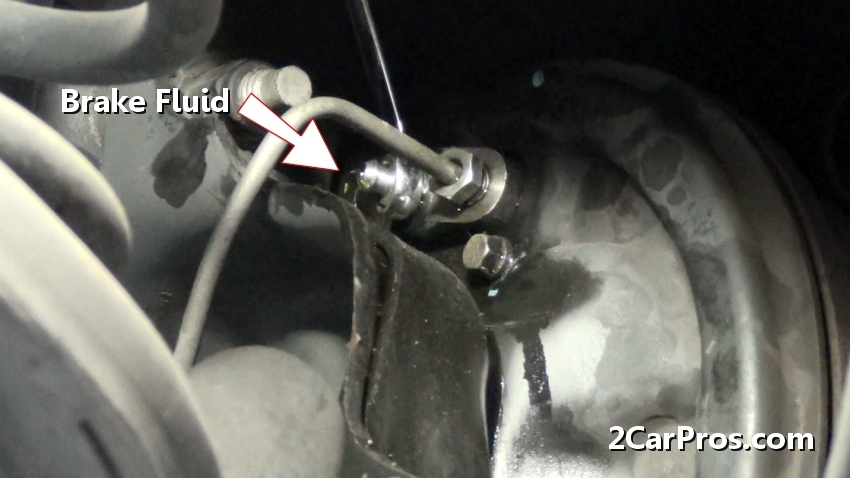
Step 56 - While the brake pedal is being held down, open the bleeder screw on the rear of the wheel cylinder, fluid will begin to flow out of the valve, once the fluid has stopped close the valve and slowly release the brake pedal. Repeat this operation until no air bubbles are observed.

Brake Fluid Bleed
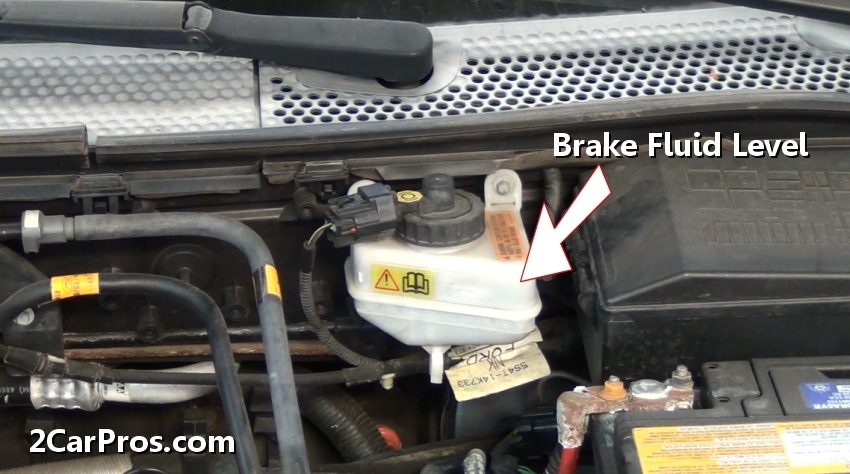
Step 57 - Once the bleeding process is complete, recheck the fluid level inside the master cylinder reservoir and add as needed to obtain the proper level.

Brake Fluid Level
Once both wheels have been completed and while holding the brake pedal down, activate the parking brake lever several times to set and adjust the shoes against the drums. Never move a vehicle without proper brake operation.

Reinstall Wheel Cover
Remove Brake Master Cylinder Cap
Adding Brake Fluid
Reinstall Brake Master Cylinder Cap
Press Brake Pedal
Brake Fluid Bleed
Brake Fluid Level


Comments
Post a Comment